Inside arun.is · Photo storage
7 min read Dec 27, 2024
This is part of an ongoing series about how this site is made.
I have been seriously shooting digital photographs for nearly two decades. I first started in late high school with a DSLR that outputted 8 megapixel raw files.
I have kept all my raw files from day one. At first, it was just in case I wanted them in the future. Over the years, I am finding myself regularly going back, not just to see how my photo shooting style and editing style have changed, but also to re-edit and reuse my photos in current projects.
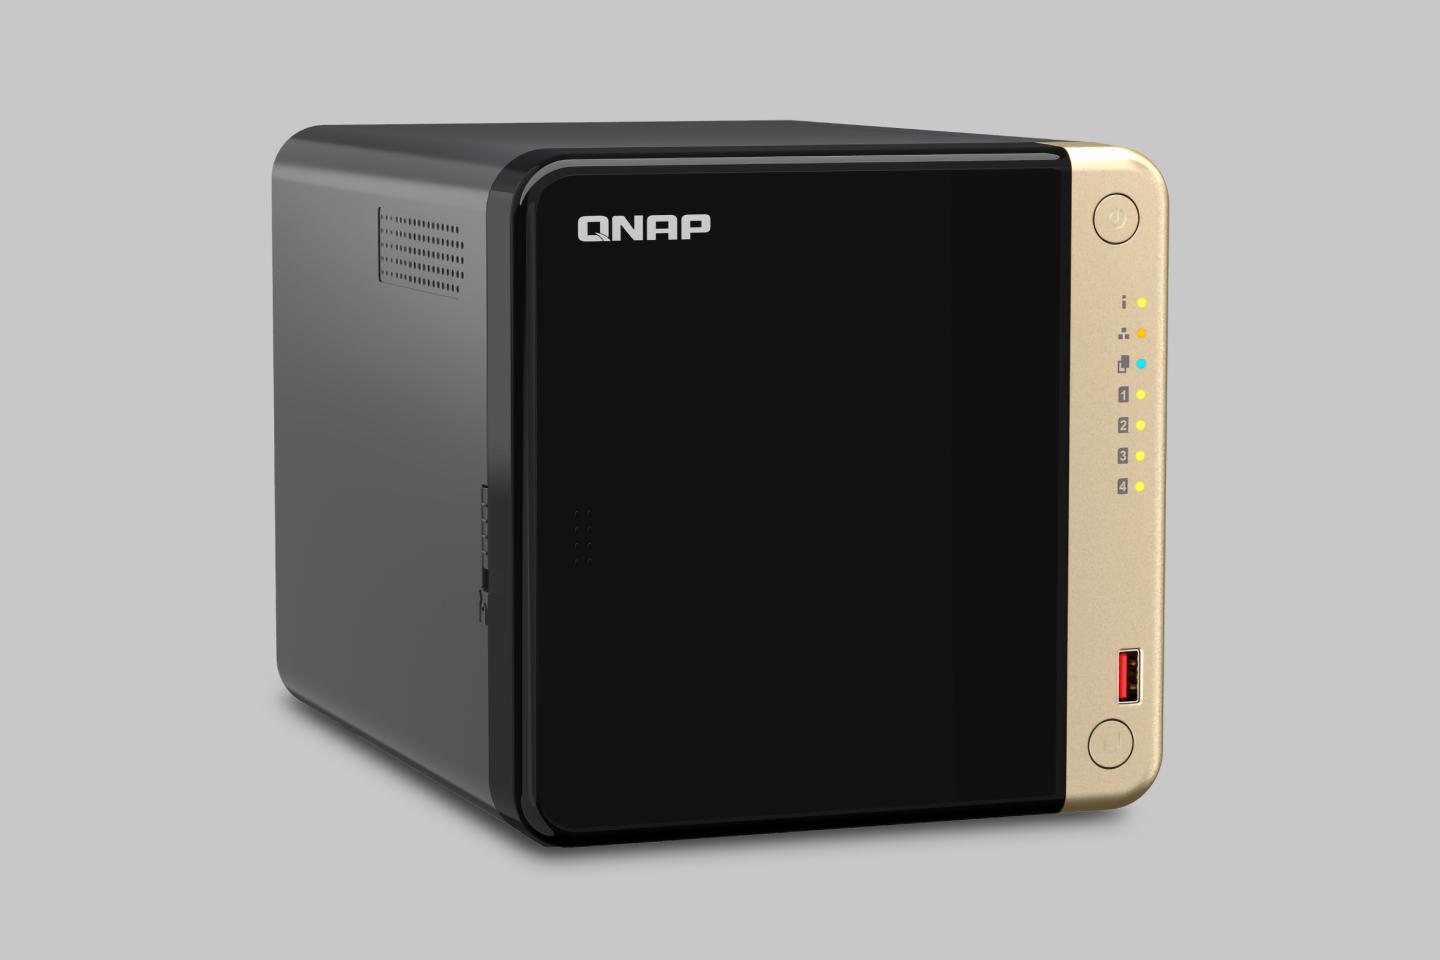
My storage setup started as a simple 500GB external hard drive connected via Firewire to my Mac. It has evolved iteratively since then to my current system, the centerpiece of which is a four bay network-attached storage (NAS) with four 20TB drives set at Raid 10.
Principles
My system is built around a few principles.
- Modular: All parts are able to function on their own and are decoupled from the others. For example, my MacBook and NAS backup differently, meaning that one can fail without taking out the other.
- Iterative: I have been gradually improving my setup over the decades and will continue to do so. Keeping things modular and decoupled makes it easy.
- Reliable: I want my systems to be simple and reliable so that I can focus on photography and not system maintenance.
- Future proof: On a similar note with the last point, I don’t want to be bothered with limited space and instead would like to keep shooting photographs.
In use
Capturing
Over the years, as megapixel counts have crept up, tradeoffs are being made — new high resolution sensors provide a marginal improvements to image quality, but at the cost of increased storage usage and slower workflows (longer transfer times, slower processing times). That’s the reason that I have found 24 megapixel to be perfect. Most of my cameras from the last decade (Sony a7, Leica Q, Leica CL) have 24 megapixel sensors. 24 offers enough resolution for large reproduction or cropping.
At my current rate, I’m adding between 500GB to 1TB every year. This means I have a few more decades to go with this NAS as I’m currently only using 5TB out of the full 36TB usable space.
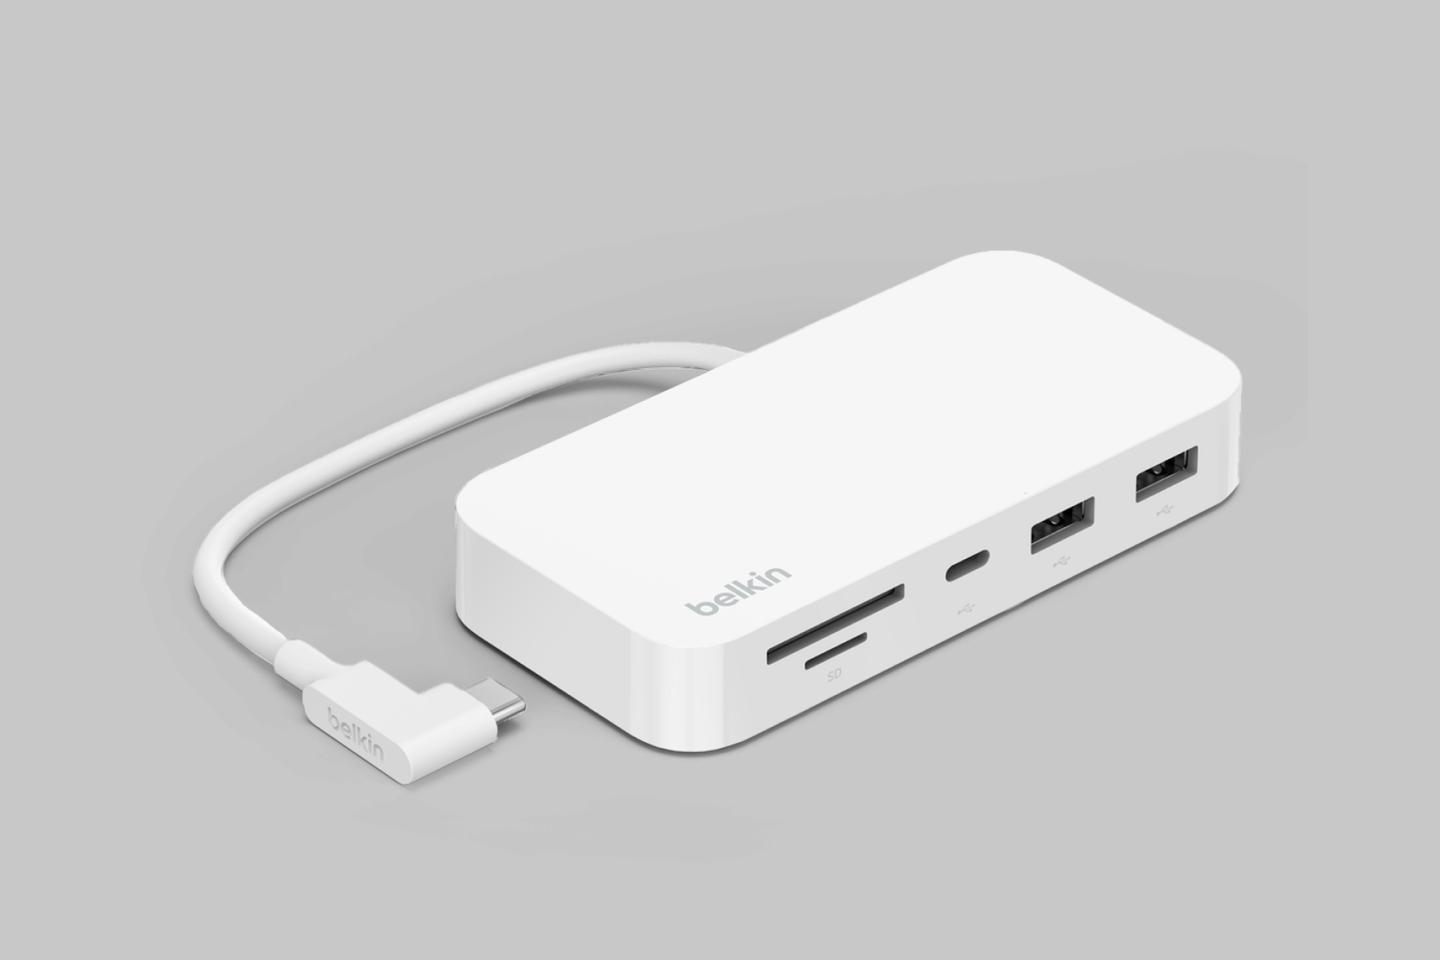
After I’m done shooting, I pop the SD card from my camera into the card reader mounted behind my studio display. I import all my raws in Lightroom. I do this when I’m not using my MacBook since generating previews can take some time.

Organizing
After import, original raws are stored on my NAS, while Previews and Smart Previews are rendered and stored on my M2 MacBook Air alongside the Lightroom catalog file.
The raws are stored in the default Lightroom method — separate directories per year, which contain separate directories by day. Below is an example. I almost never browse this way however.
2007
⋮
2023
2024
  2024-01-01
    L1310908.DNG
    L1310909.DNG
    ⋮
    L1310987.DNG
  2024-01-02
    ⋮
Instead, every time I import photos, I create separate Collections in Lightroom, prepended by the date. Each of these is placed into a Collection Set by year. This gives me a chronological list of events or shoots. Here’s an example of how that looks
2007
⋮
2023
2024
  2024/01/05 Tokyo
  2024/01/23 Google Visitor Experience
  ⋮
Keeping Smart Previews on my MacBook allows me to edit photos on the go as if the raws were there with me. I can then come home and export jpegs rendered from the originals. Since the Previews and Smart Previews take up around 100GB on my MacBook, I bought a 1TB model, which has plenty of headroom for future expansion.
Re-accessing
I usually wait months, often a year, before posting photos to this blog. I find that the time creates some distance from the event, filtering out any trivial or unpleasant experiences. I also find that looking at the photos with fresh eyes encourages my curiosity to lead me in interesting directions instead of simply posting photos as a chronological log. Organizing my photos into Collections makes finding old photos a breeze.
Often, I’ll combine photos from multiple years into one post or include photos that I have already previously edited. In these cases, I’ll create virtual copies that allow me to re-edit the photos again without affecting my previous versions. For example, I re-edited my photos with a newer personal style in the series called My transformative first trip to Japan.
To keep things snappy, my MacBook is connected via gigabit ethernet to the NAS. In the future, I could upgrade to either 2.5, 5 or 10 gigabit networking if I feel connection speed is a limiter. However, with 24 megapixel files, 1 gigabit is plenty fast.
Backing up
Redundancy and backup are important given storage devices all have a chance of failing at any time.
I back up my MacBook via Time Machine to a WD 2TB My Passport 2.5” external hard drive. It’s connected via USB to my Thunderbolt dock, so whenever I reconnect my MacBook, Time Machine fires up. I do plan to also setup my NAS as a Time Machine destination so that I can have another set of backups.

The NAS is the 4-bay QNAP TS-464. I was able to get it at 15% discount from Western Digital after taking advantage of their Recycle and Save program. They recycled some old unused drives for me for free and then also provided me with a 15% off coupon to their store.

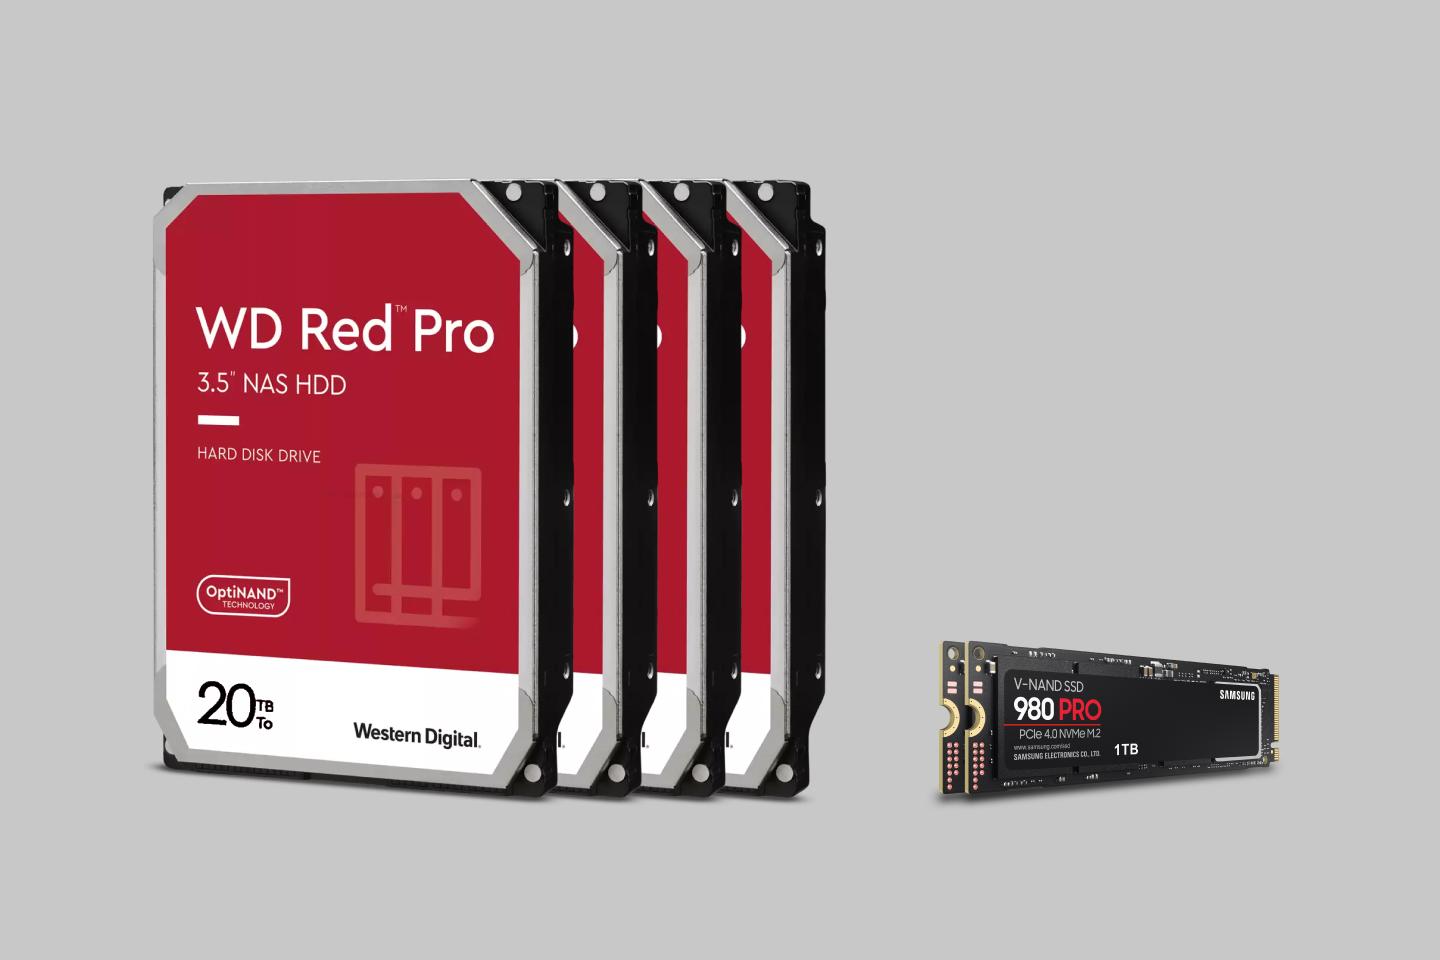
The NAS OS is installed on two Samsung 980 1TB NVMe SSDs that are set to RAID 1. It’s preferable to install the OS on SSDs so that the slower 3.5” hard drives are used only for data.

The four 3.5” drive slots are filled with identical WD Red Pro 20TB NAS hard drives that I purchased using a generous bundle discount on the Western Digital website. I chose to set them up in RAID 10, which gives me great performance and offers easy recovery from a single drive failure.
Every night, the NAS automatically makes a incremental backup of my photographs to Backblaze B2 via QNAP’s Hybrid Backup and Sync software. This software runs entirely on the NAS. In the near future, I plan to pick up another simple external drive that I can connect to the NAS for a full local backup. This will make recoveries after multiple drive failures faster.
Recovering
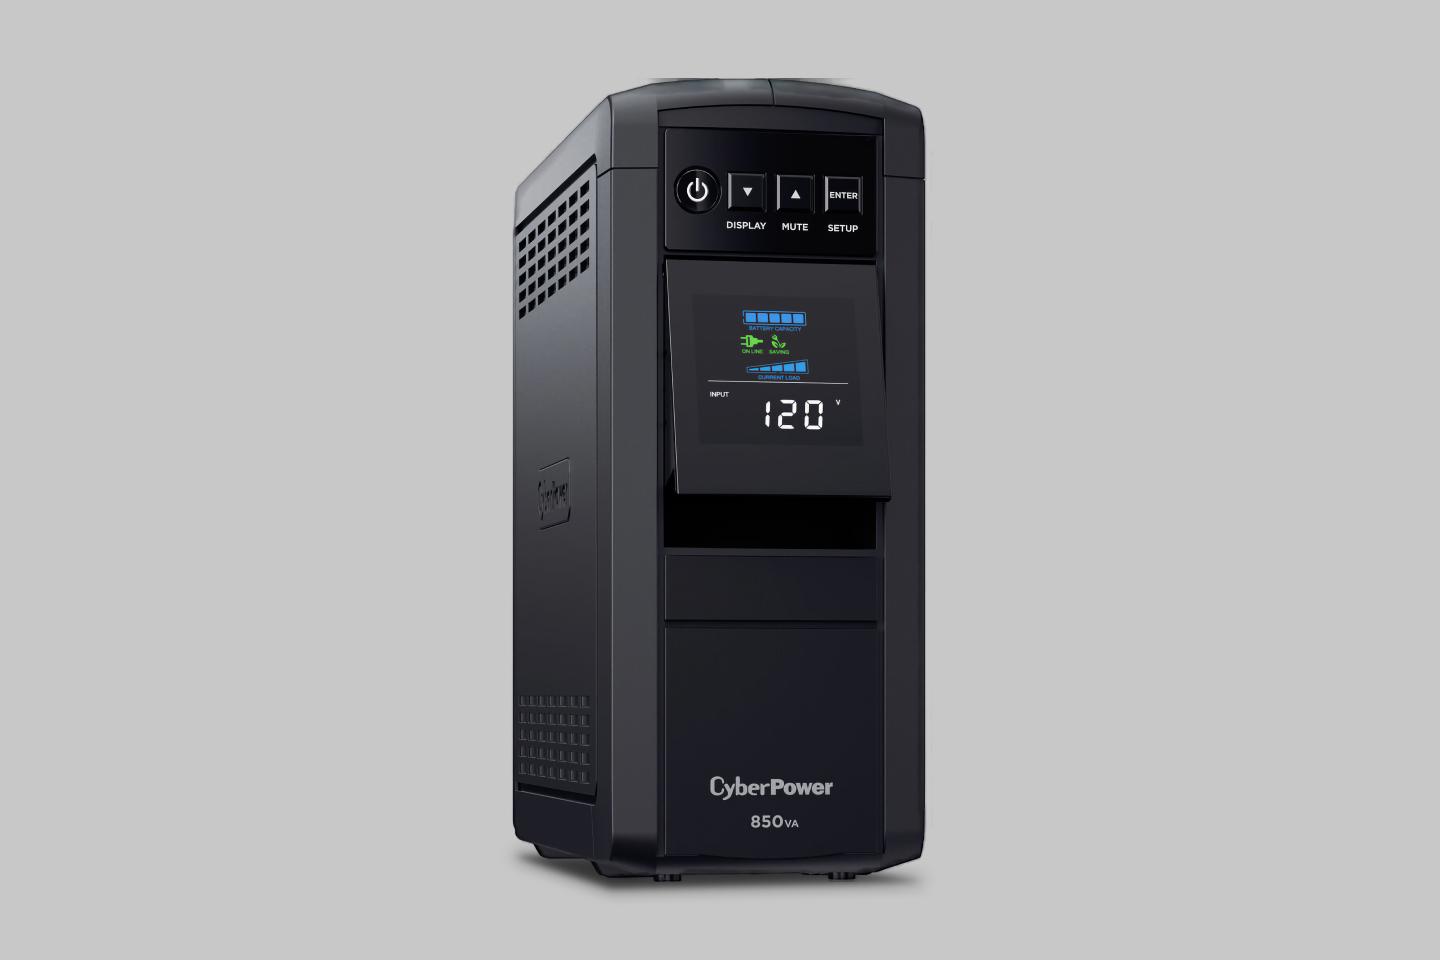
Power loss is rare but does happen where we live. To mitigate any data corruption from an unsafe shutdown, I have a simple uninterruptible power supply (UPS), the CyberPower CP850PFCLCD.

It has enough capacity to run my NAS for nearly one hour. Both devices are connected together via USB. When power is lost or is regained, the UPS will tell the NAS. If power isn’t regained within 5 minutes, the NAS will automatically shut down. This means that momentary power losses won’t result in a shutdown, but anything longer will.
In the case of a single drive failure, I’ll need to replace that drive and let the RAID 10 setup rebuild. In the case of two simultaneous failures, things are trickier. If the two drives had different data (meaning they aren’t mirrors of each other), then I’d need to replace those two and rebuild. In the other case, I have lost data and I need to turn to my B2 backup to recover data. This is why I plan to get a simple local USB drive to plug into my NAS for backups.
Final thoughts
This system as evolved alongside my photography, from a simple external drive to something more robust. While I have future plans for improvements, the current system gives me the piece of mind needed to focus on shooting photographs.
For those of you out there looking for your own system, I’d recommending starting as small as possible and upgrading as your needs change.
My setup continues to evolve, and I’m always open to suggestions for improvement. What storage solution works for you?
Thanks to Q for reading drafts of this.