
DIY adjustable projector stand
3 min read Jul 25, 2026
At home, we use a projector and a roll-down screen instead of a television. We don’t want to add a big black rectangle to our otherwise bright and airy living room. Whenever we want to use the projector, we roll down the screen and place the projector on our flat file cabinet, which doubles as a coffee table.
To make sure the projector lines up just right, we usually place some books or magazines underneath to prop it up. Recently, we’ve been using the projector quite a lot more, especially while watching this year’s World Cup, and the propping-up routine started to bother me since it’s not very repeatable and, frankly, quite ugly.
So I decided to do a quick little project with my children, which ended up taking less than 30 minutes once we had all the parts. First, I went out to the garage to see what I had. I’ve done several projects at this point and have a little pile of leftover scrap wood — one of these was a piece of plywood left over from the modular bookcase I made years ago, and that piece was luckily just a bit wider and longer than the projector, making it suitable for this project.
I wanted adjustability so that once the projector was sat down, we could get it perfectly orthogonal to the plane formed by the projector screen. For this, I needed to be able to adjust at three different points, so I opted to put a screw centered in the back and then two on each of the front corners.
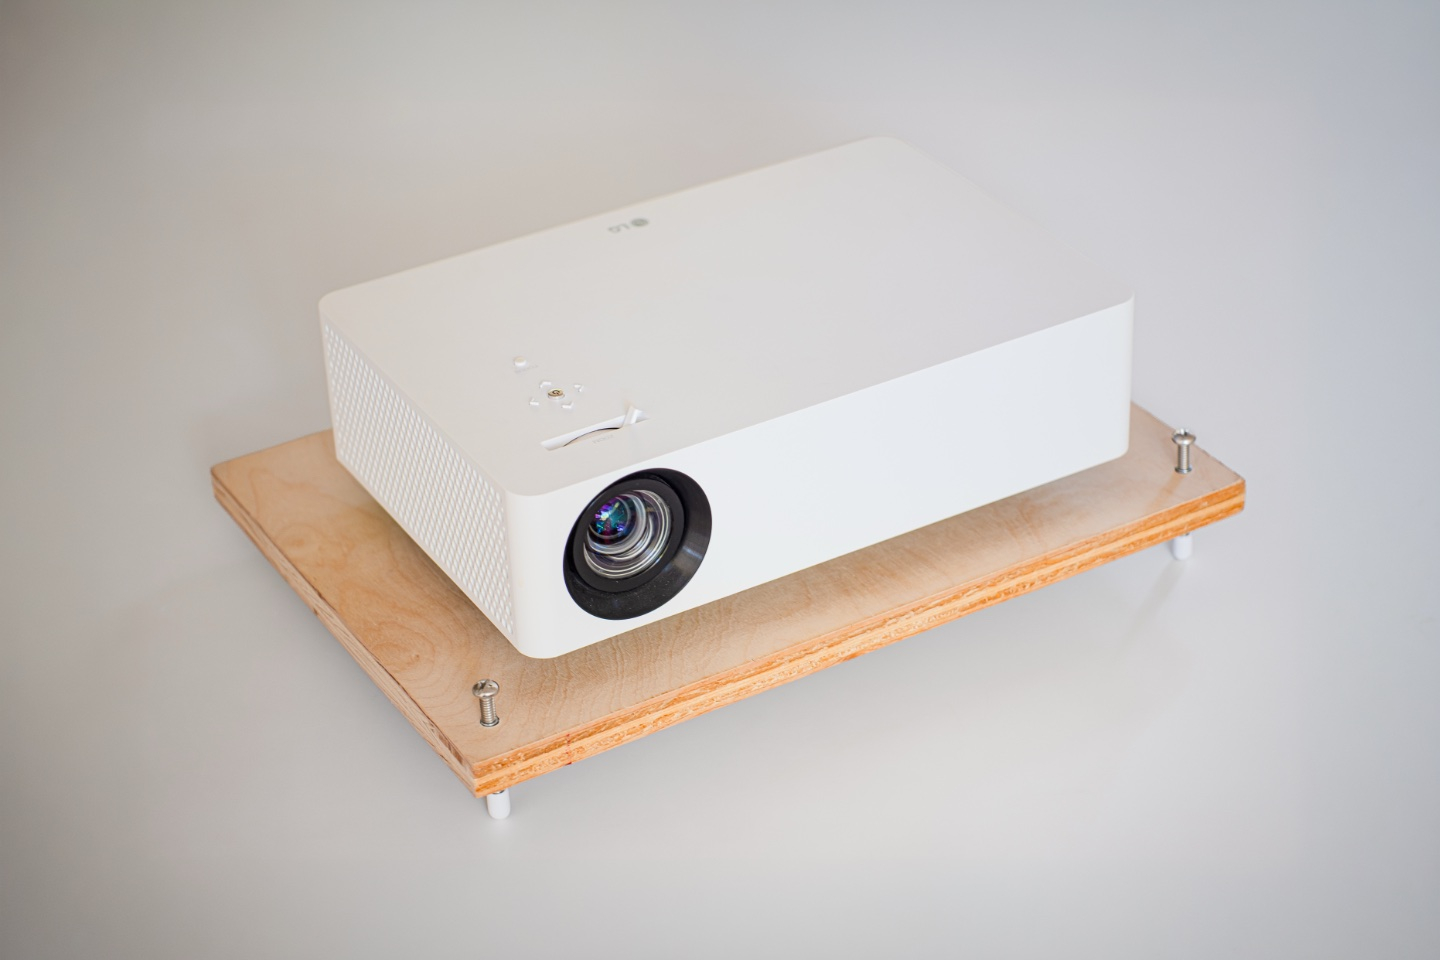
To achieve this, I needed only a few parts costing around $10.
First were a set of screw-in insert nuts — also called threaded inserts. To install these, I drilled a hole just big enough for the smaller end of the nut to fit in, then drove the nut in with a hex wrench. Then I screwed in some machine screws, matching both in size and thread count to the insert nut.
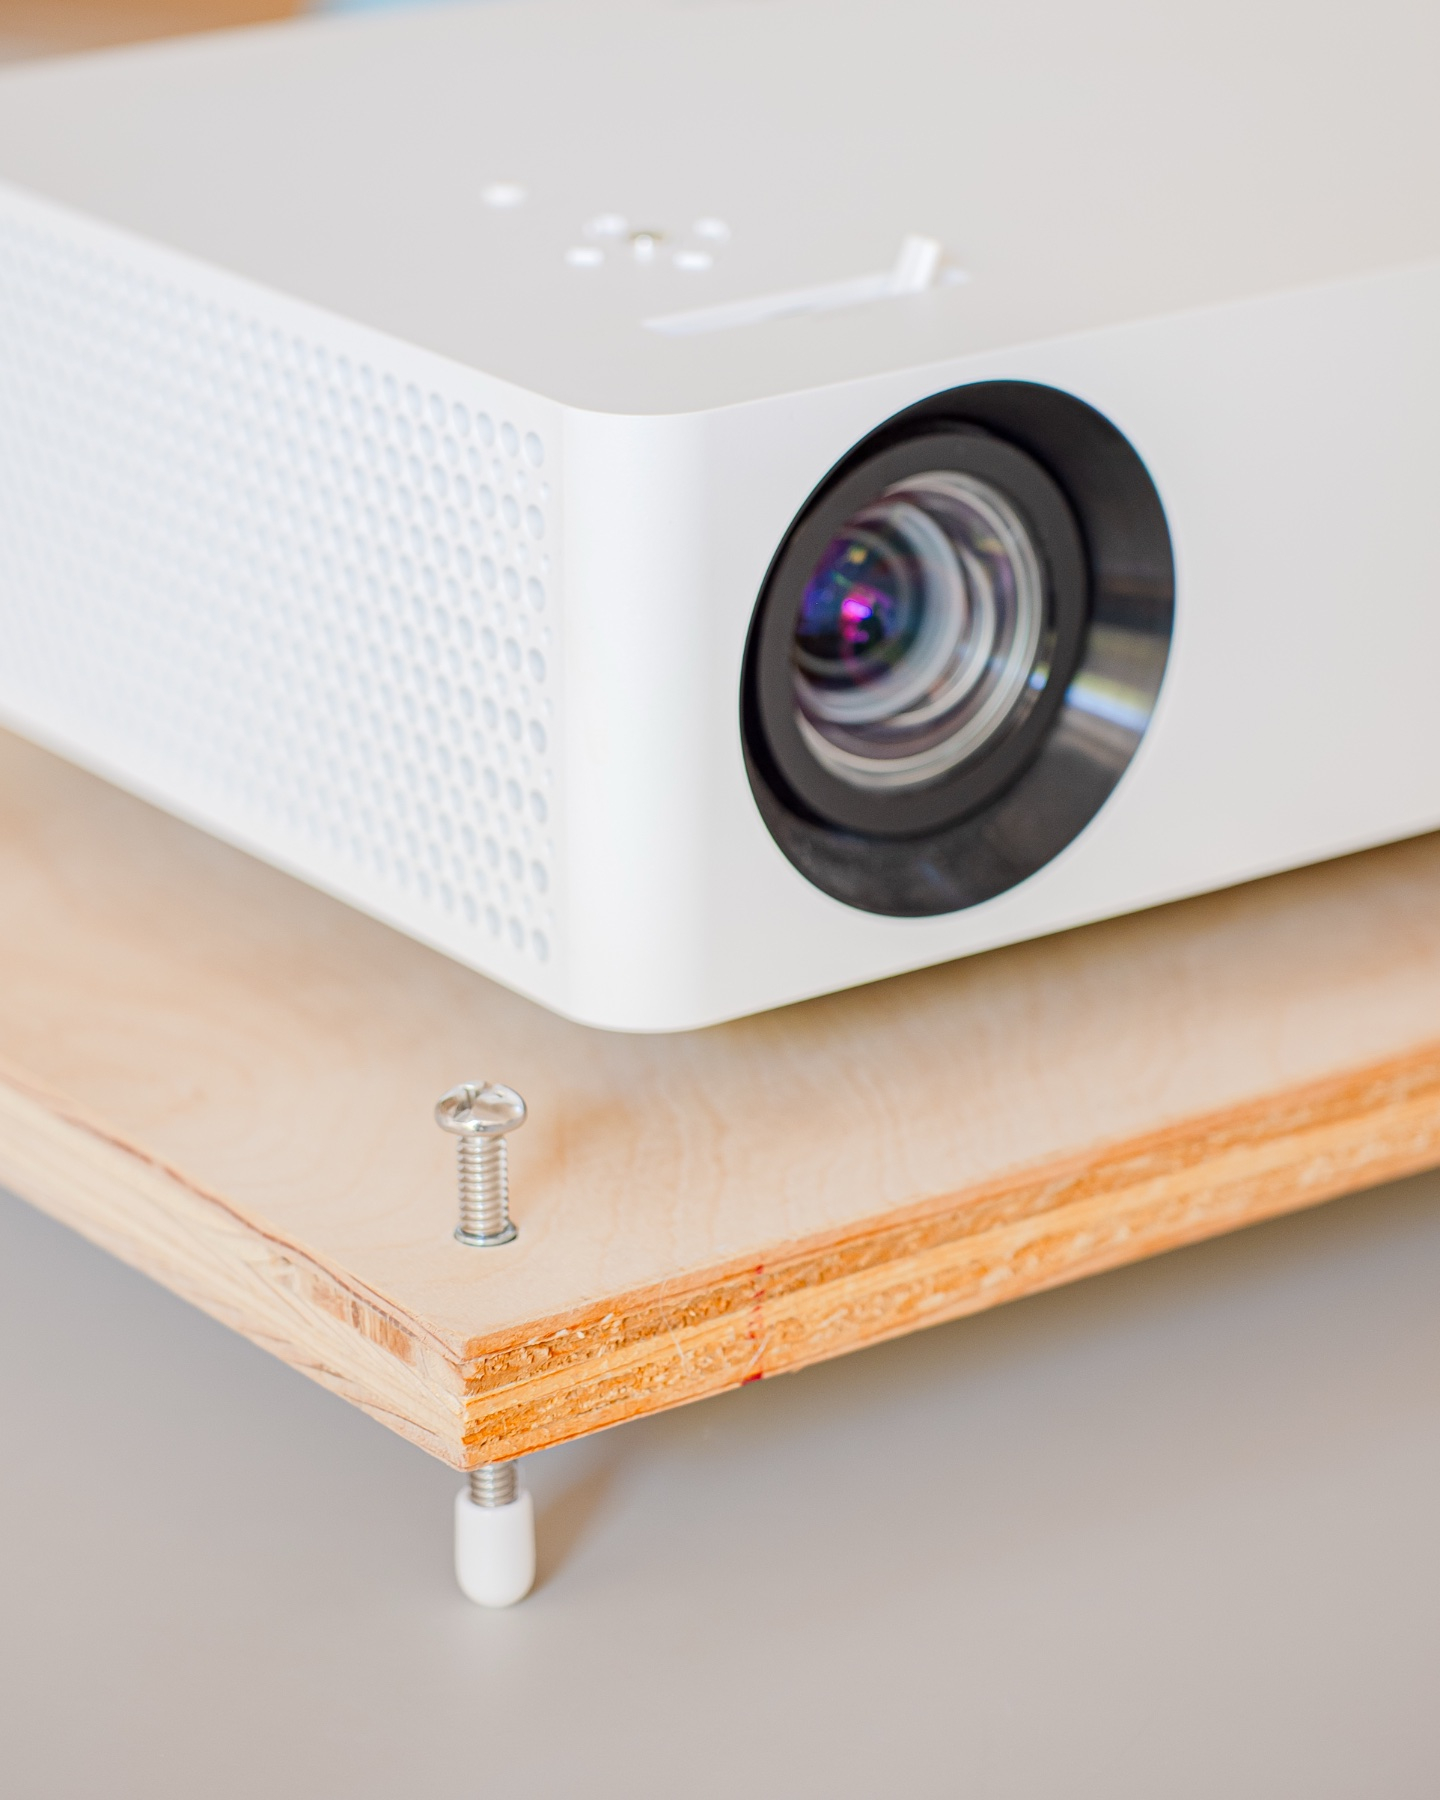
Finally, to protect our table, we added some rubber thread protectors. Those were a little too big, so we dropped a tiny bit of hot glue in before sticking them onto the ends of the screws.
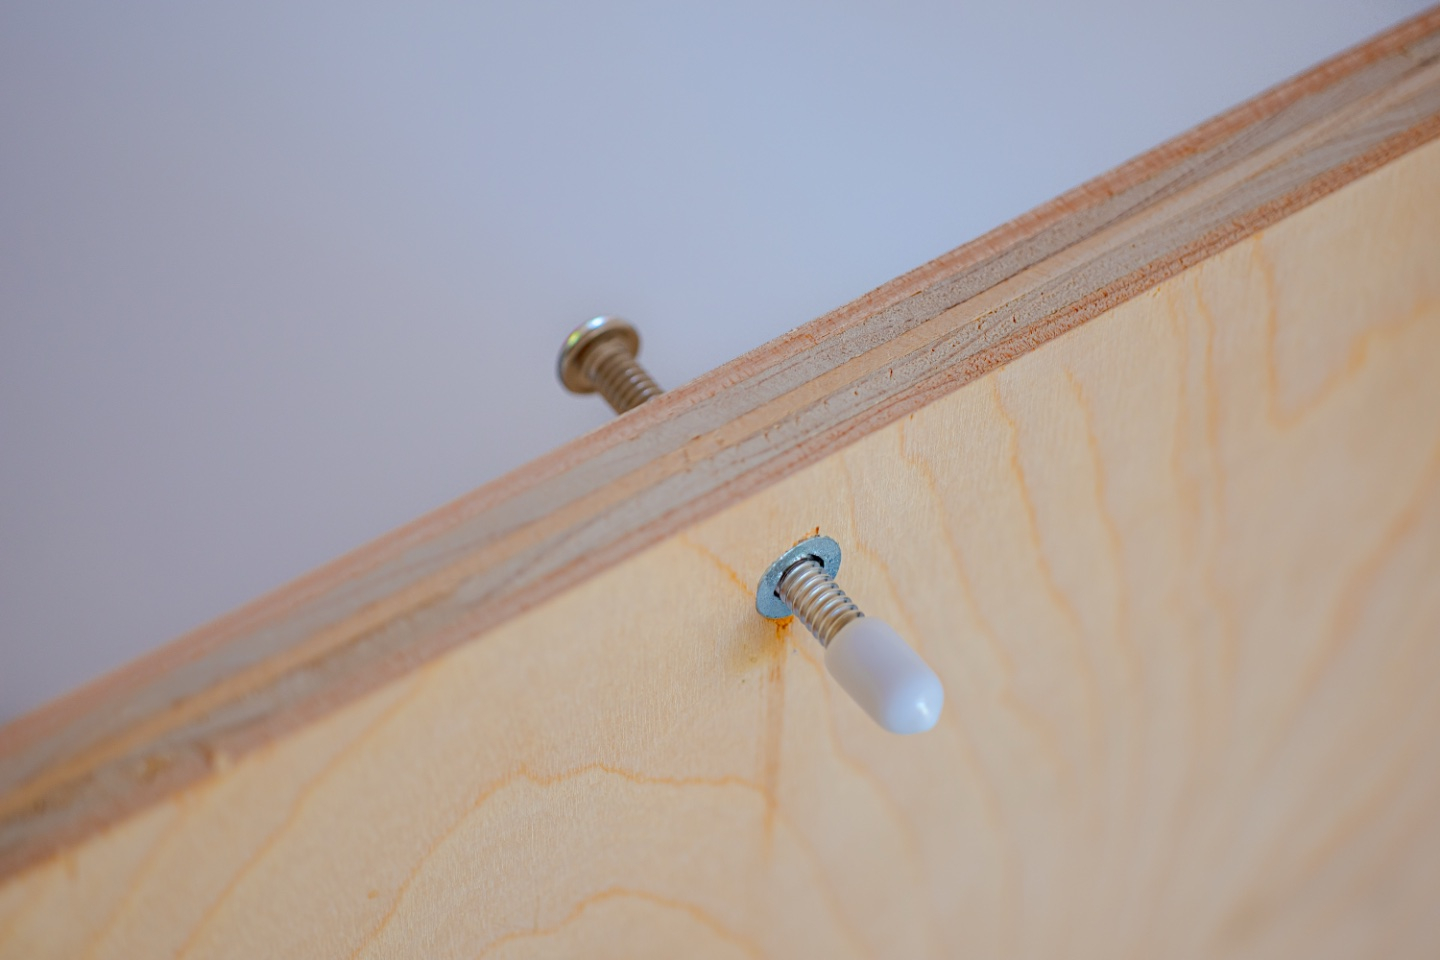
Once all the parts were put together, I tested it with the projector, and it worked marvelously. When adjusting the projector, I first make sure the left and right sides of the image are parallel to the projection screen, and then I adjust the front two screws to match the top edge. Within a minute or two, we’re able to get the projector filling the entire screen without much fuss.
Right now the stand is plain wood, but I plan to rub in some Danish oil that I’ve used in other projects. This would add a natural stain-resistant coating to keep the wood looking good.
Thanks to Q for reading drafts of this.