

The evolution of the desk setup
13 min read Mar 10, 2022
This continues from my first desk setup essay last year. I detailed my philosophy and the rationale behind my setup.
Desk setup
Previously, I described how the purpose of my desk is to take me to the right state of mind and reflect the creative person I’d like to become. I also set forth five principles to guide my choices.
- Find objects that both fulfill their purpose and form an emotional bond
- Prefer the preowned classic to the brand new, unproven product
- Minimize clutter and distractions
- Support different types of work without overly-specialized equipment
- Change and iterate as needs change
Last year as I was writing that first essay, I still considered the possibility of returning to the office. However, my company went full remote.
Therefore, in the interest of principle number five, I’ve continued to iterate on and invest in my desk setup.
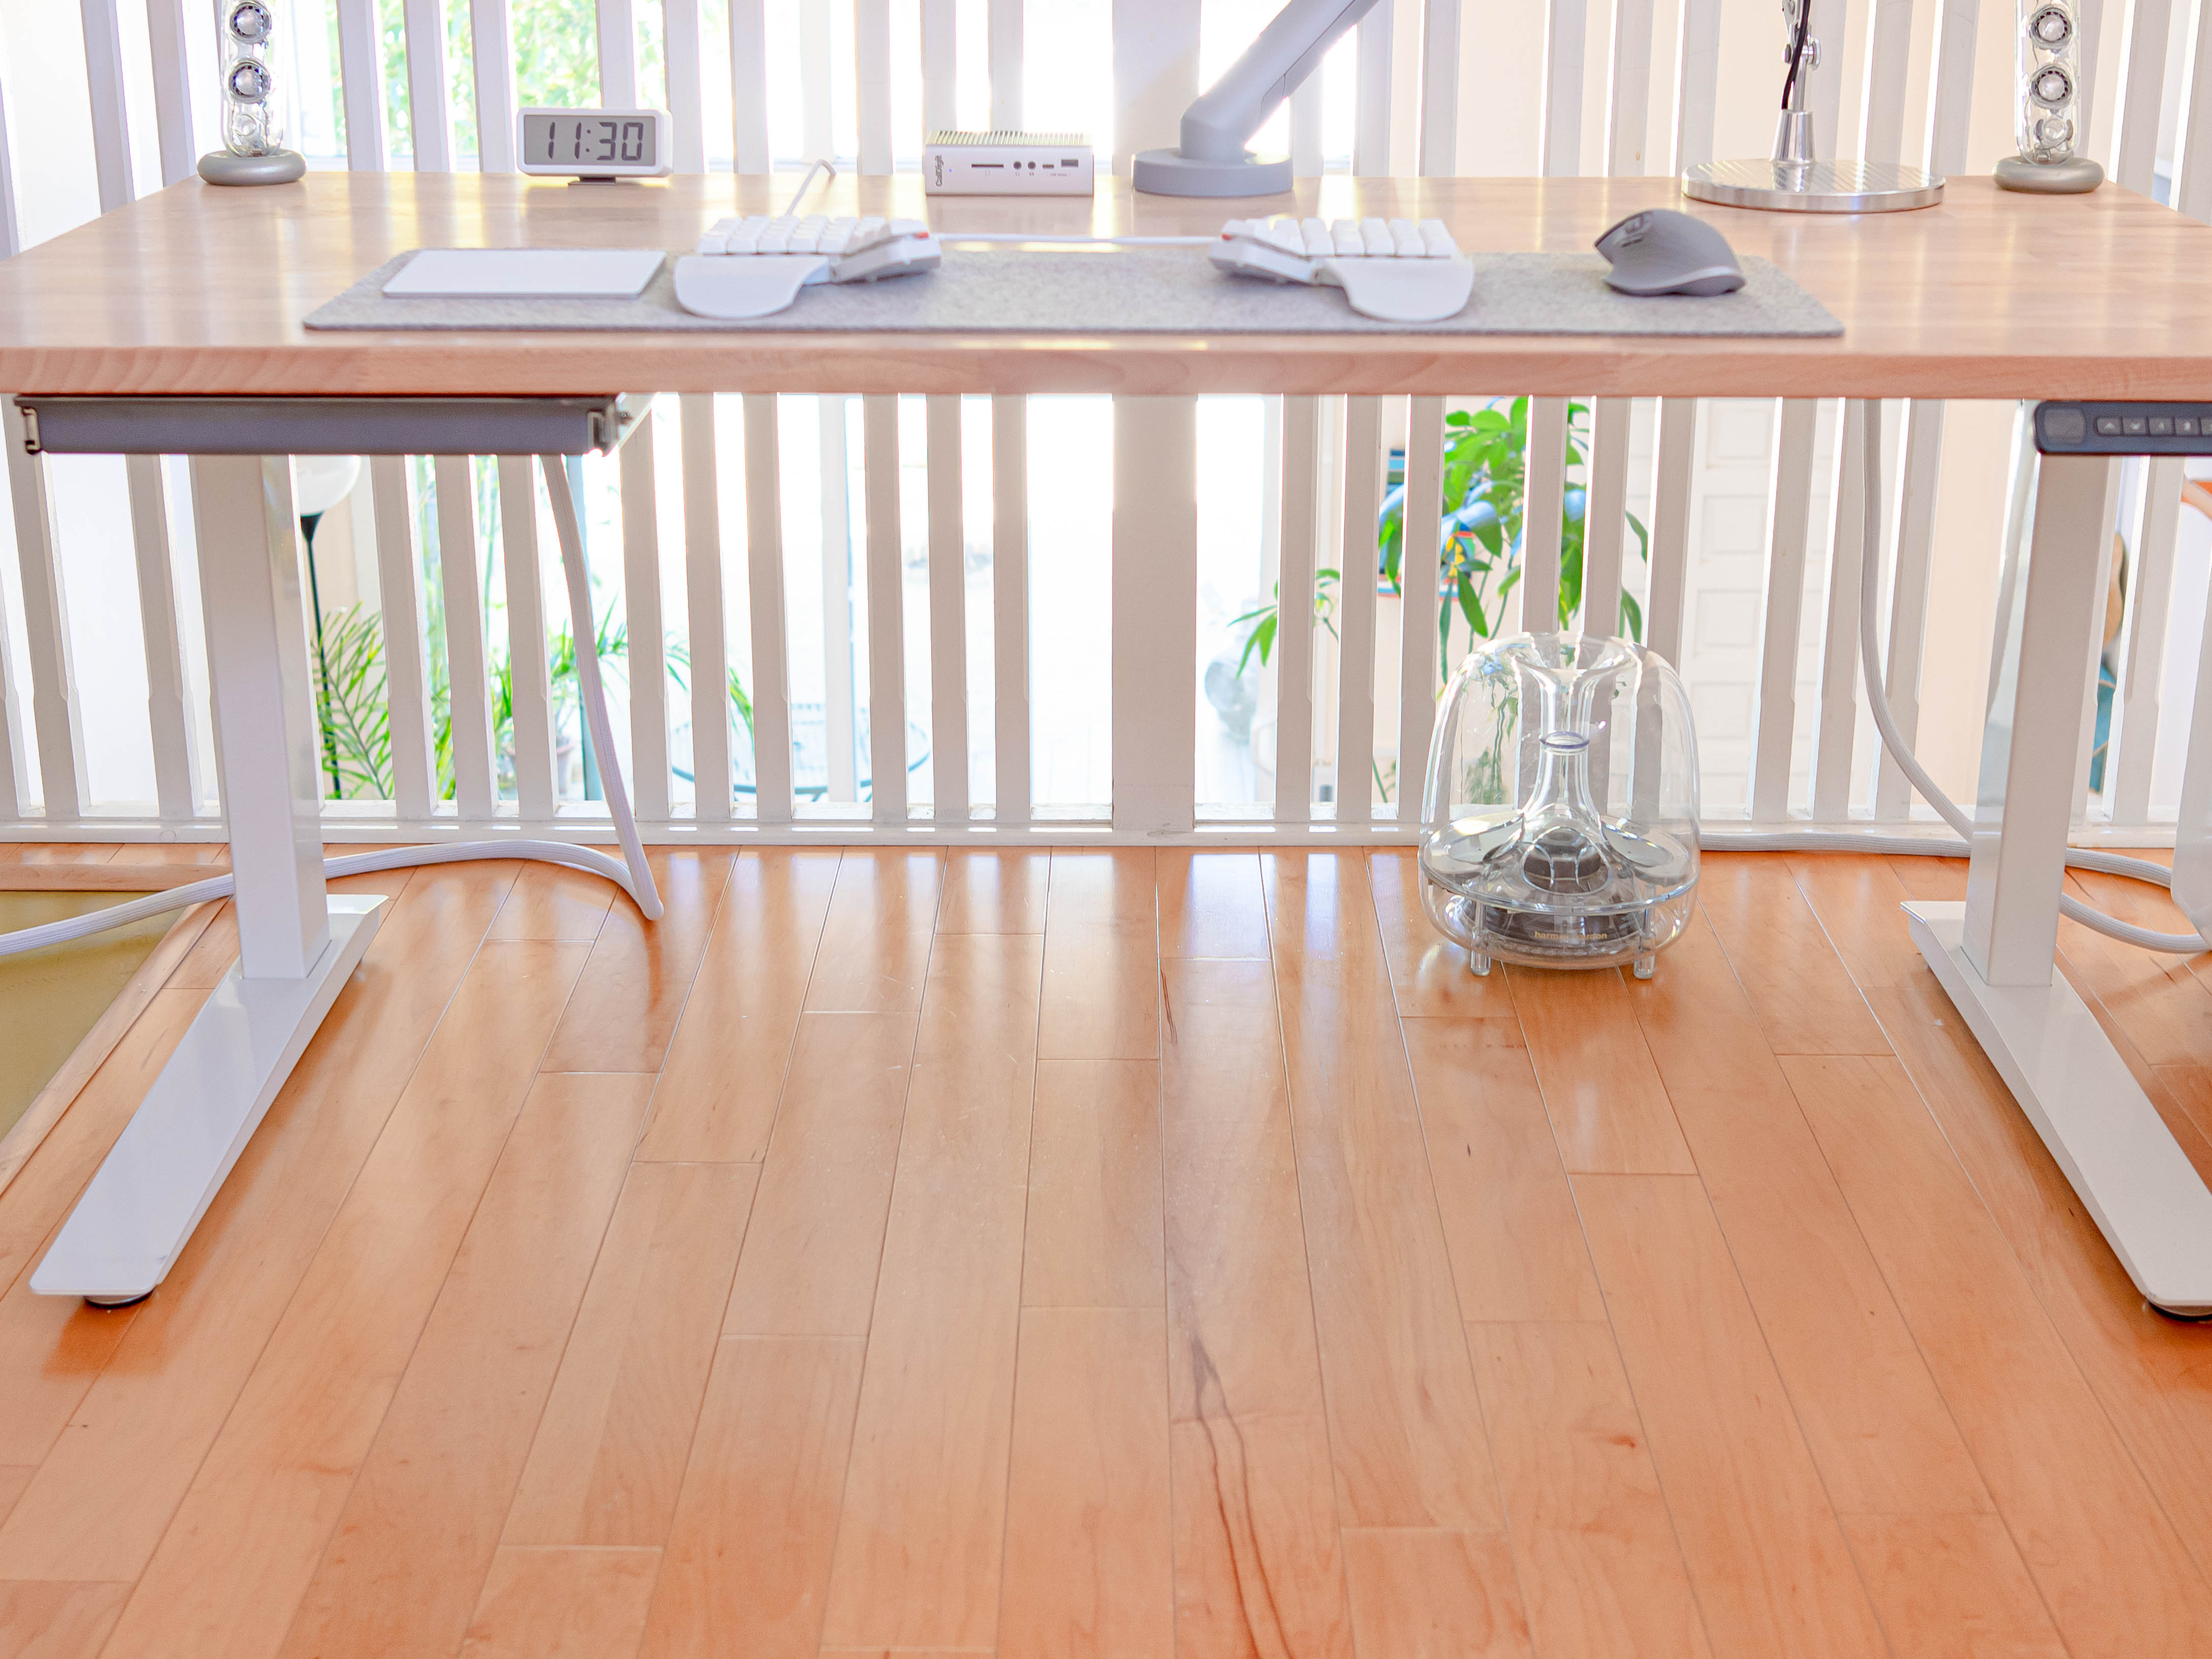
 My current desk setup
Full list
Before we dive into the details, here is a complete listing of everything in my latest setup.
Table & accessories
- Tabletop: IKEA Gerton
- Table legs: Fully Jarvis
- Lamp: Artemide Tolomeo Mini
- Power strip: BESTTEN 12-Outlet Metal Power Strip
- Chair: Herman Miller Embody
- Clock: Muji Digital Clock, Medium
- Desk mat: custom 3mm felt mat
- Cabinet: Poppin White Mobile Mini Stow
Computer & peripherals
- Computer: 2020 Apple MacBook Air (M1)
- Dock: CalDigit TS3 Plus
- Thunderbolt cable: Cable Matters Active Thunderbolt 4
- Monitor: AOC C4008VU8
- Monitor arm: CBS Flo Plus
- Webcam: Logitech Streamcam
- Mouse: MX Master 3
- Trackpad: Magic Trackpad 2
Keyboard
- Board: ZSA Moonlander
- Switches: Kailh Box White
- Keycaps: NP PBT Blank Keycaps
- Cables: Mechcables
Audio
- In-ear headphones: Apple AirPods Pro
- Over-ear headphones: Apple AirPods Max
- Speakers: Harman Kardon SoundSticks I
Cable management
- Computer drawer: Iceberg ICE95452
- Cloth cable sleeving: Alex Tech
- Wire wrap: XHF
- Cable clips: FOLAI
The central hub
While a lot has changed since last year, many things have remained, including my Thunderbolt hub.
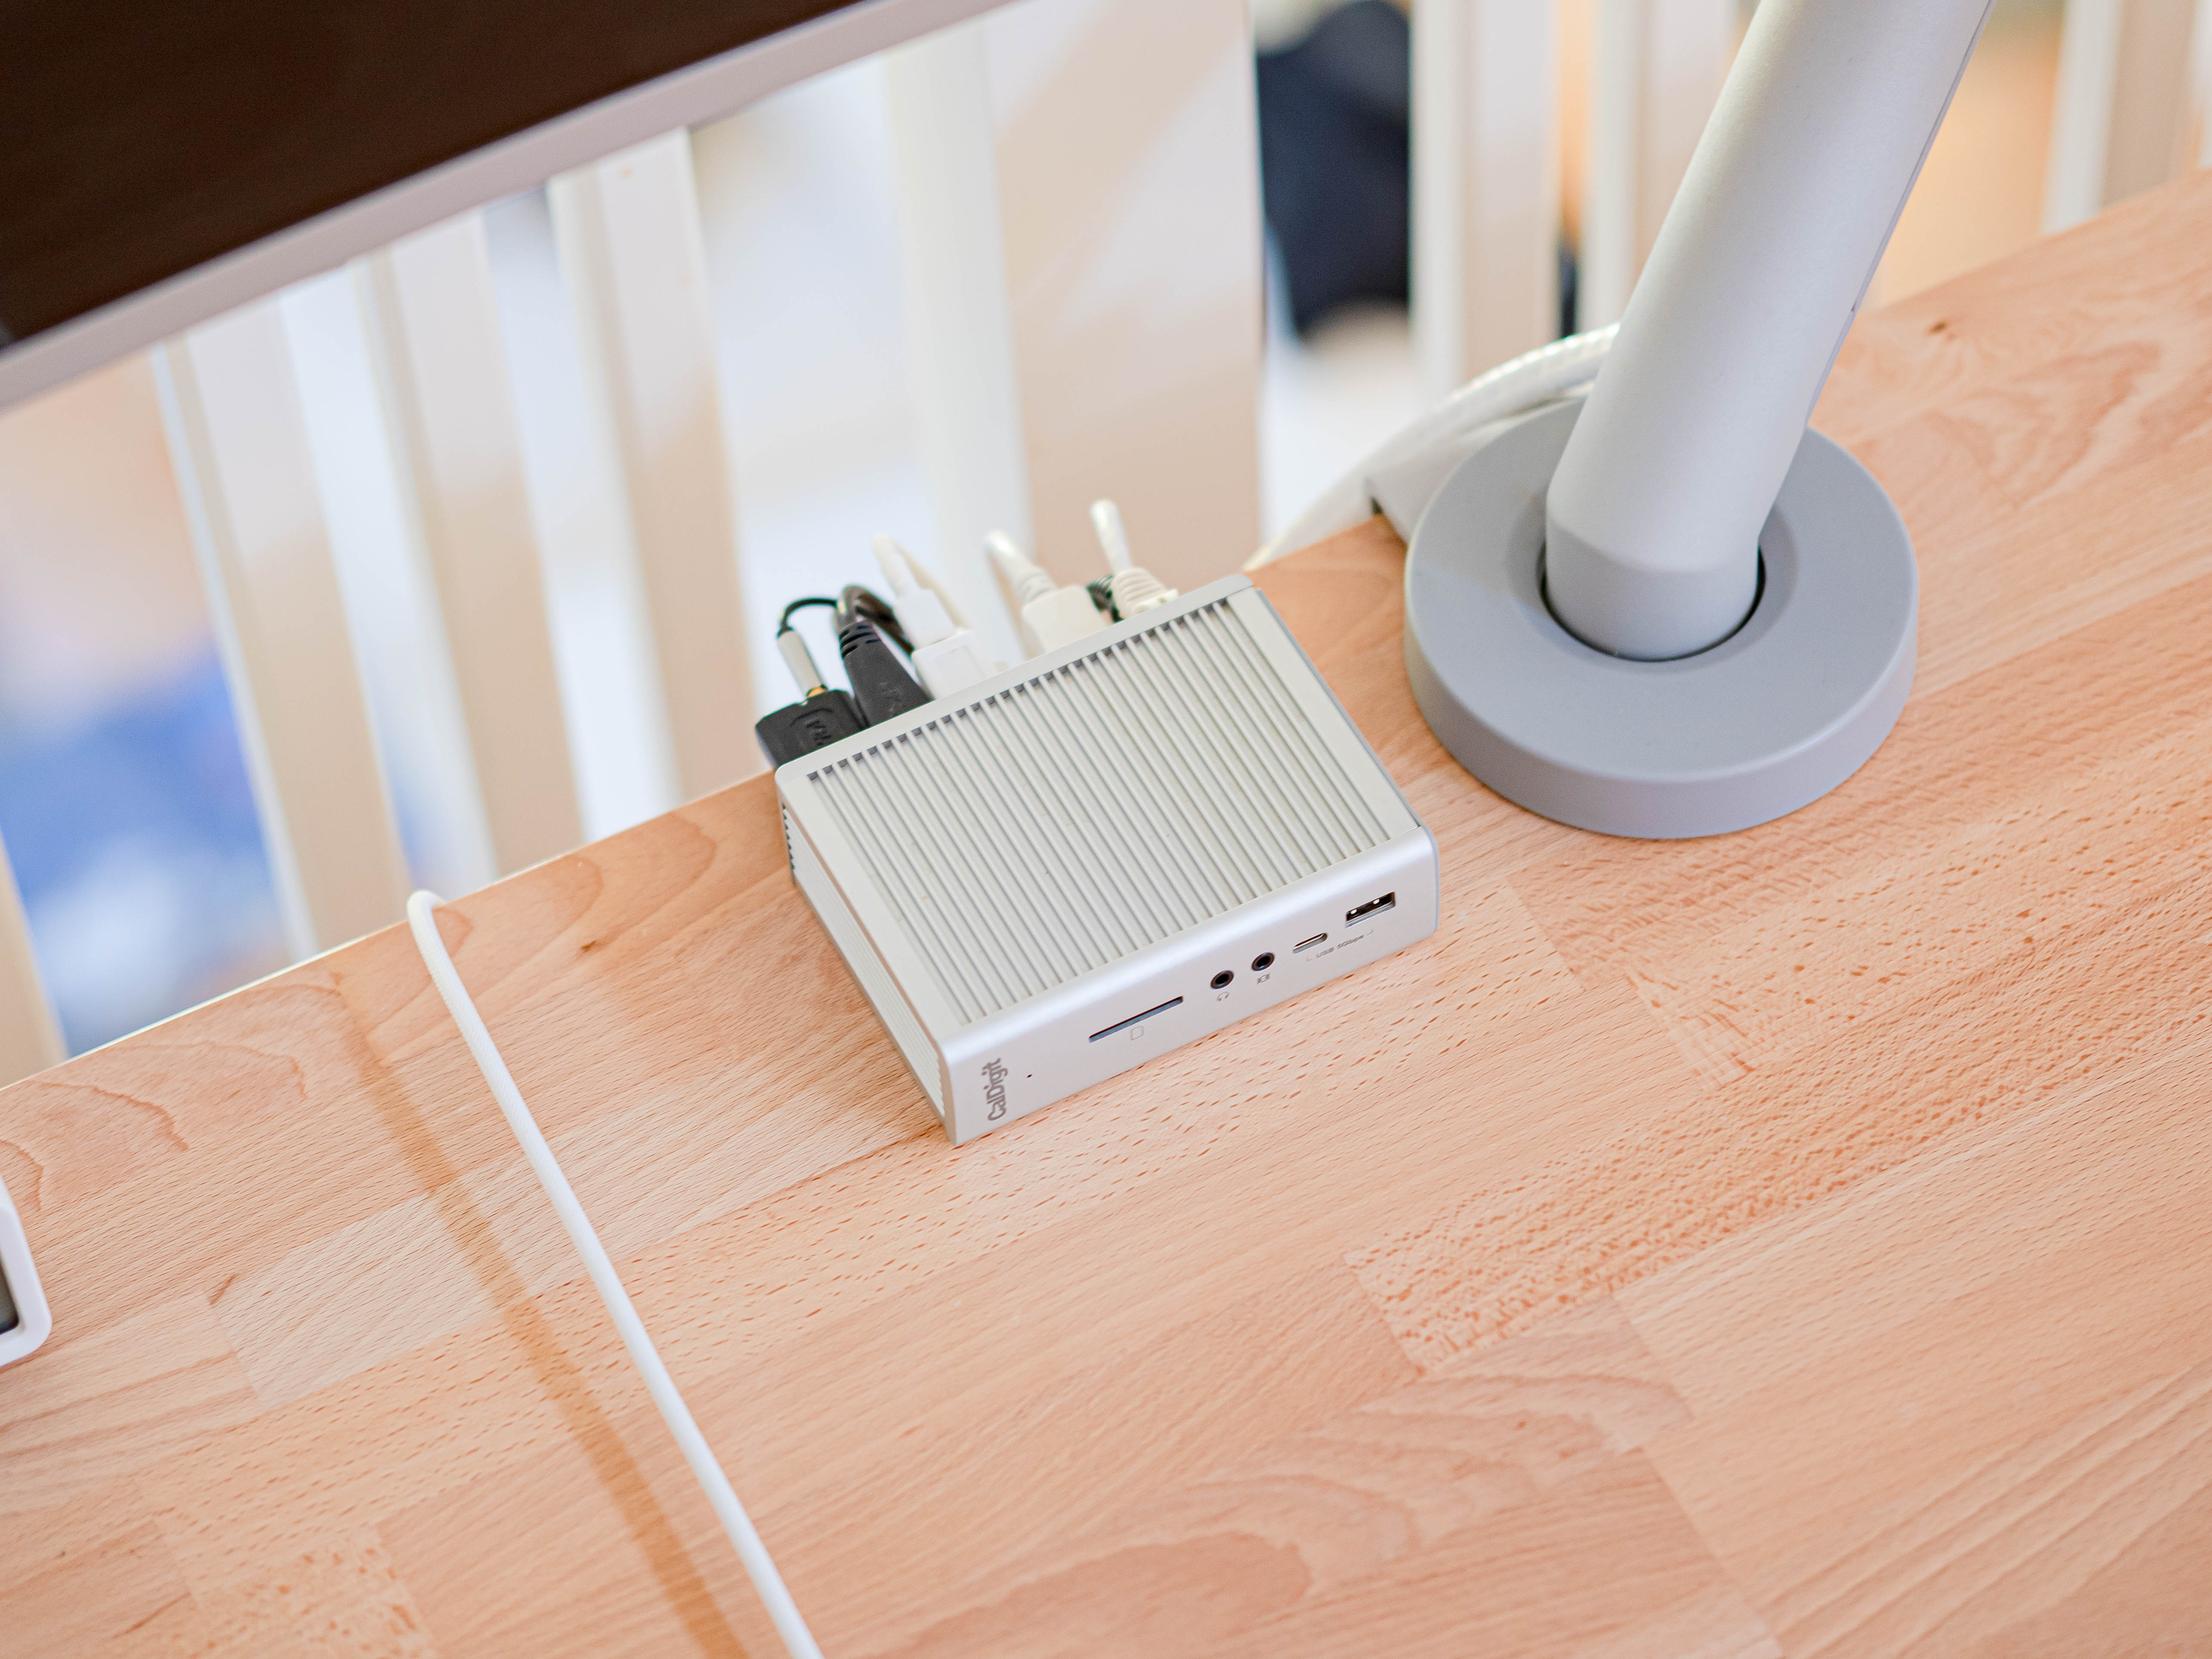
In 2016, Apple replaced all ports on their laptops with Thunderbolt 3 ports. Dismayed users then had to invest in numerous adapters and dongles. For using a MacBook on the go, this wasn’t good.
For desk setups, however, this was a boon. Thunderbolt’s high throughput means that just one cable can do the work done previously by three or four.
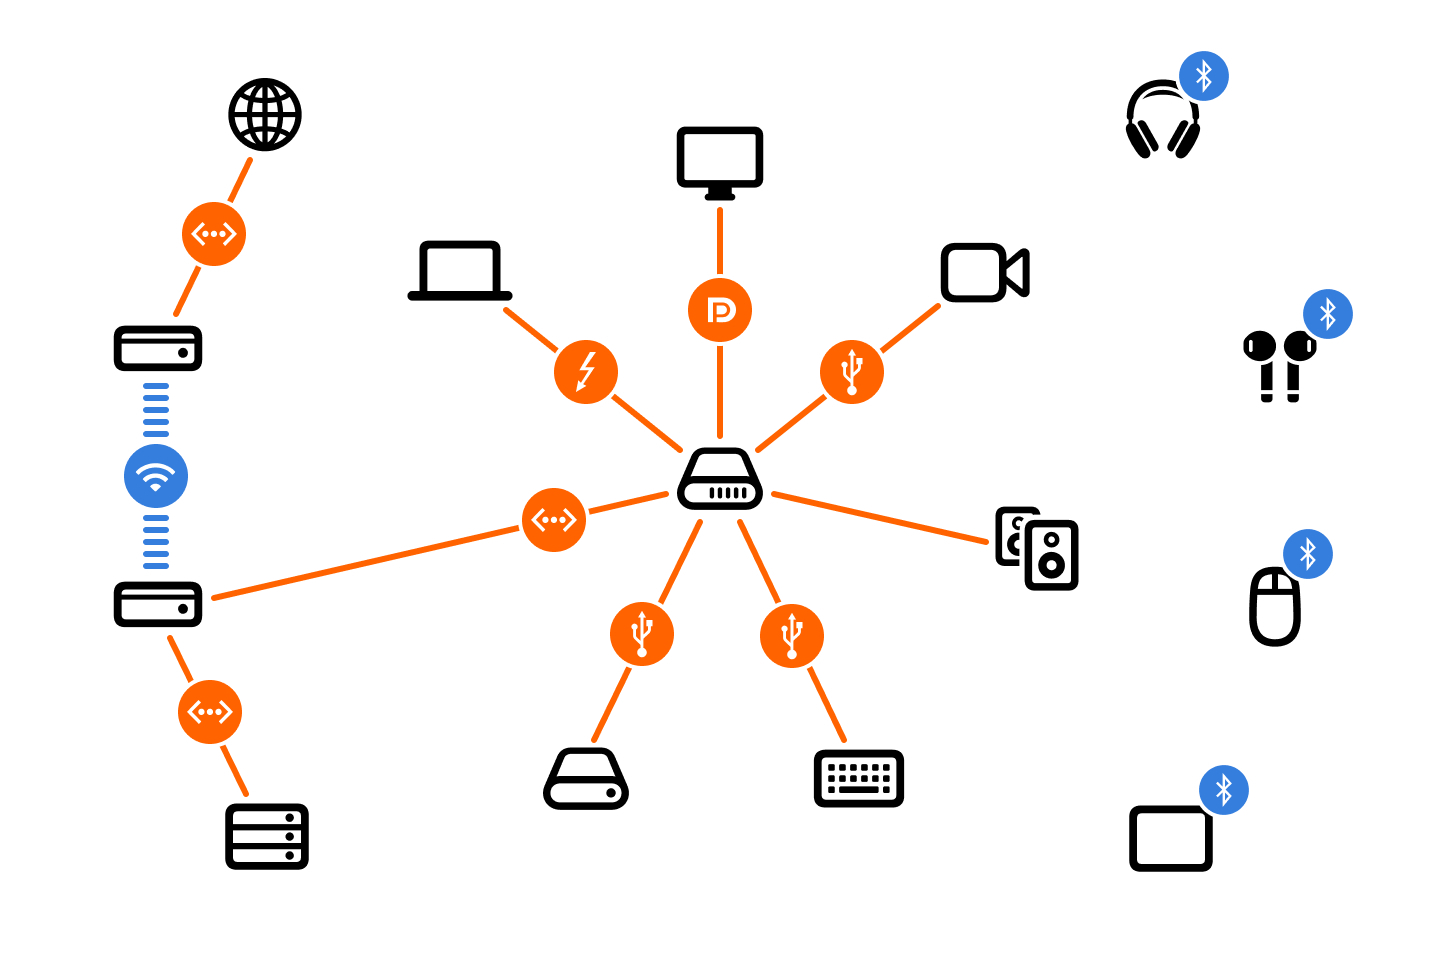
In my setup, a Thunderbolt cable runs from my CalDigit TS3 Plus hub to either my work or personal computer. The hub then connects to a wide range of peripherals, from an external drive for Time Machine to my monitor and webcam.
Over the last year, I’ve noticed a few notable entrants into the Thunderbolt dock space. Razer released what I think is the best-looking dock on the market. Unfortunately, by putting the Thunderbolt input at the front, they have made it a non-starter for me. CalDigit has also updated the TS3 with the TS4. For me, however, the benefits are slight.
So for the foreseeable future, I’ll continue with the TS3 Plus.
Small changes
Removing the arms from Herman Miller Embody
I’ve continued to use and love my Embody task chair. A few friends have picked up the chair for themselves as well.
After two years, only one flaw stands out — the arms.
Since the Embody’s arms can’t be pushed back, they block me from getting closer to my desk
I pulled out my hex wrench set and removed the arms. (By the way, this isn’t recommended by Herman Miller. They sell a special armless version of the chair.)
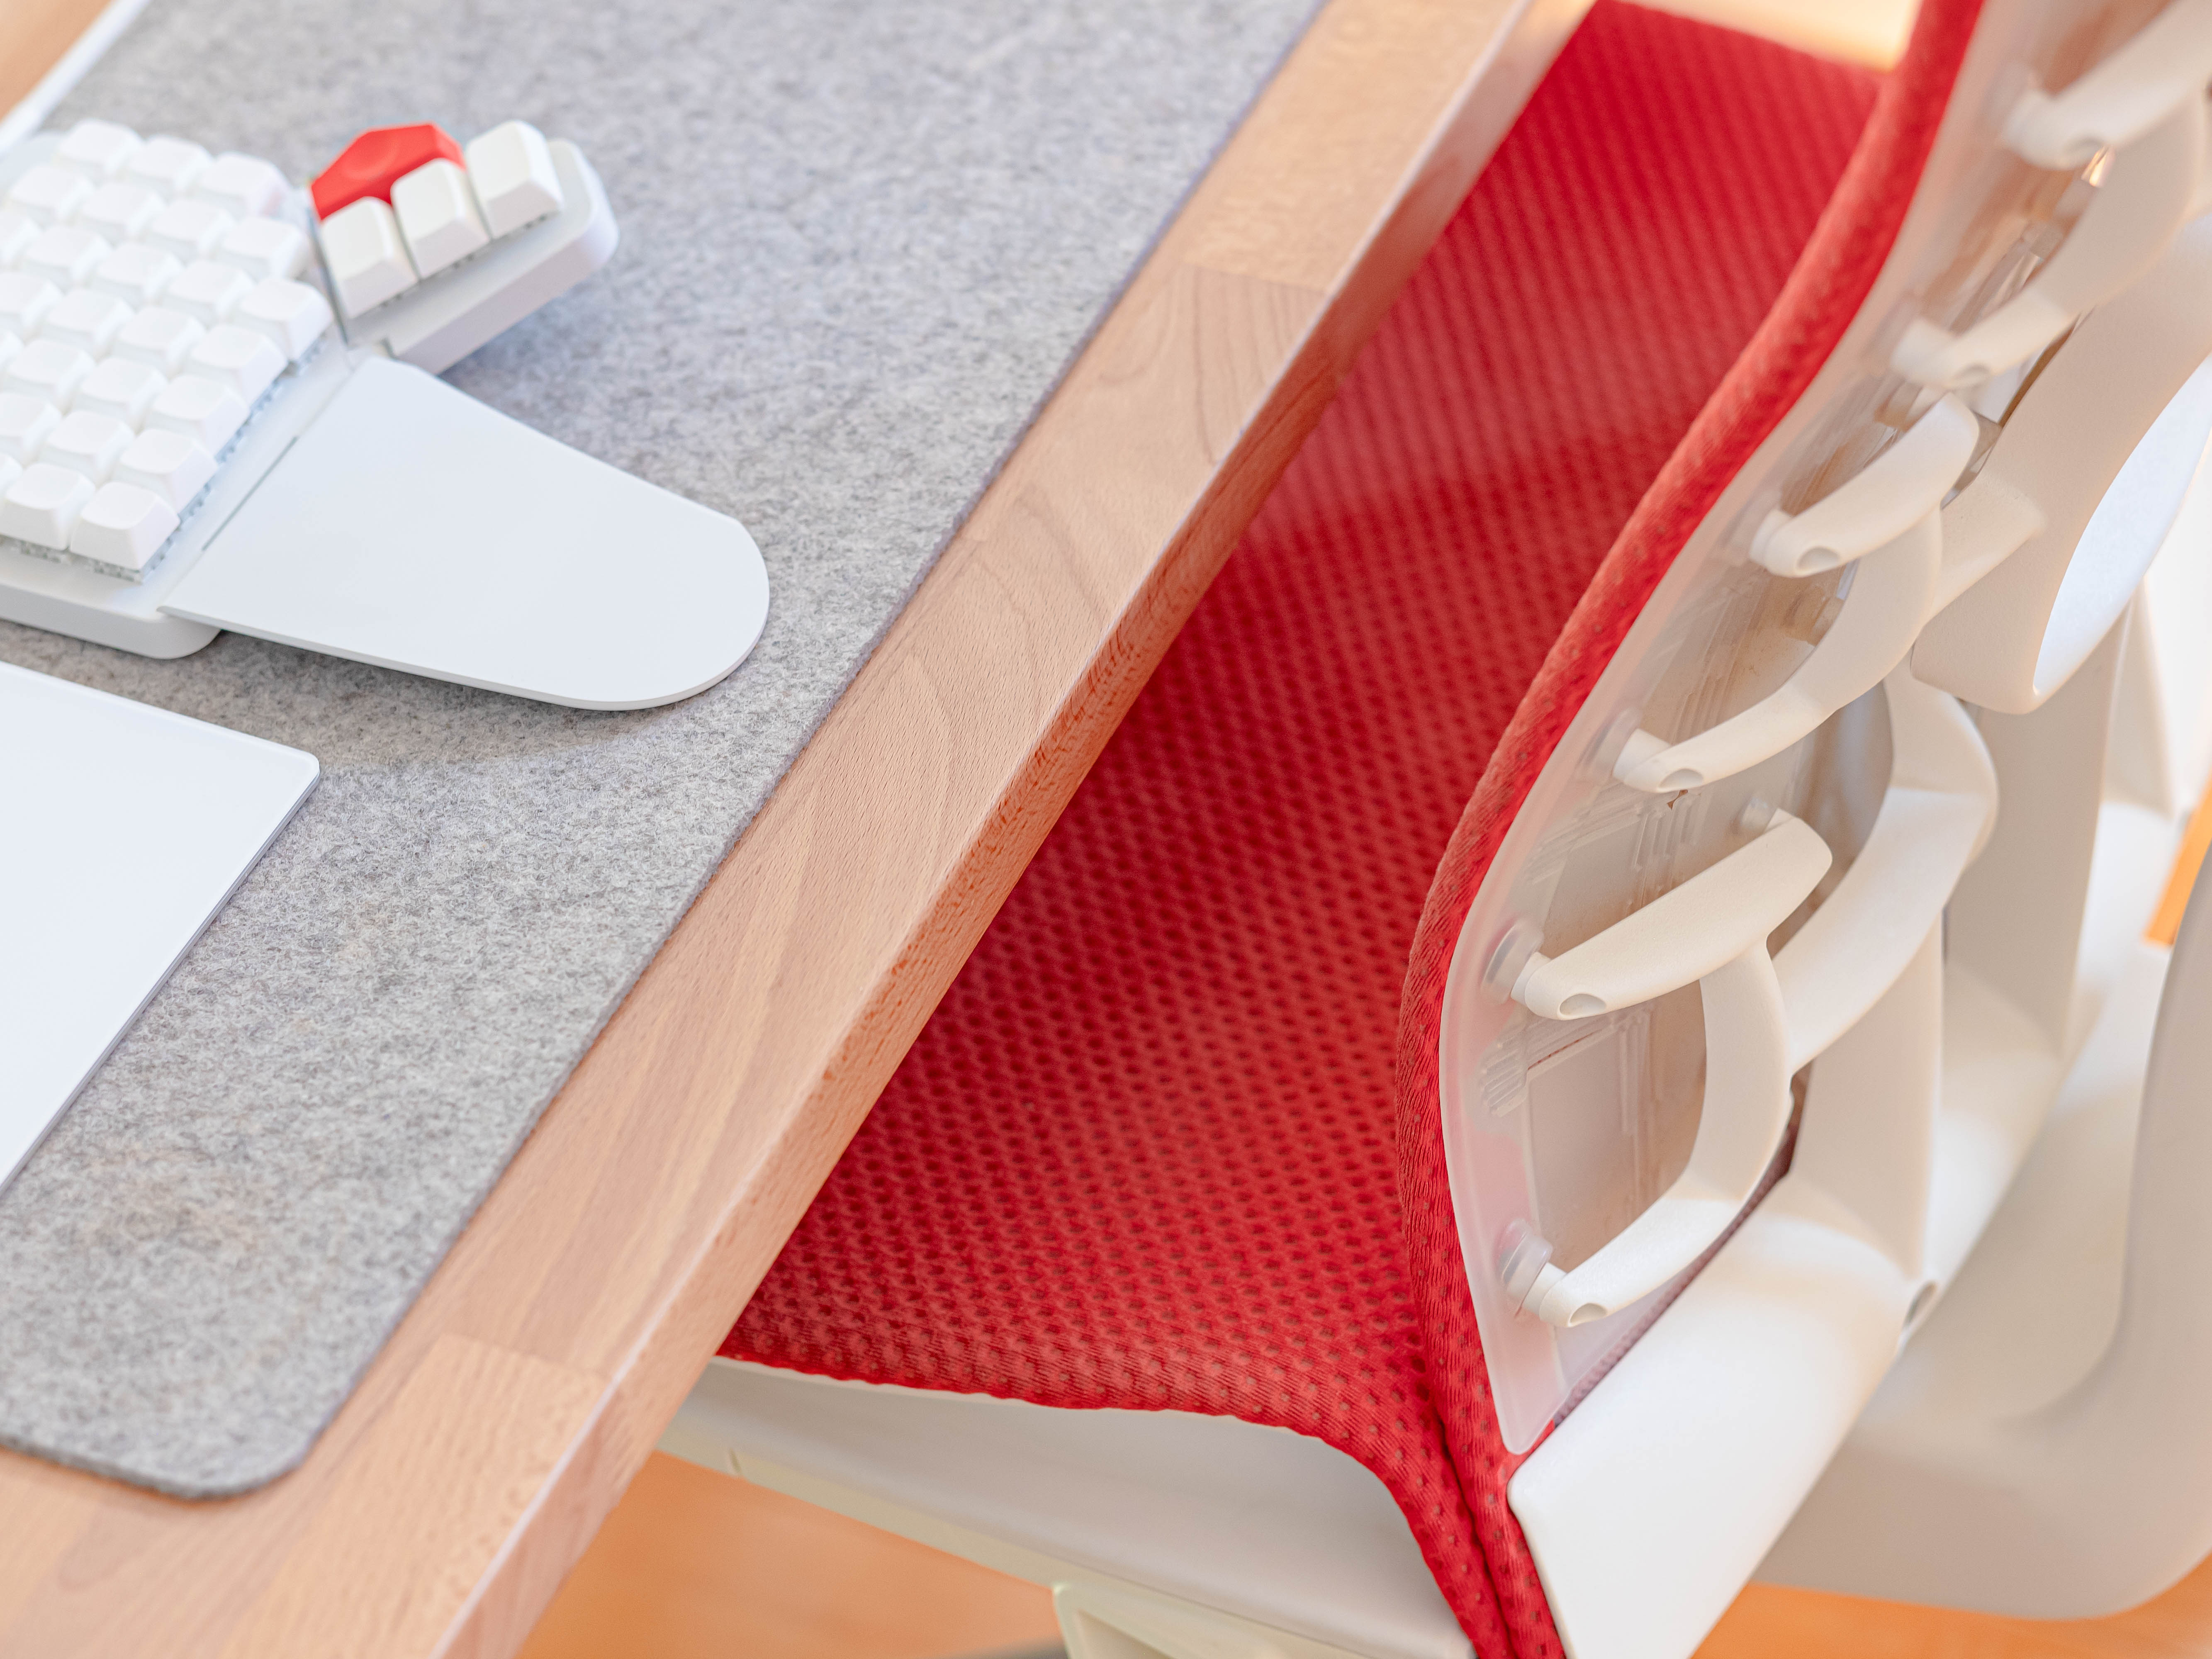
After a few days, I couldn’t look back. My sitting experience has never been better.
Wallpapers
While I occasionally use Hector Simpson’s wallpapers like Aqueux and Hej, I primarily use my Mac OS 9 inspired wallpaper.

Wired ethernet
When I first got into photography, I edited and posted my photographs soon after shooting. Now, however, I’m nearly a year behind.
While wondering why, it finally dawned on me that editing photos wasn’t fun anymore. I had improved, but the process felt like a chore.
At closer inspection, I noticed that Lightroom had become painfully slow. Each time I switched photos, I’d wait seconds for it to load.
I hypothesized that the connection between my computer and my 9TB NAS could be the culprit. Speed tests showed abysmal numbers. Earlier, it was connected to my Mac through gigabit ethernet. After moving to my current home, I connected it directly to my central Eero Pro access point, while my Mac connected through Wi-Fi.
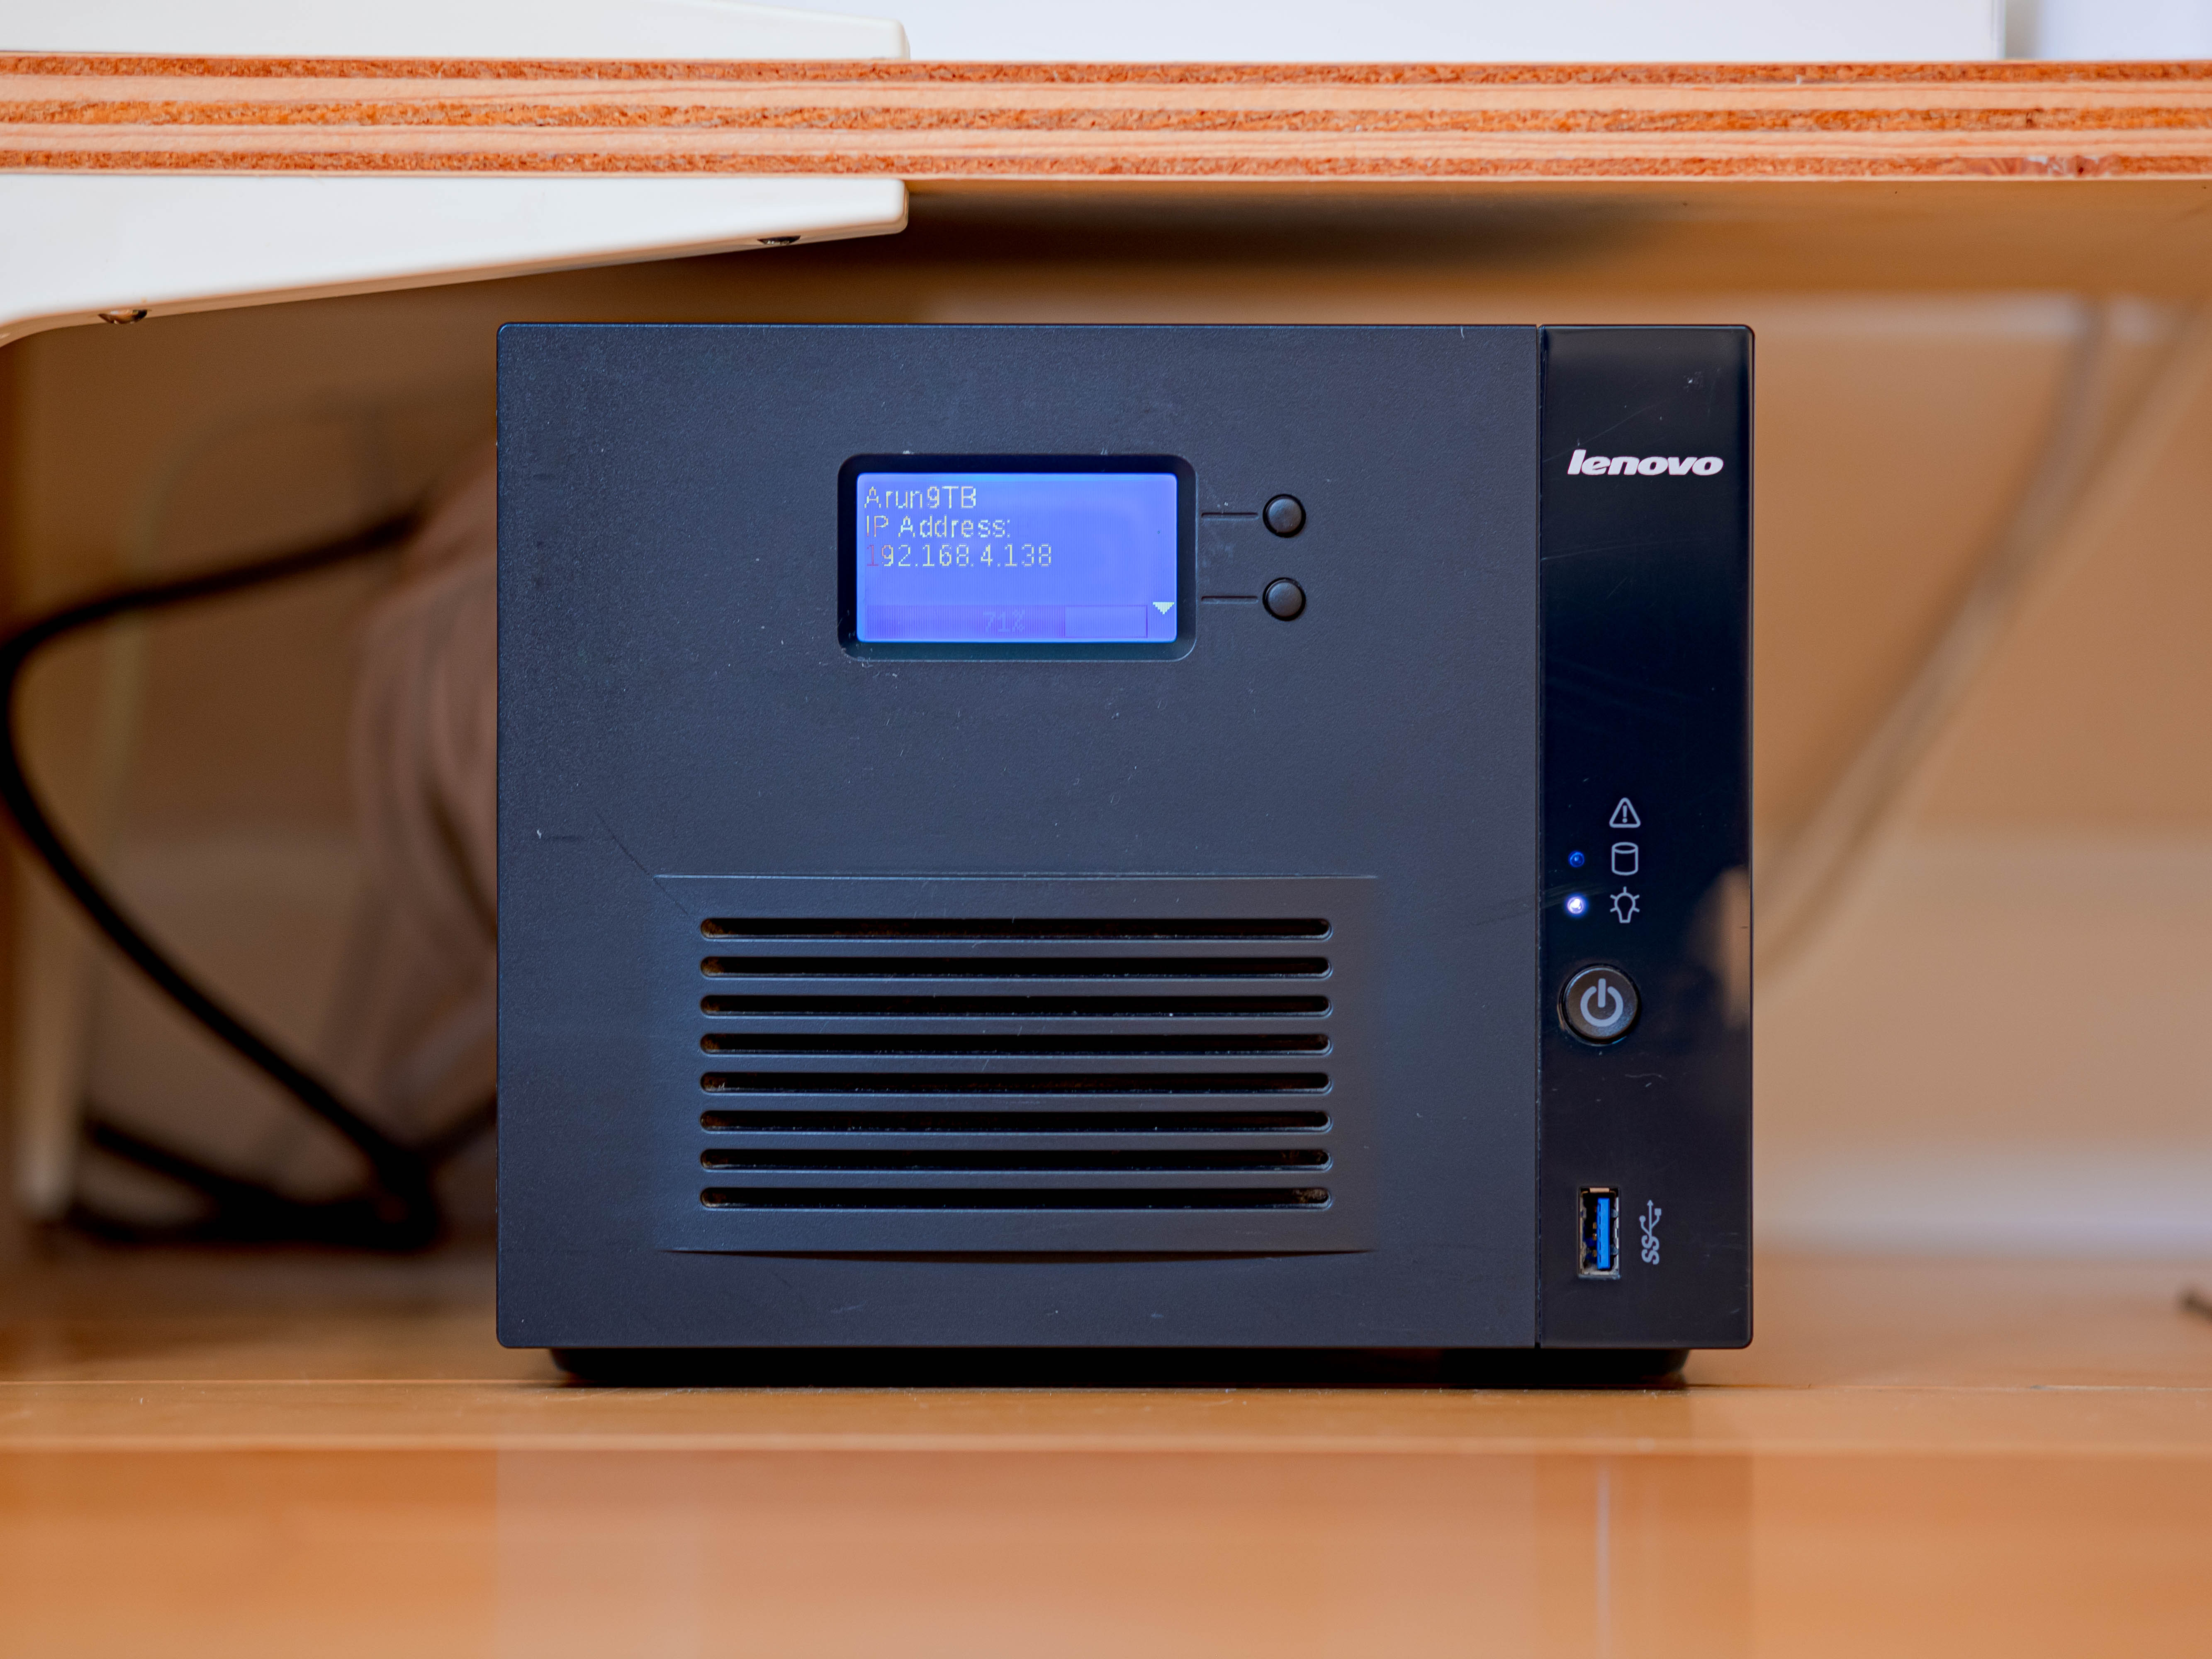
Since my studio is too far from NAS to connect via wire, I got creative. I picked up another Eero Pro on the used market and set it up like a beacon in my studio. I connected one ethernet port to the NAS that I moved to my studio, while I connected the other port to my CalDigit hub. Therefore, the NAS and Mac would have a direct-wired connection while maintaining internet access.
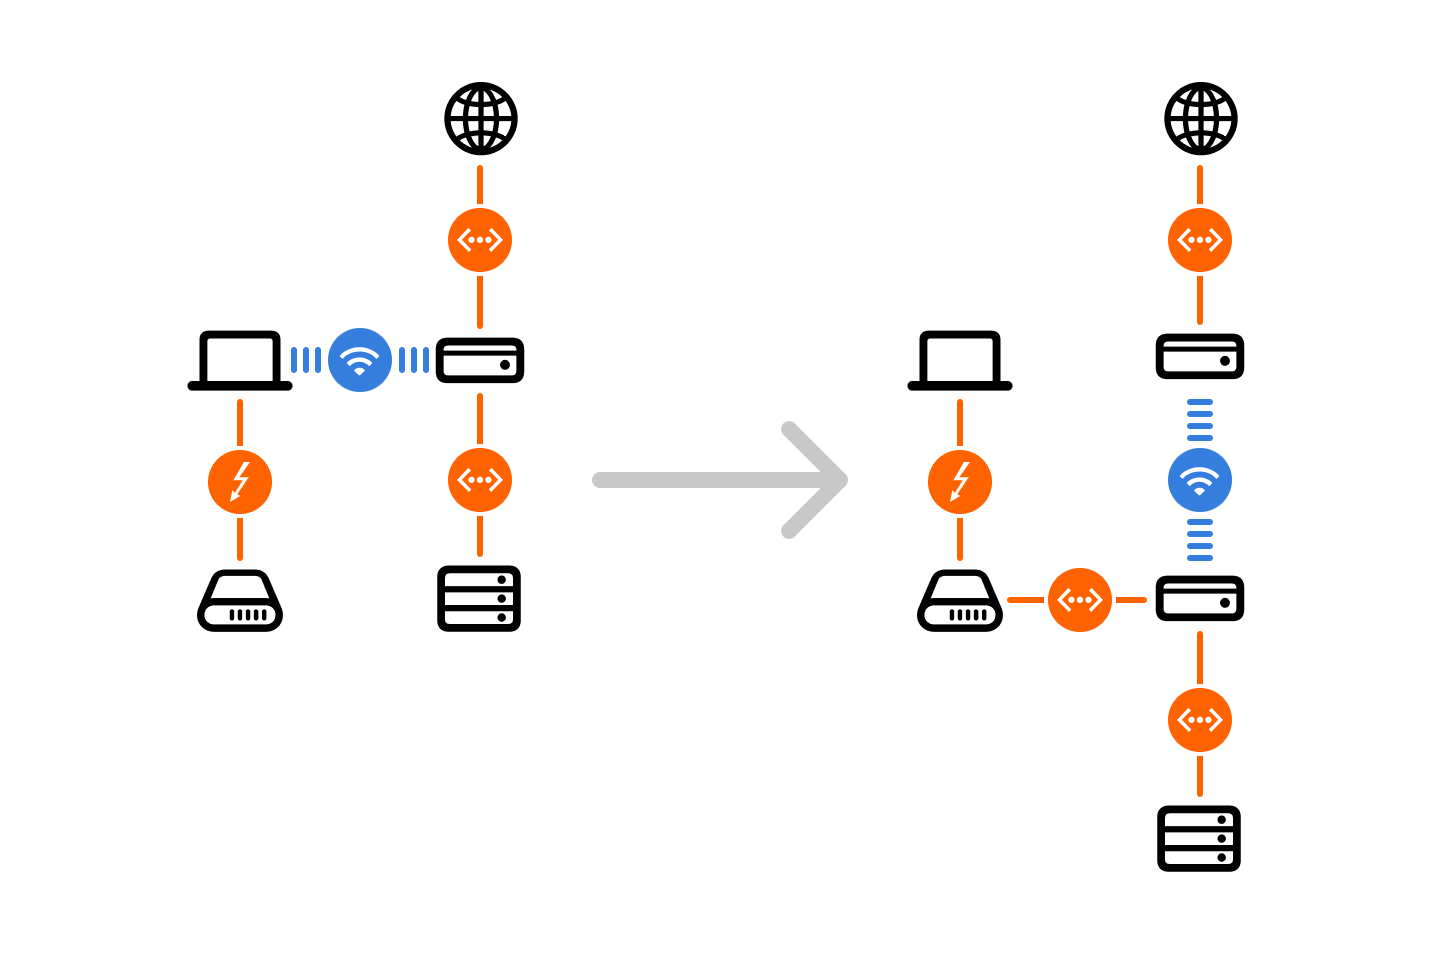
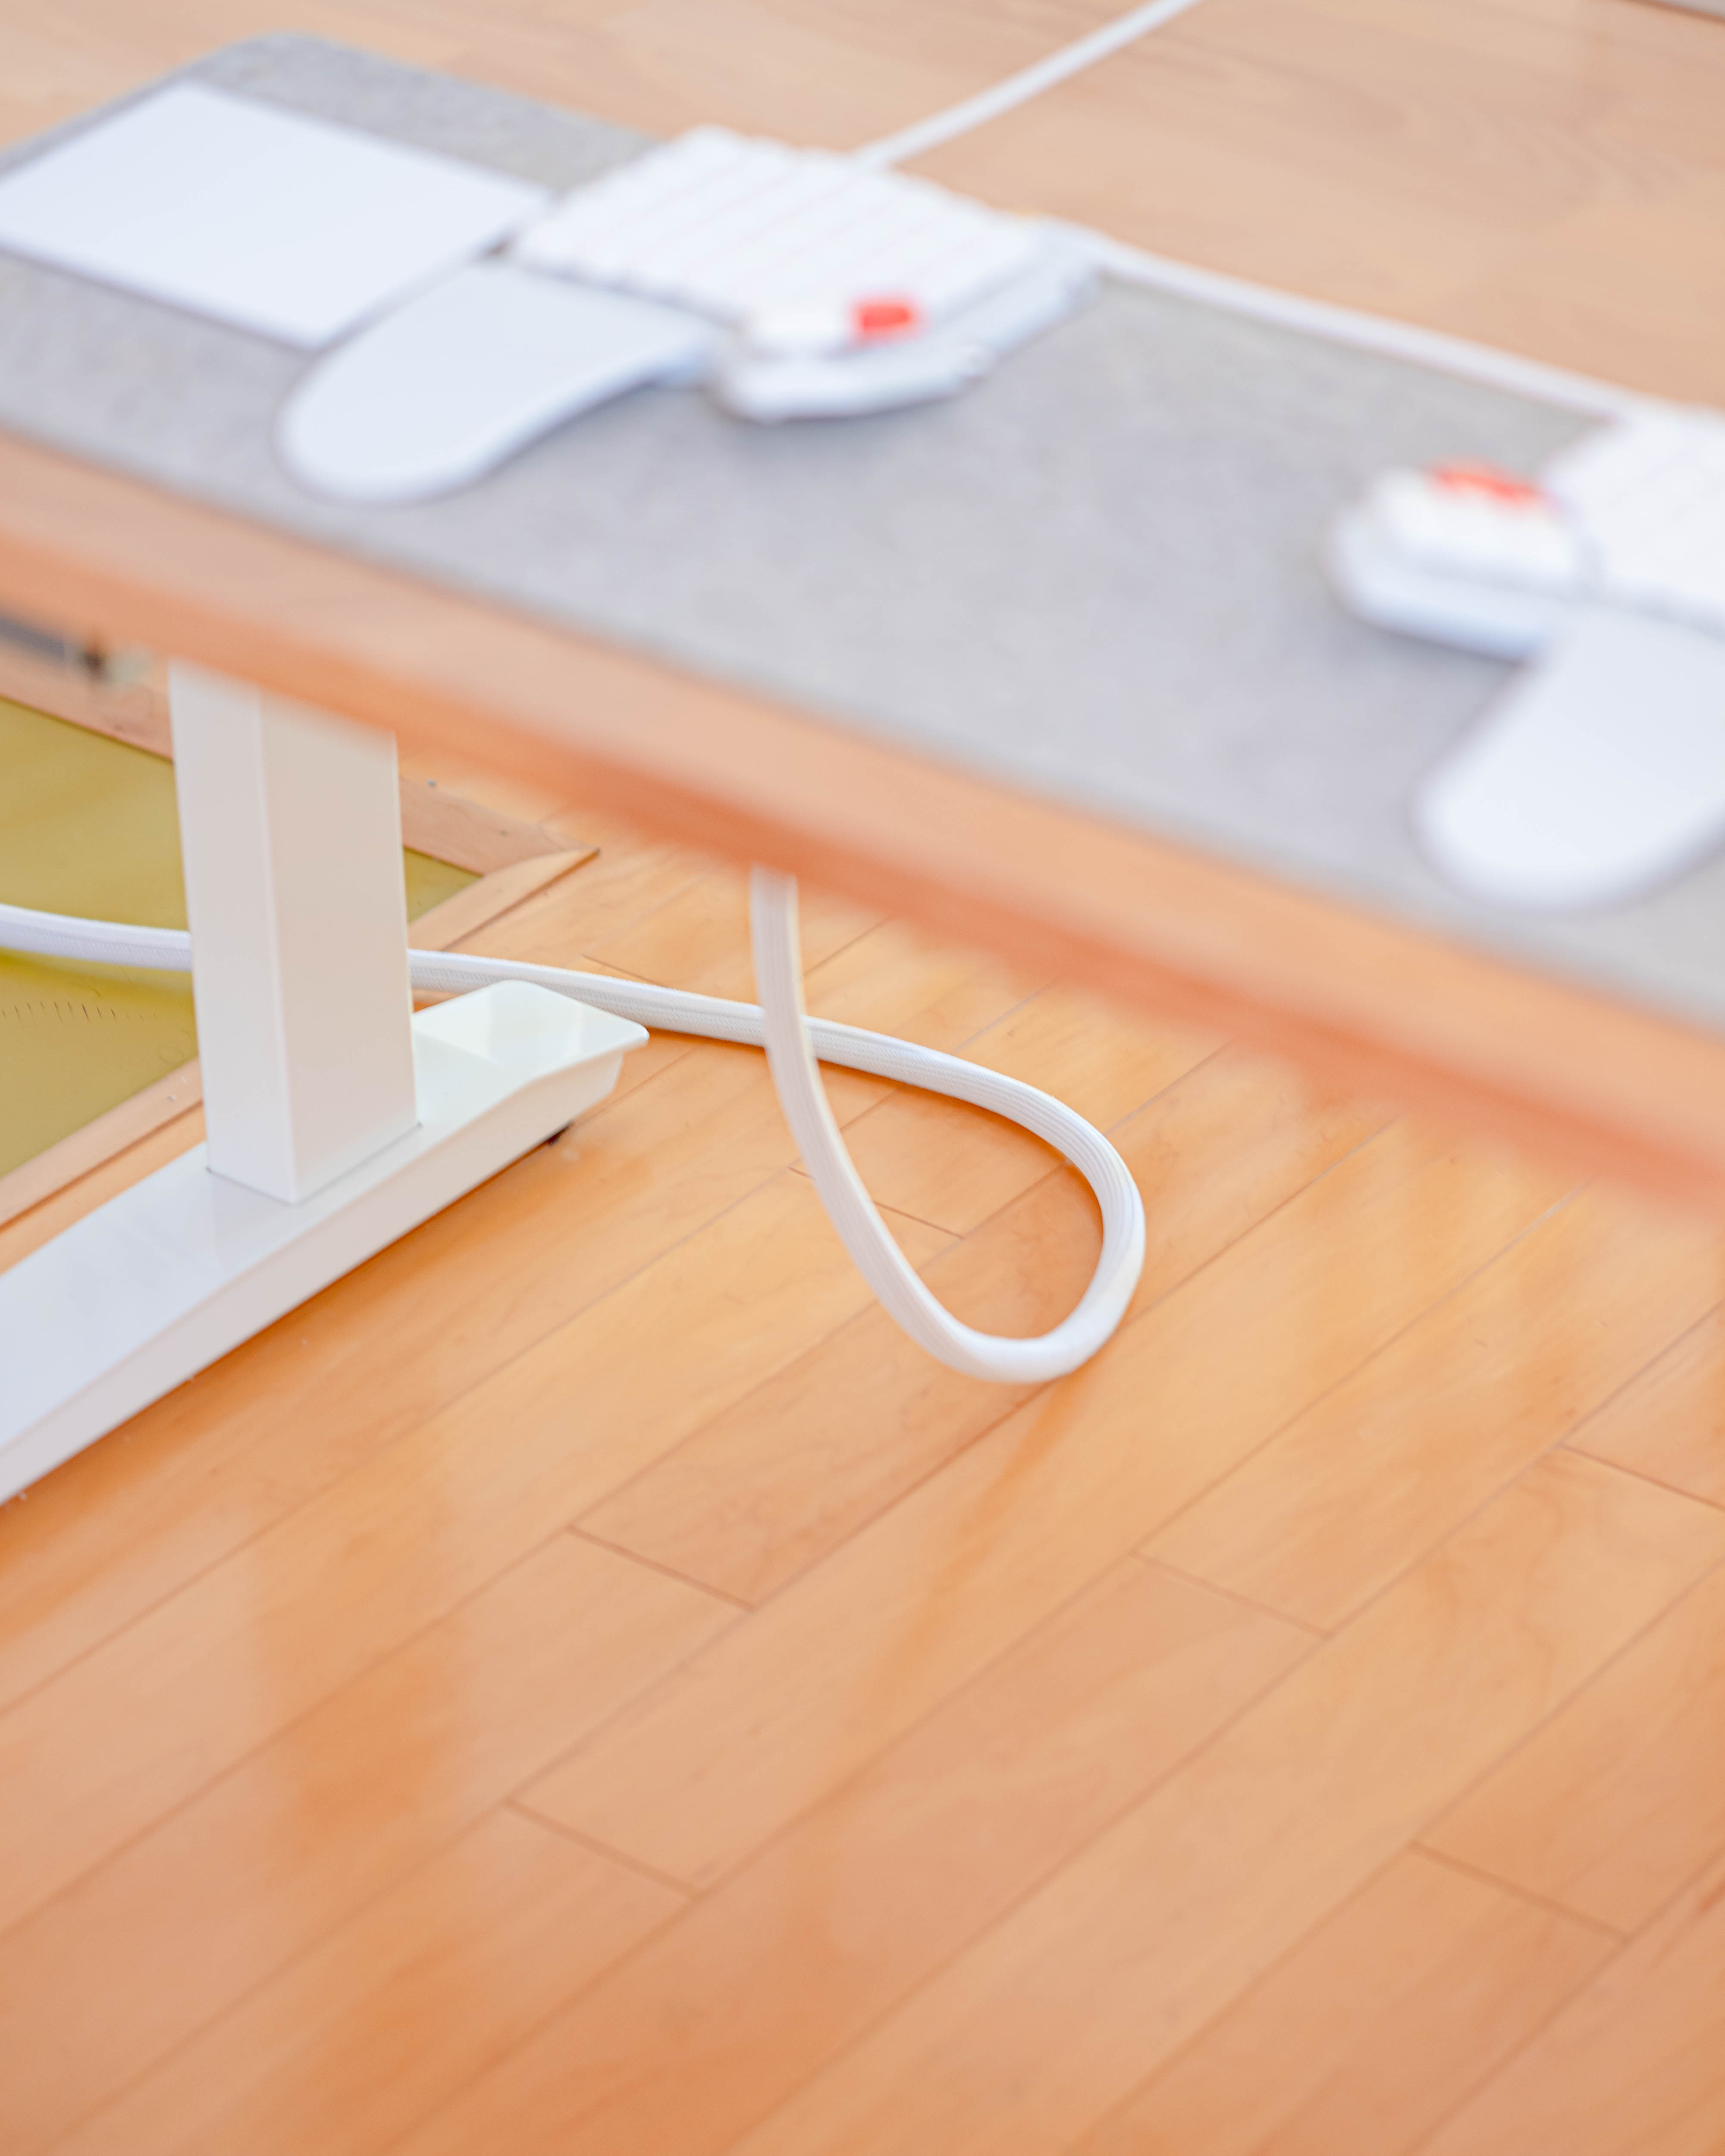
I then wrapped the power strip’s cord and the ethernet cable together, maintaining the appearance of only one wire leaving my desk from that side.
Crossing my fingers, I ran another speed test. The read and write speeds to the NAS were now more than five times better. The problem was fixed! Now, processing photos is a pleasure again.
Audio
Harman Kardon Sound Sticks
The item most noticeably absent from my previous setup is sound. I was using AirPods Pro and wired headphones. That solution was perfect since my studio isn’t insulated from the living room below, where my child and other family members would play and talk.
With my child in daycare, the house is empty and quiet during working hours. I used the built-in speakers on the MacBook when watching short videos or video calls. While the audio was decent, I knew I could do better with dedicated speakers.
I turned to a 2.1 speaker system — the Harman Kardon Sound Sticks. I could have picked up something new. However, in the spirit of my second principle, I turned to something I already had.
Initially, I bought them for $12.50 locally while building my smart speaker. I soon switched to the iPod HiFi, a much better fit for the space. Then, the Sound Sticks were relegated to the living room, where we occasionally connected them to our projector.
Sitting on my desk, they finally fulfill their intended purpose.
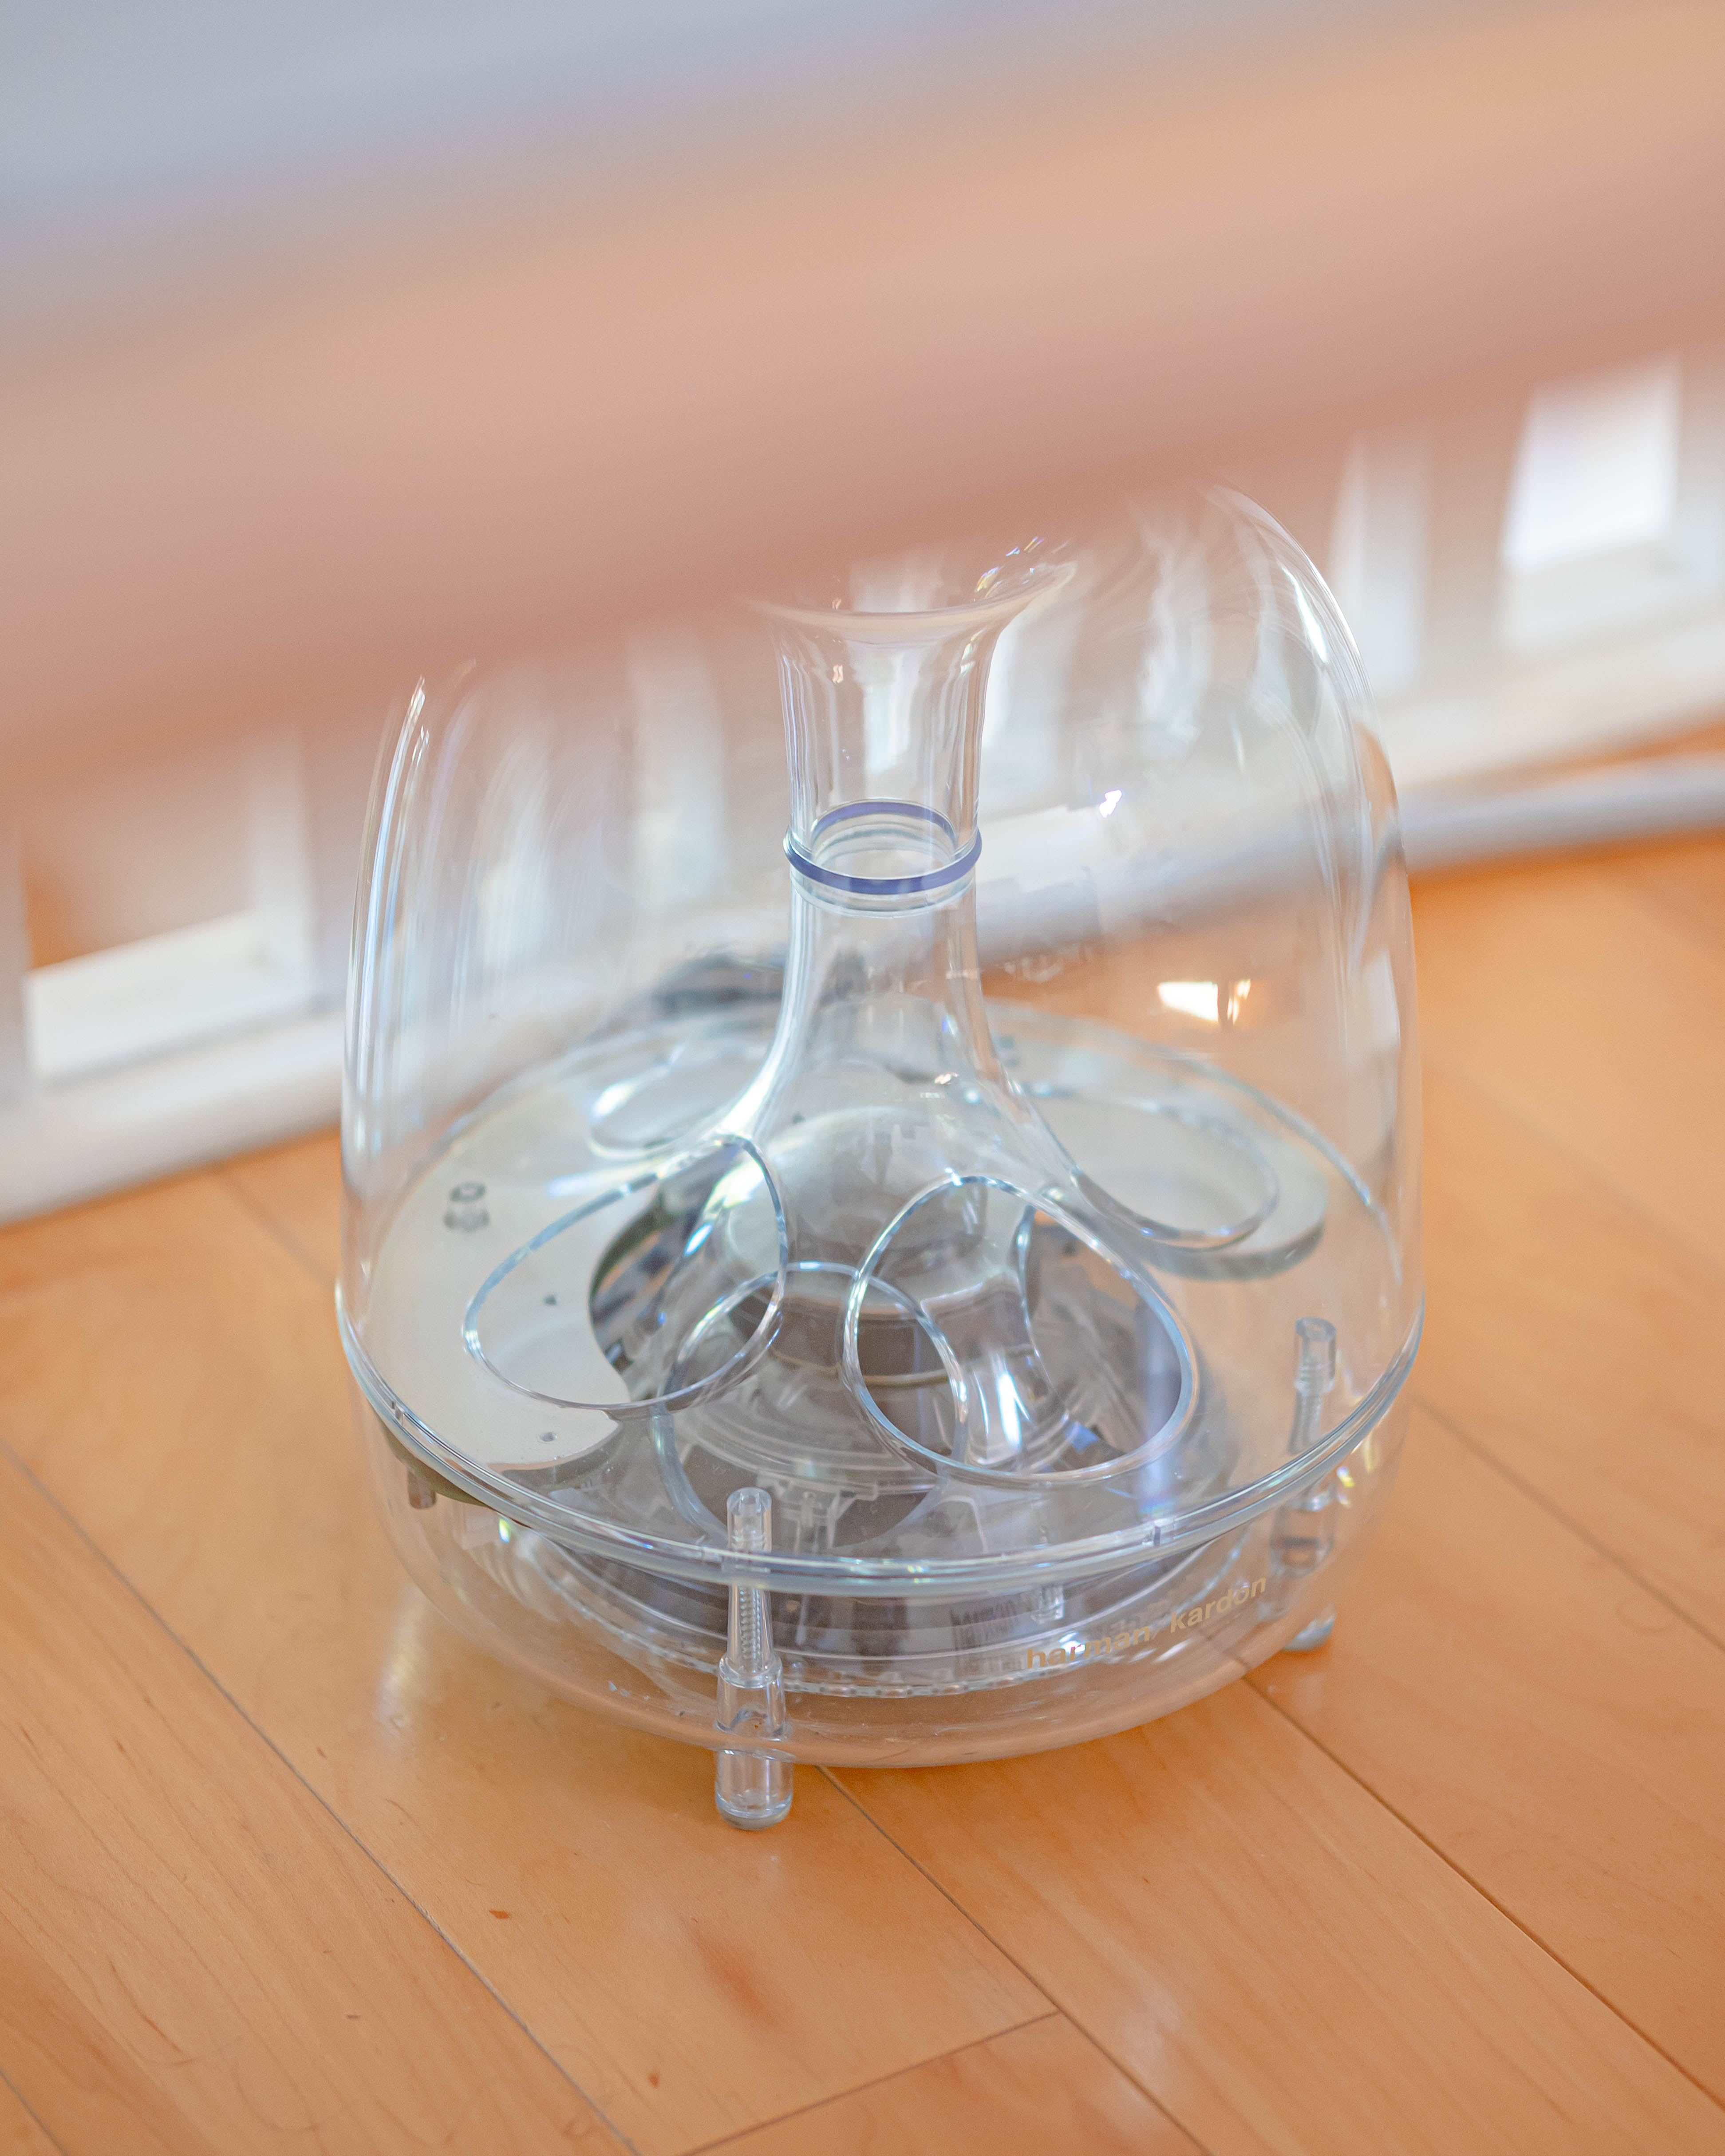
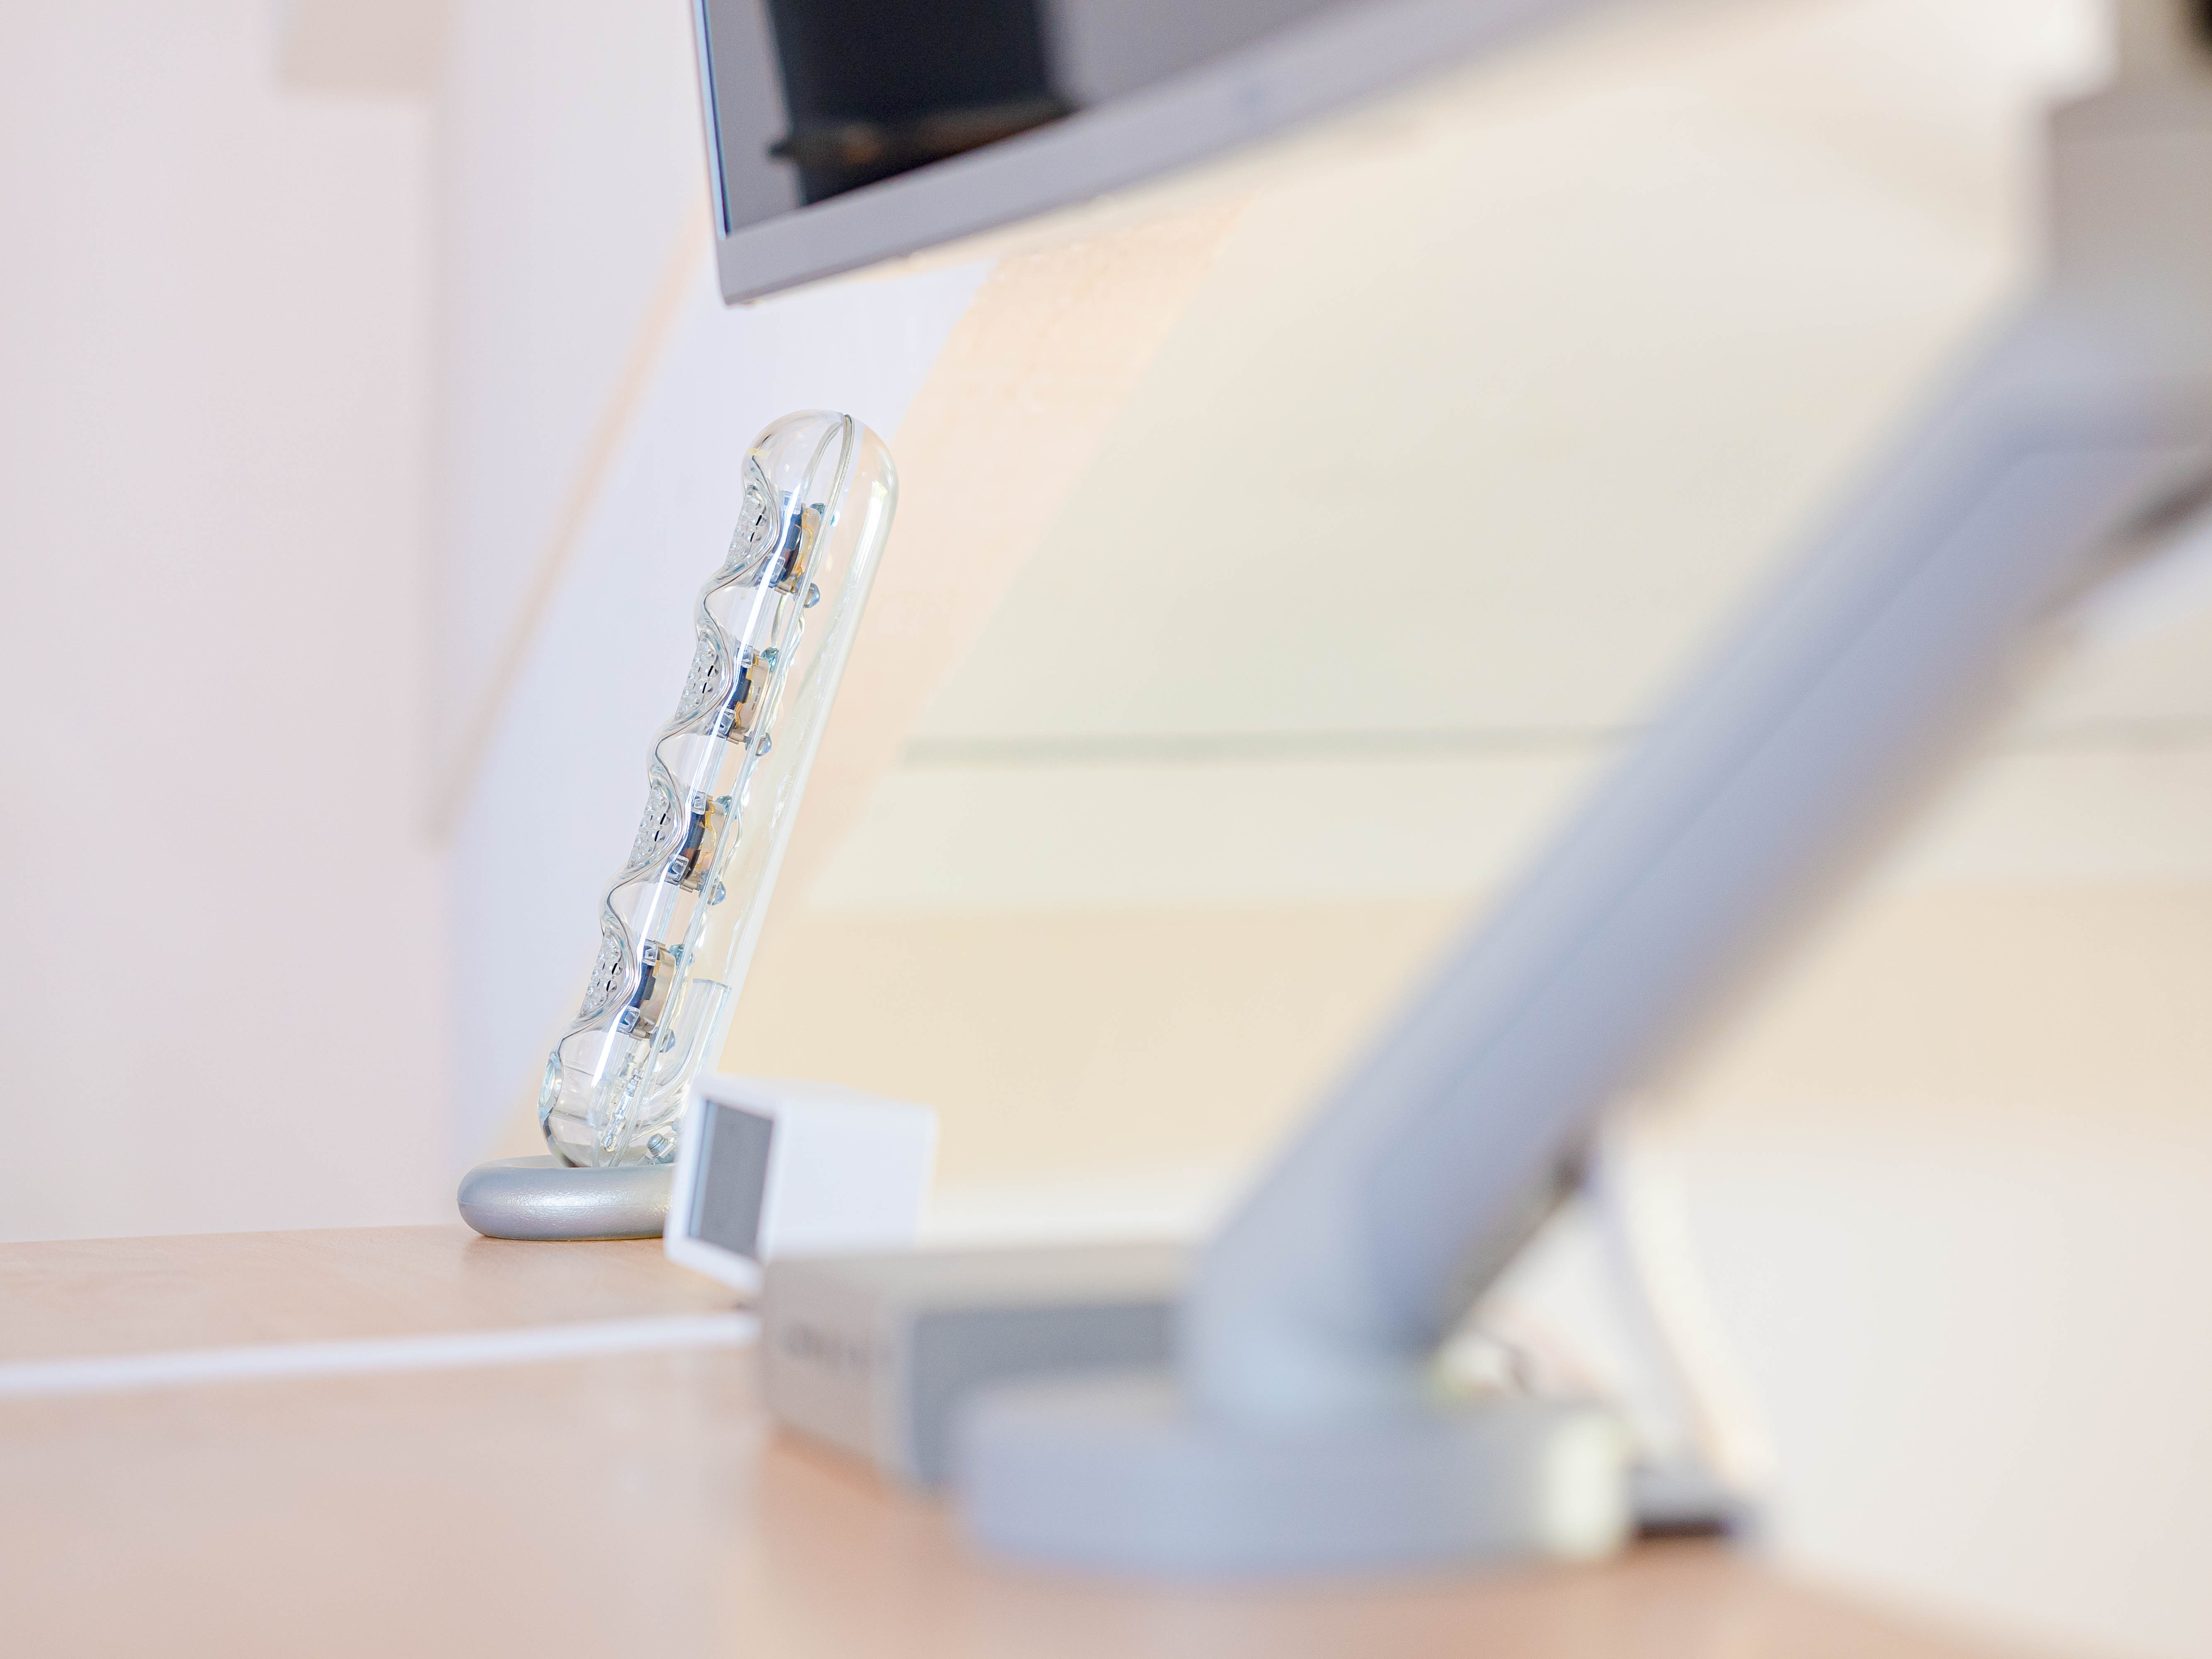
These speakers are special to me. I remember first seeing them at an Apple Store in the early 2000s and instantly wanting them.
The Sound Sticks line first started with the iSub, a standalone subwoofer meant to complement existing speakers for the Mac. Jony Ive and the Apple design team designed the speakers. Harman Kardon manufactured them.
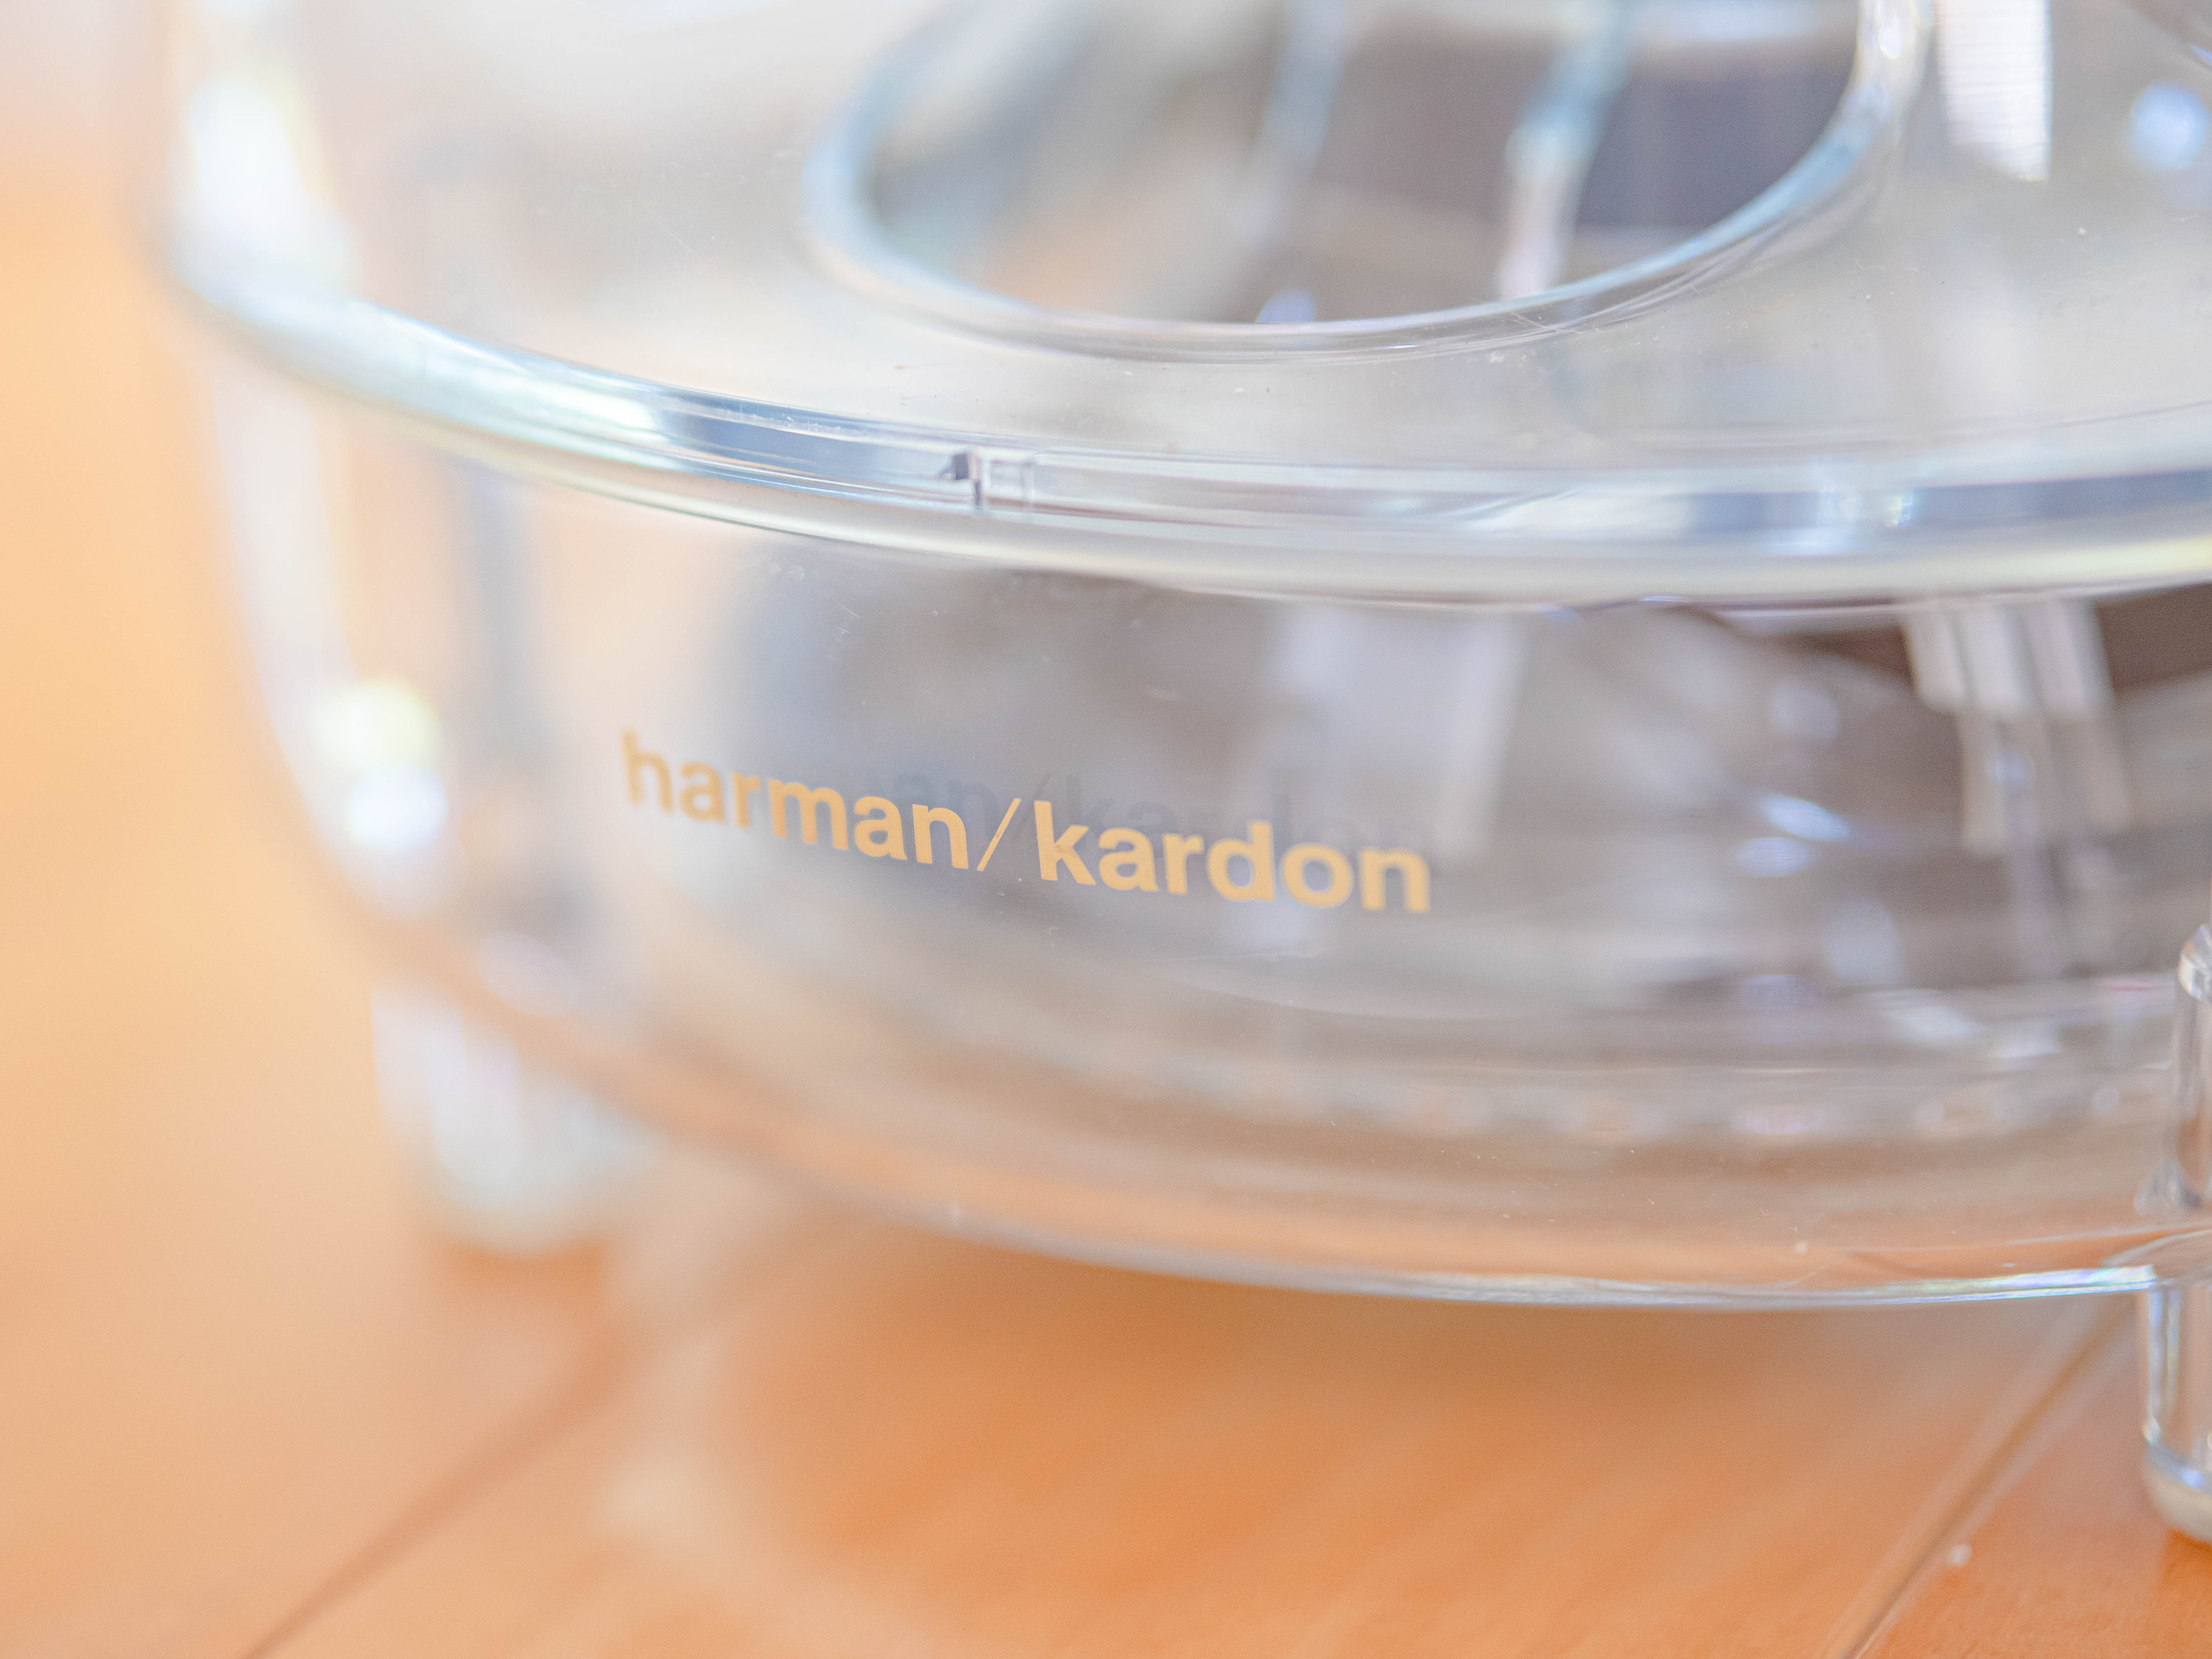
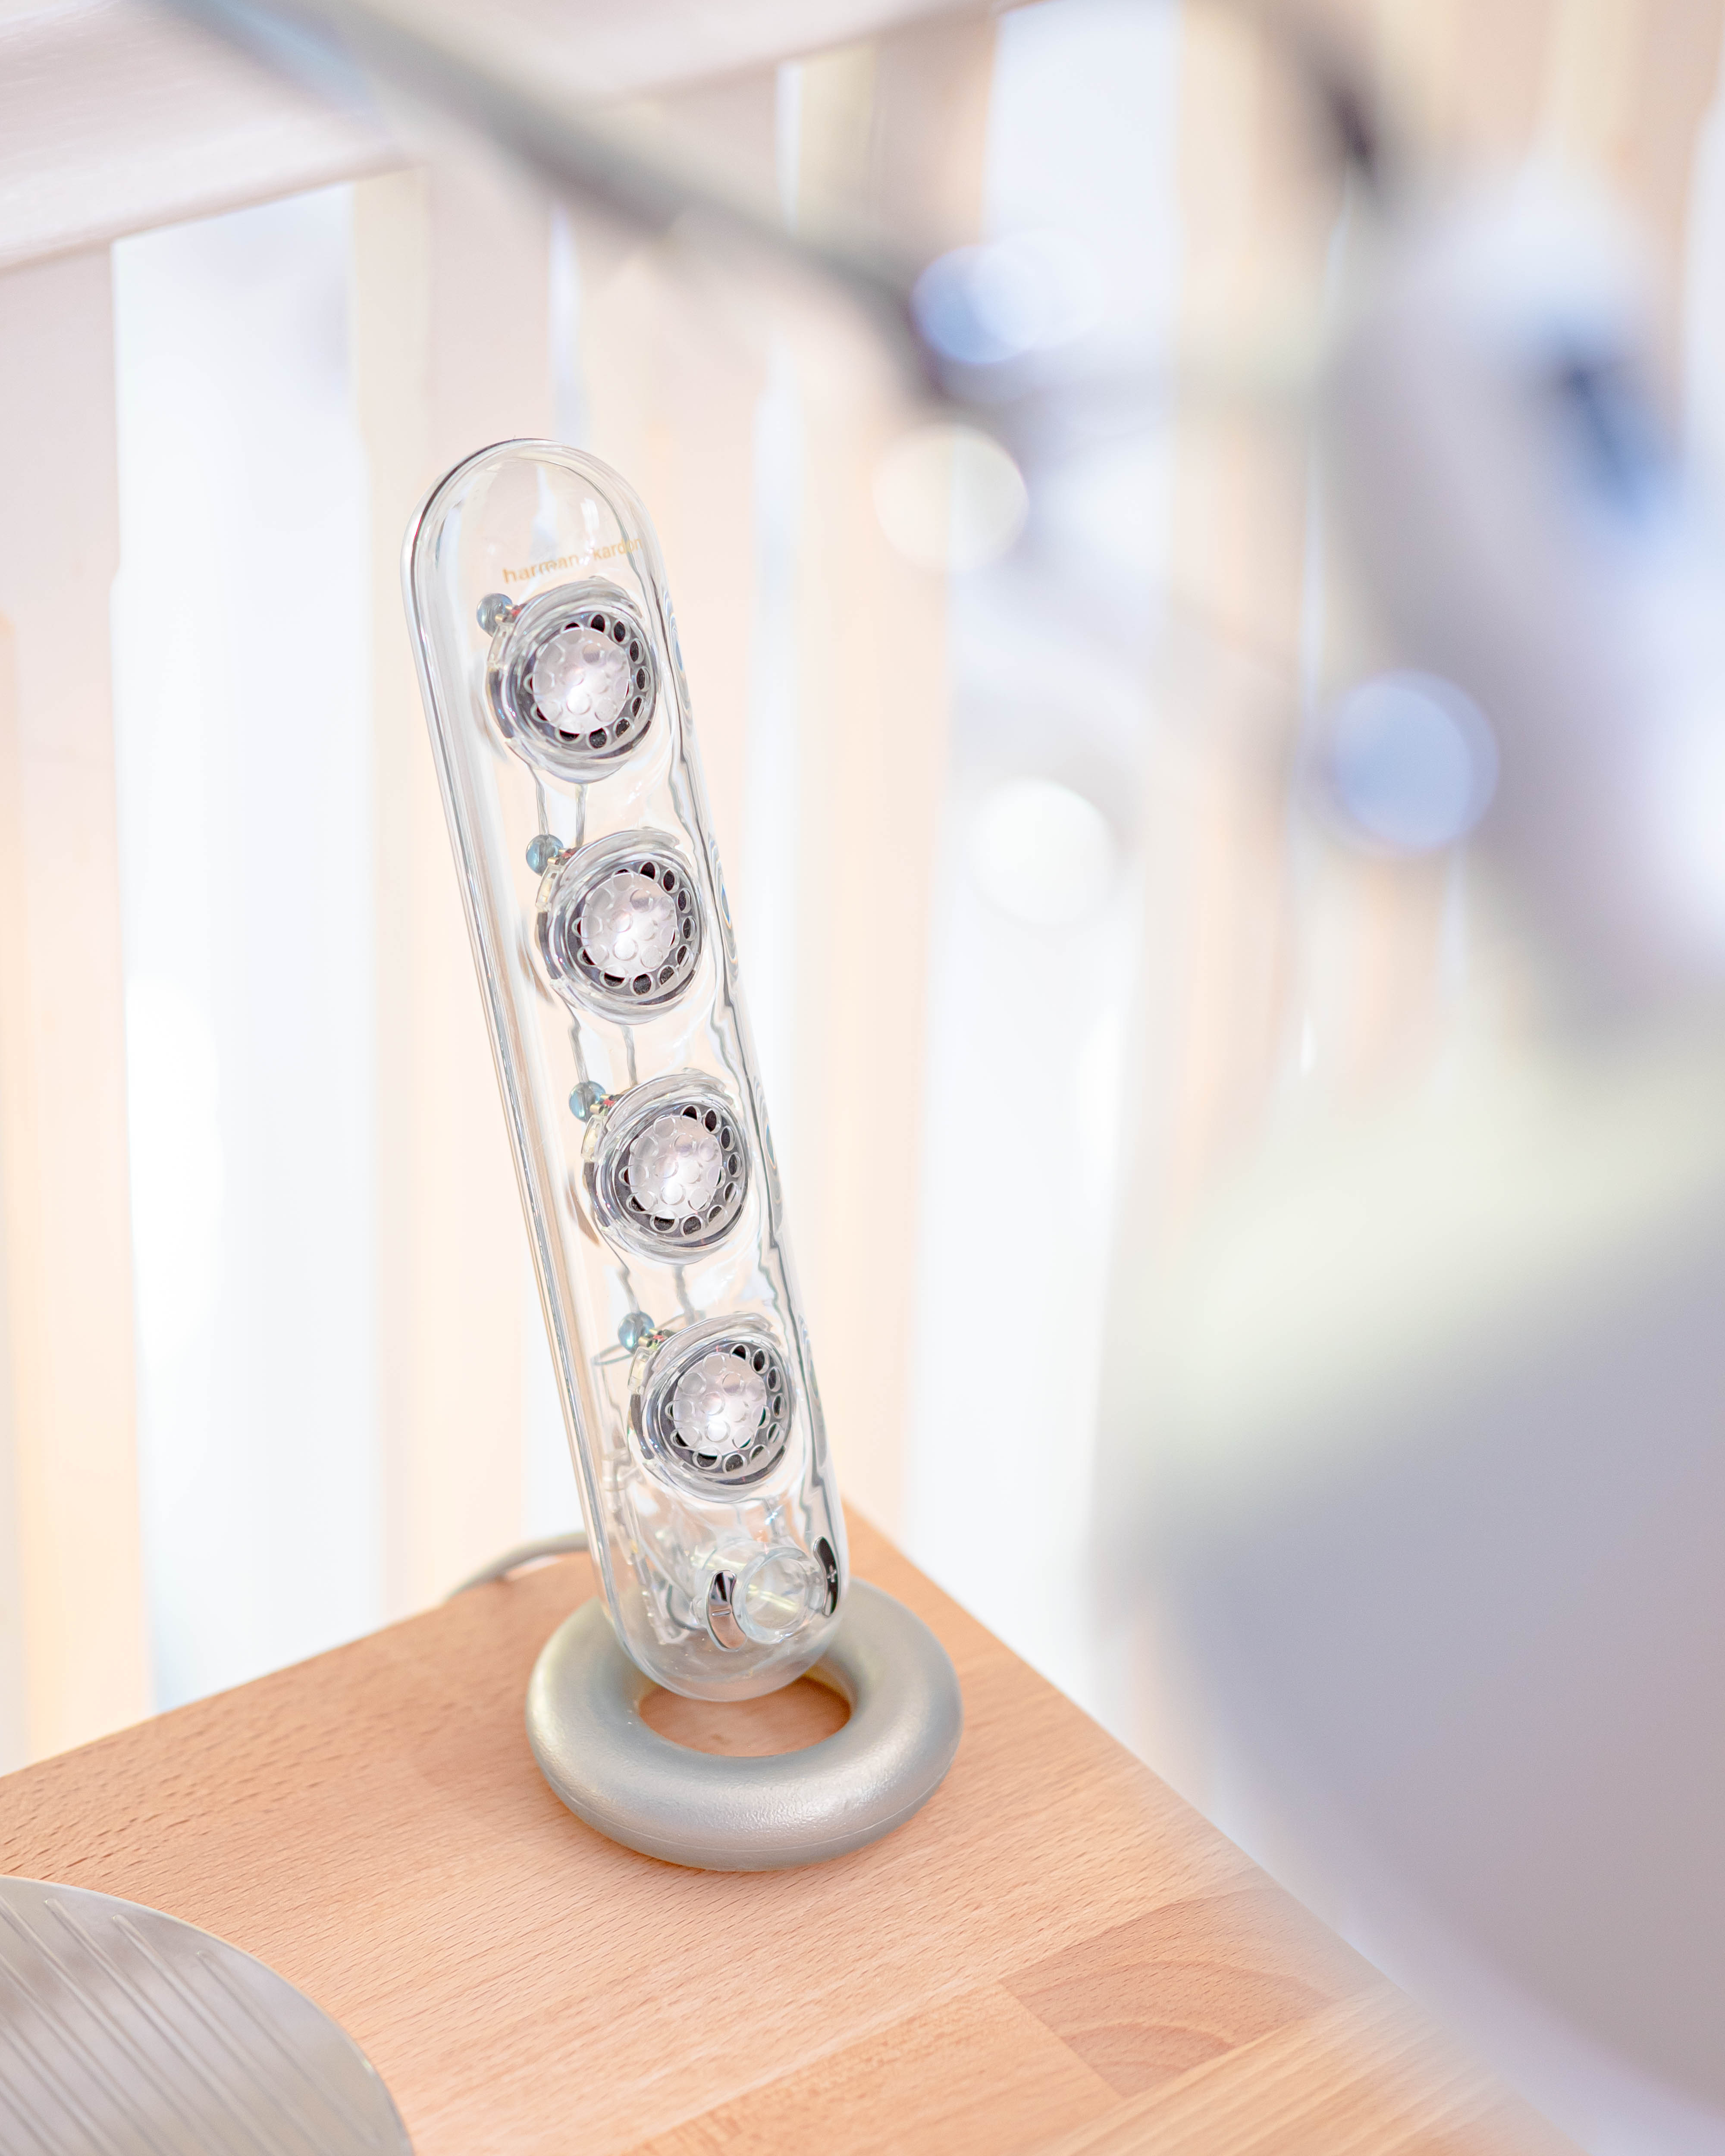
Shortly thereafter Apple and Harman Kardon unvieled the Sound Sticks, which expanded the subwoofer into a complete speaker system. The iSub functions as a central hub to which two quad-driver satellites are connected. Touch controls on the speakers control volume, while a knob behind the sub controls just the bass.
One unfortunate effect of a system with multiple speakers is the wiring. There are four wires (power, audio input, right speaker, left speaker) that go to all corners of my desk. Following principle three, I went about minimizing clutter.
I first added extension cables to the 3.5mm audio input and the left speaker cable. I then bundled all four cables together with the same cable wrap I used with the ethernet. From a distance, there now appears to be just one thick cable going down from the desk to the subwoofer below.
Two decades after release, they sound great. The stands have faded a bit in the sun, and the halves come apart since the glue has disintegrated. Regardless, they look unlike most of what is sold today.
AirPods Max
The speakers and AirPods Pro cover nearly all my uses cases, but one need still felt unmet — deep heads-down work. For most of my professional career, I listening to instrumental music on over-ear headphones while programming, designing, or writing. The feeling of the headphones hugging my ears and head has become a prerequisite for sense in flow.
I used the Sony 1000XM series of headphones for years. The Bluetooth connection quality was rock solid, but I found the numerous seams and differing materials unsatisfactory.
I also tried the Bose NC700 but found the connection spotty, software downright terrible, and build quality wanting. After a few years, the faux aluminum plastic parts turned yellow from exposure to the sun. With both, I sold them on the second-hand market and stayed with either wired headphones or the AirPods Pro.
I was close to buying the Bang and Olufsen Beoplay H6, their last wired over-ear headphones. On a whim, I bought a pair of AirPods Max. They are easily one of the most expensive things on my desk. I thought I would try them for a bit and return them using Apple’s generous holiday return policy if I didn’t like them. A month later, I was in love.
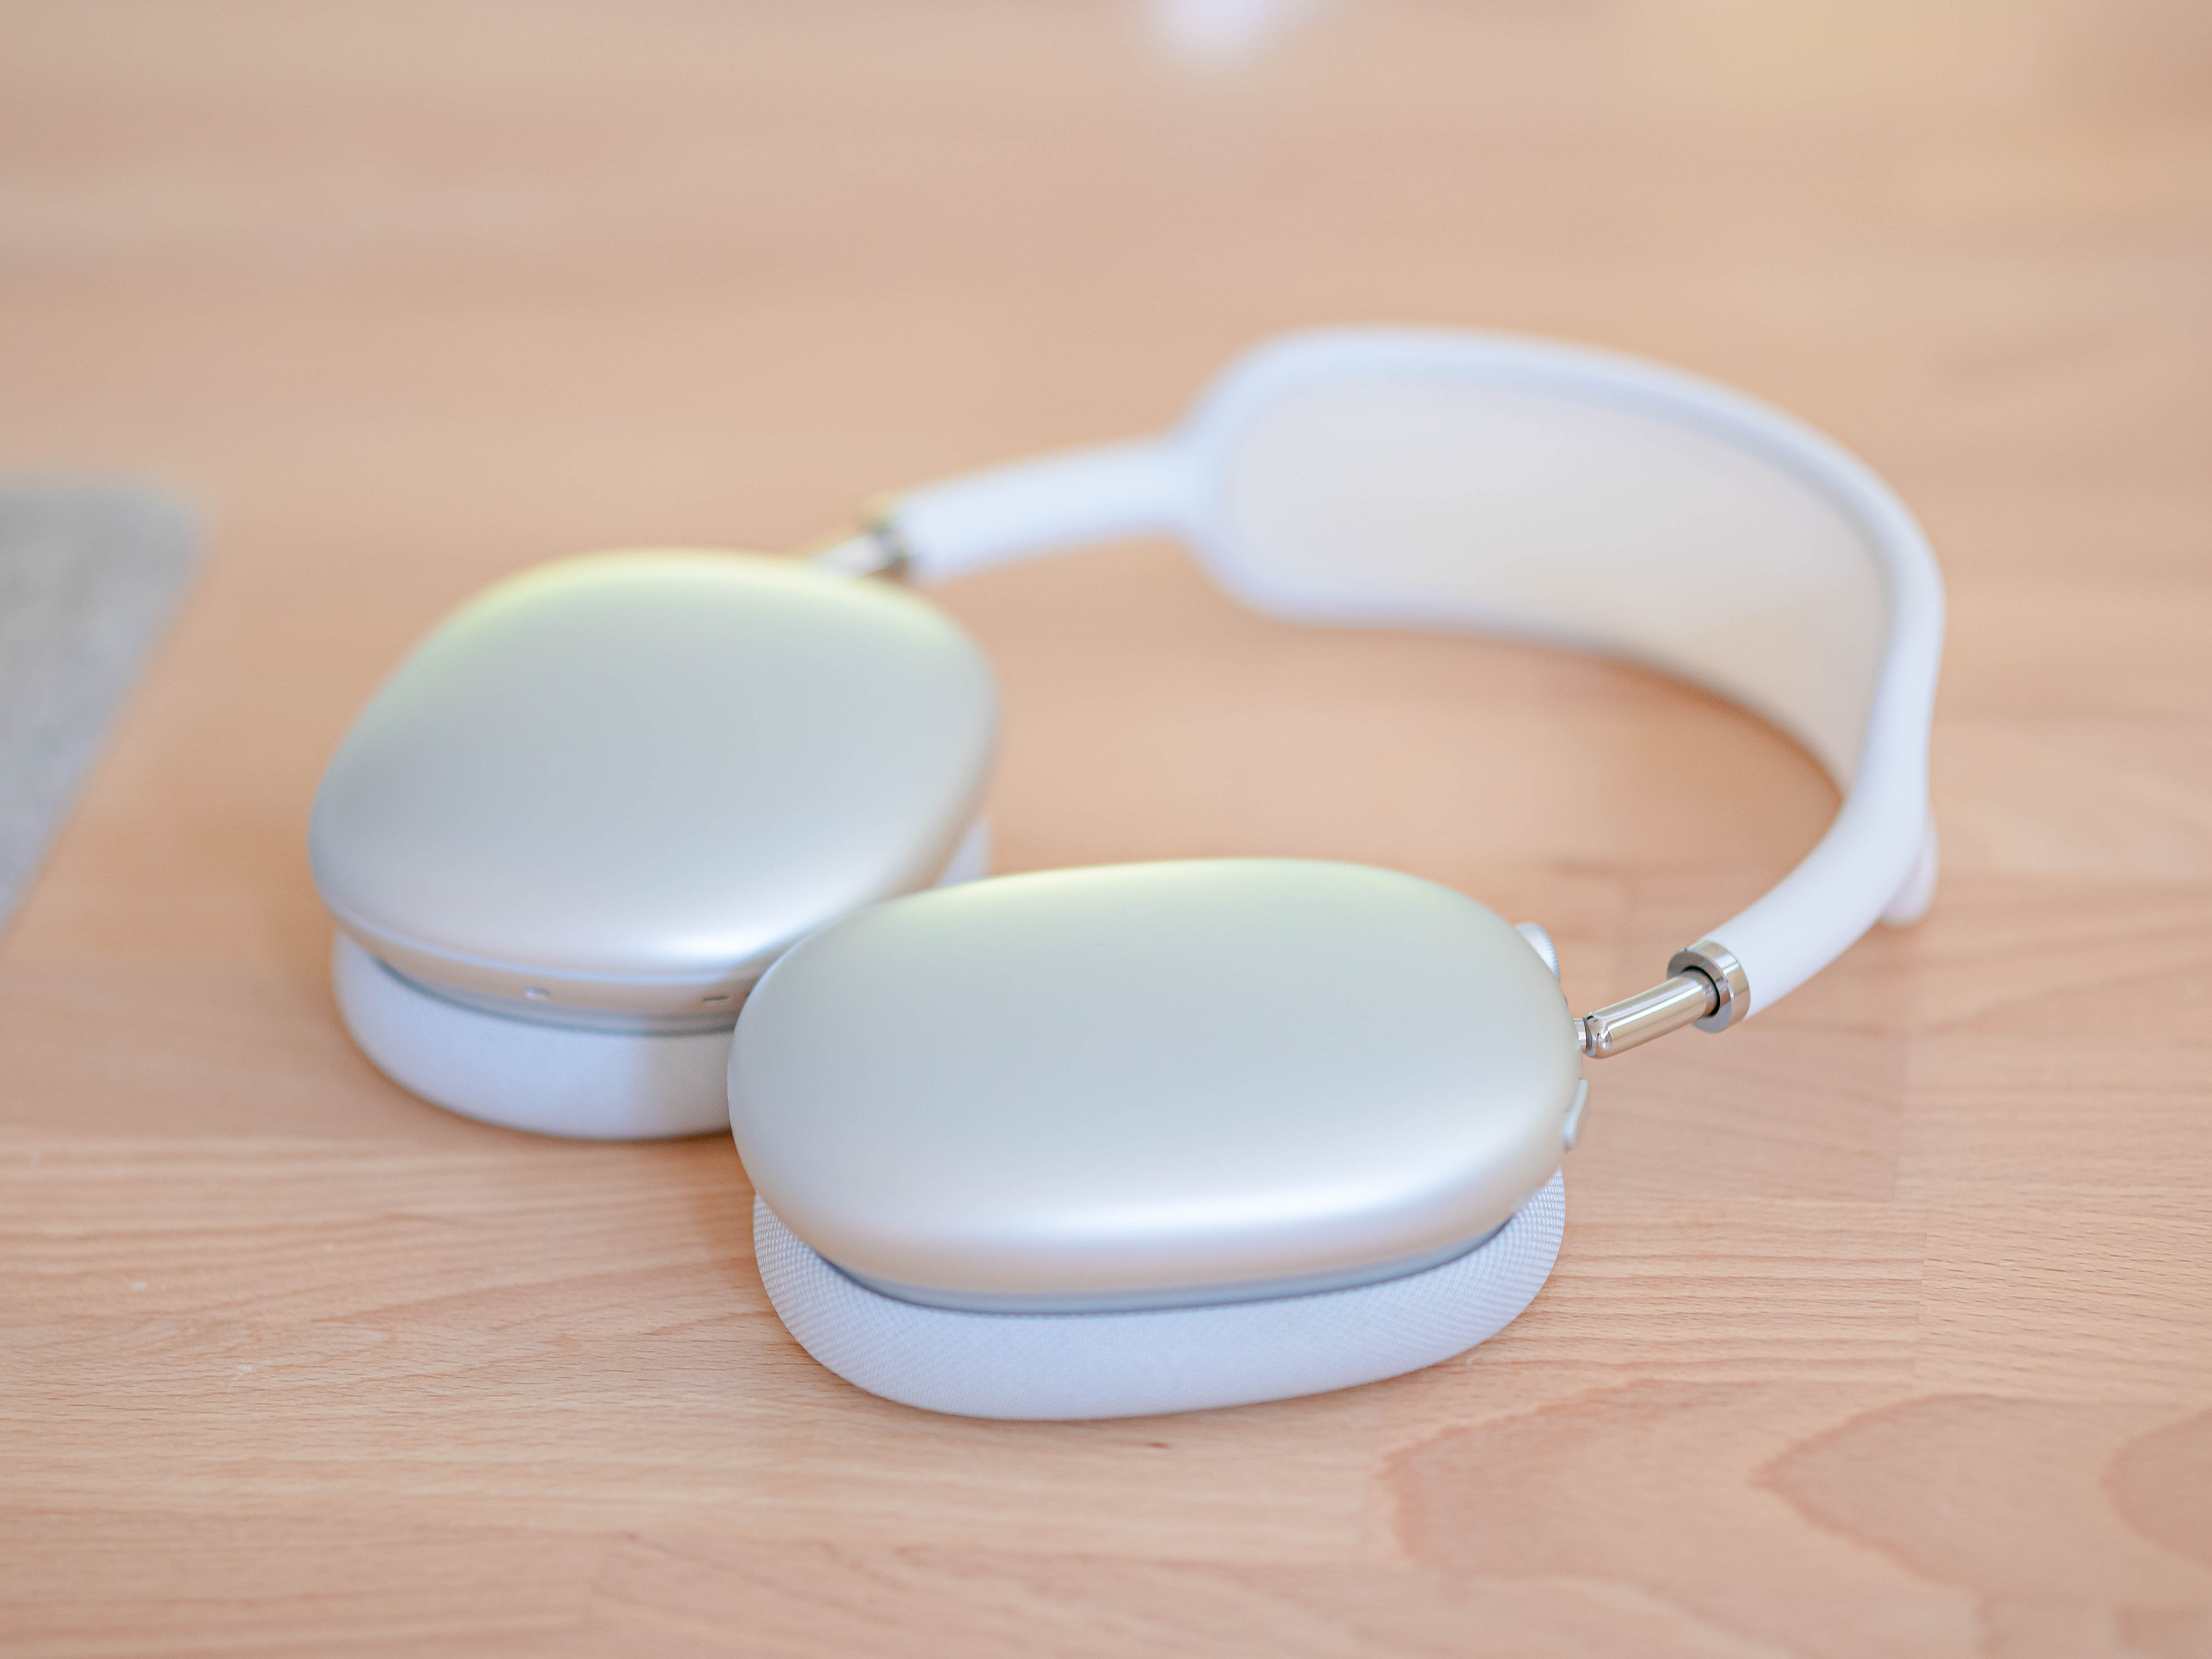
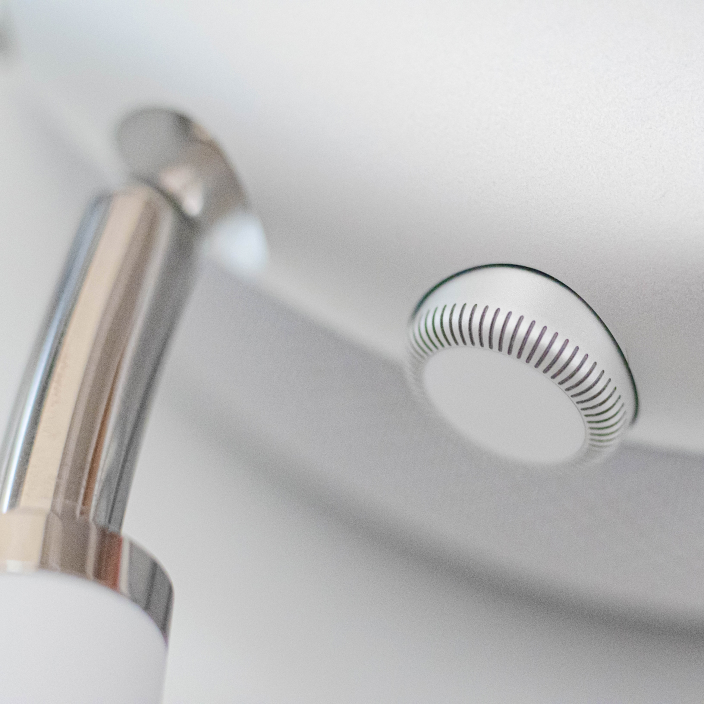
The materials are top-notch, the sound quality is exquisite, and they feel light on my head. Notably, the ritual of pulling them out of my drawer, taking off the case, and slipping them on signals that I’m about to do some deep concentration.
While testing, I have been alternating between Spotify and Apple Music. I can’t notice a difference in sound quality, but Apple’s spatial audio considerably enhances immersion.
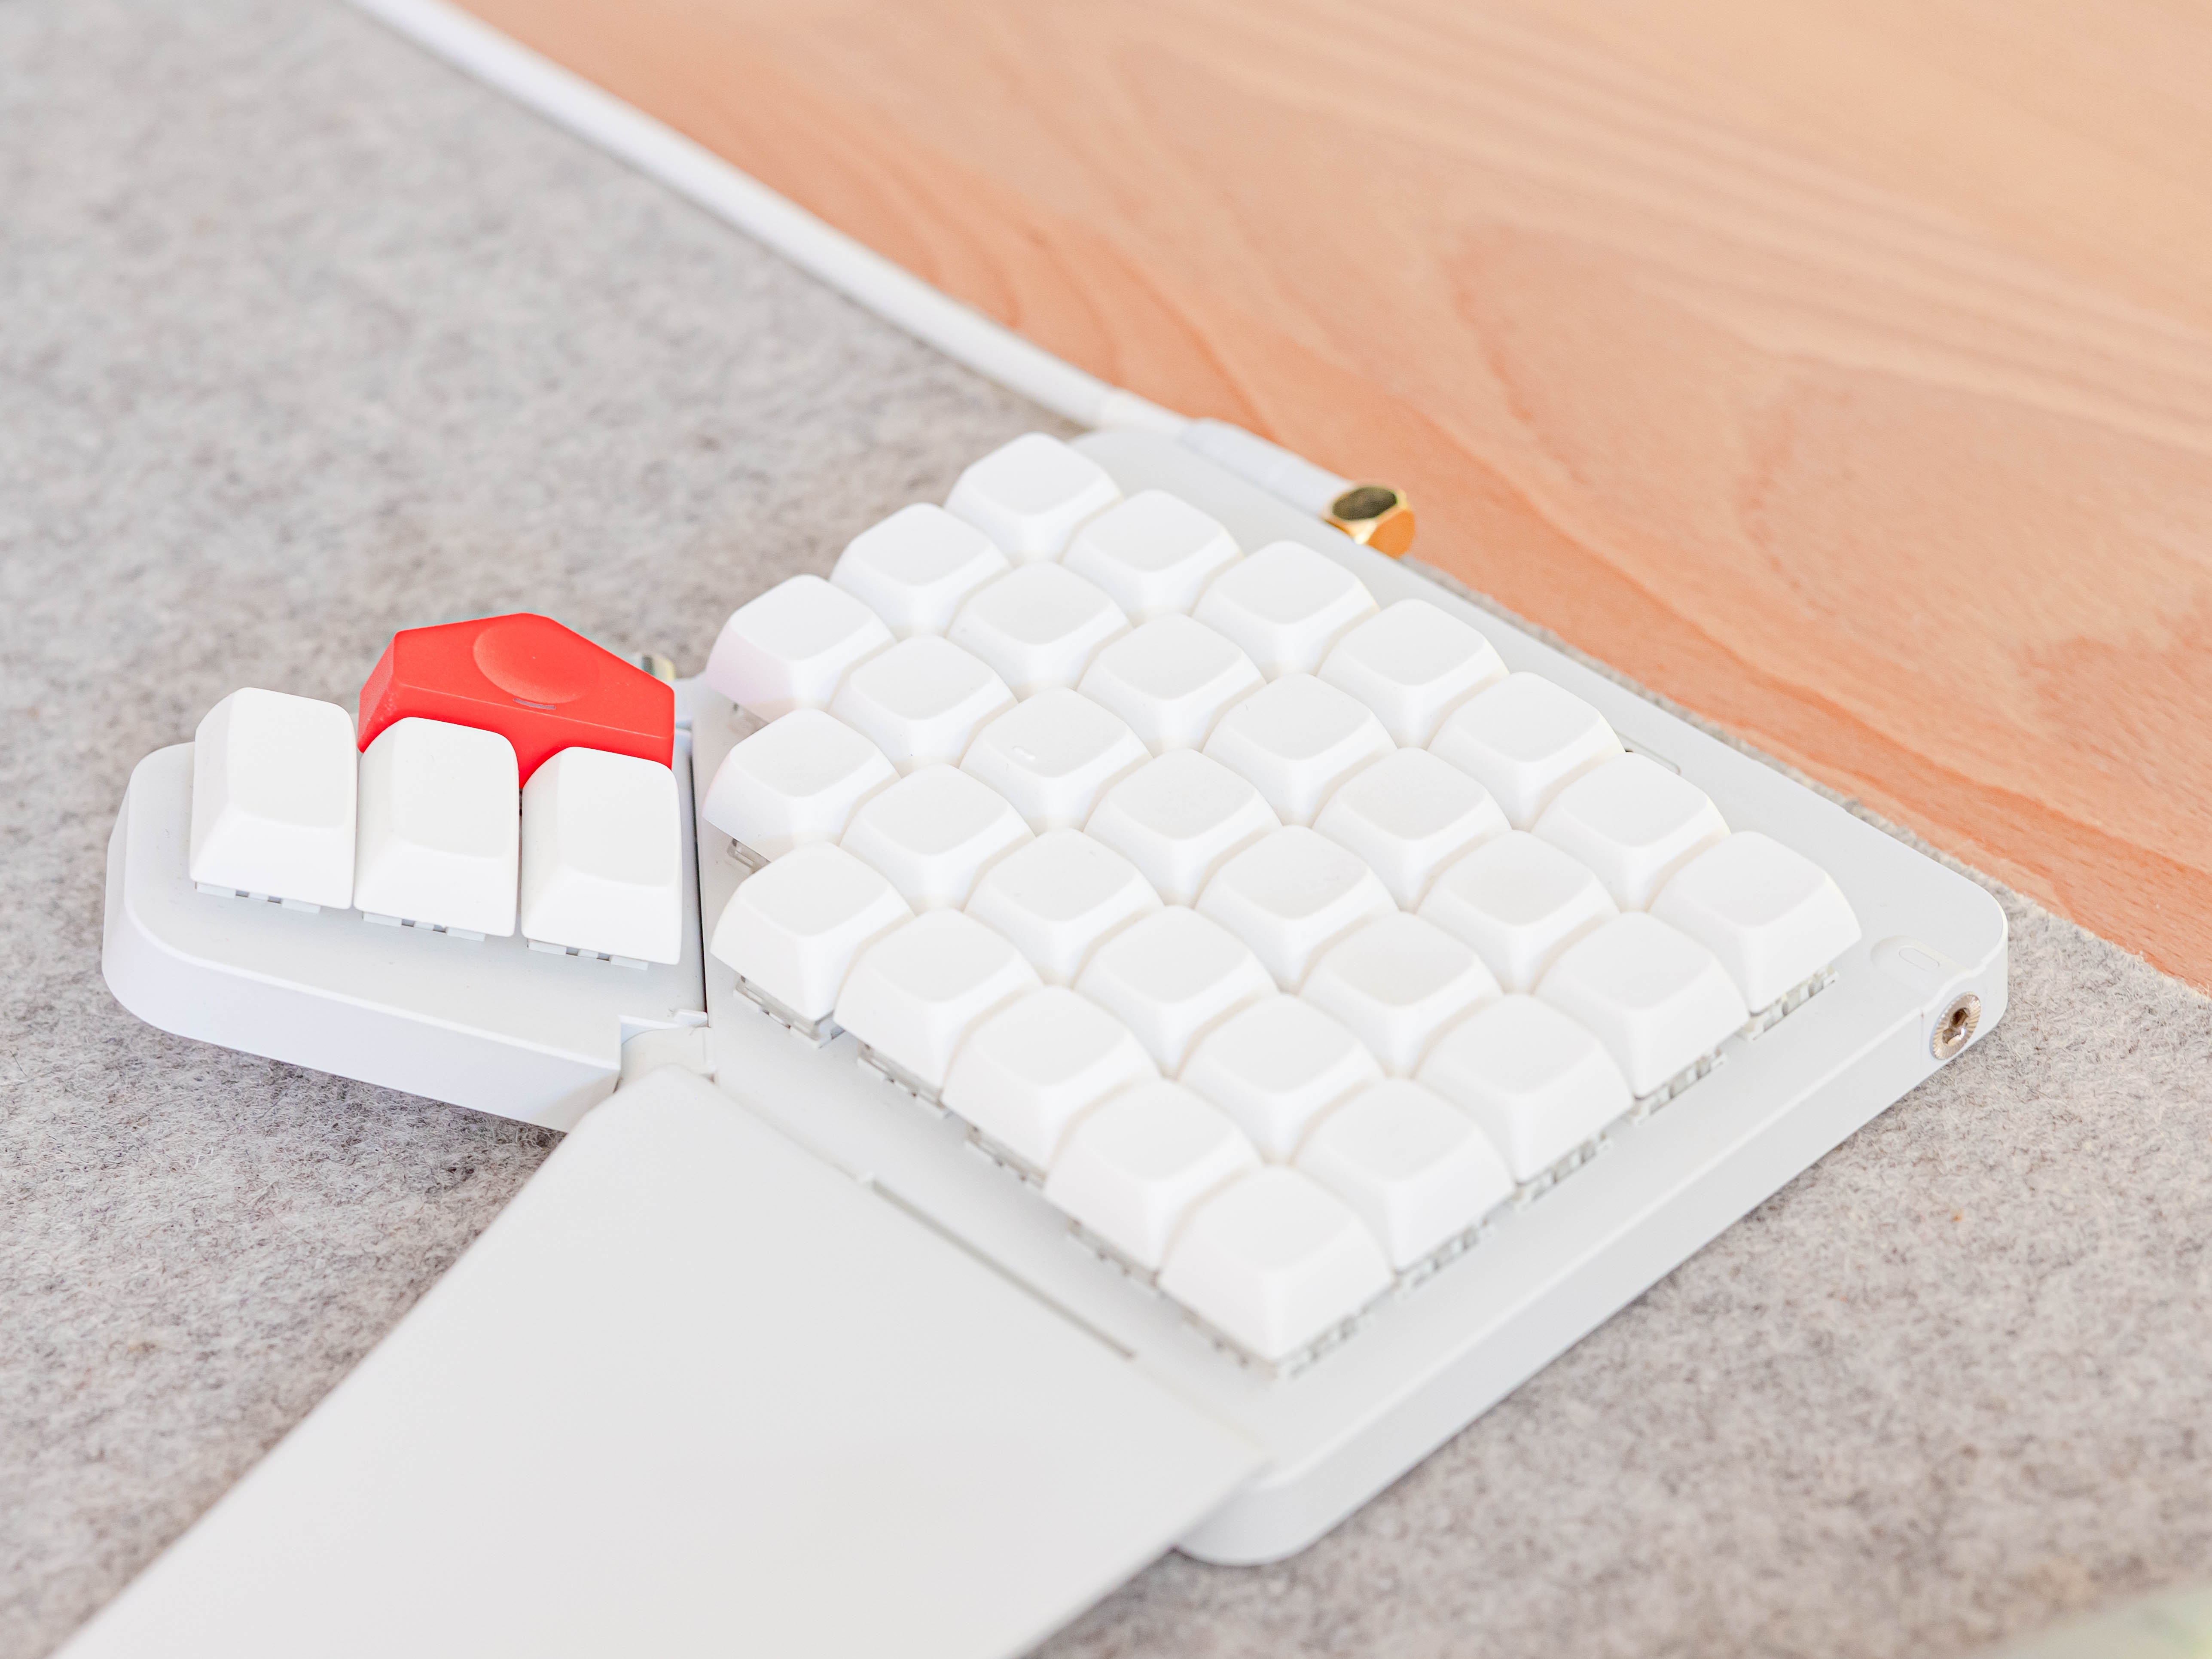
ZSA Moonlander keyboard
Another noticeable change in my setup is the keyboard. When I was writing last year’s post, I started testing the ZSA Moonlander. Now, with more than a year of use, I can easily say it’s the best I’ve ever owned.
Before the Moonlander, every keyboard of mine was uncomfortable. Given the size and shape of my hands, I found that I had to stretch my smallest fingers to reach the Q and P keys. I also found that hitting the second row on the left hand (letters Z, X, C, and V) required crunching up my hand. On top of that, I had to tilt my wrists to fit on the tiny keyboard.
The result is that using the keyboard would feel viscerally unpleasant. Worse, it would cause me pain. Many of these problems are brought on by the keyboard’s history going back to typewriters when mechanical constraints mandated the layout that we still use today.
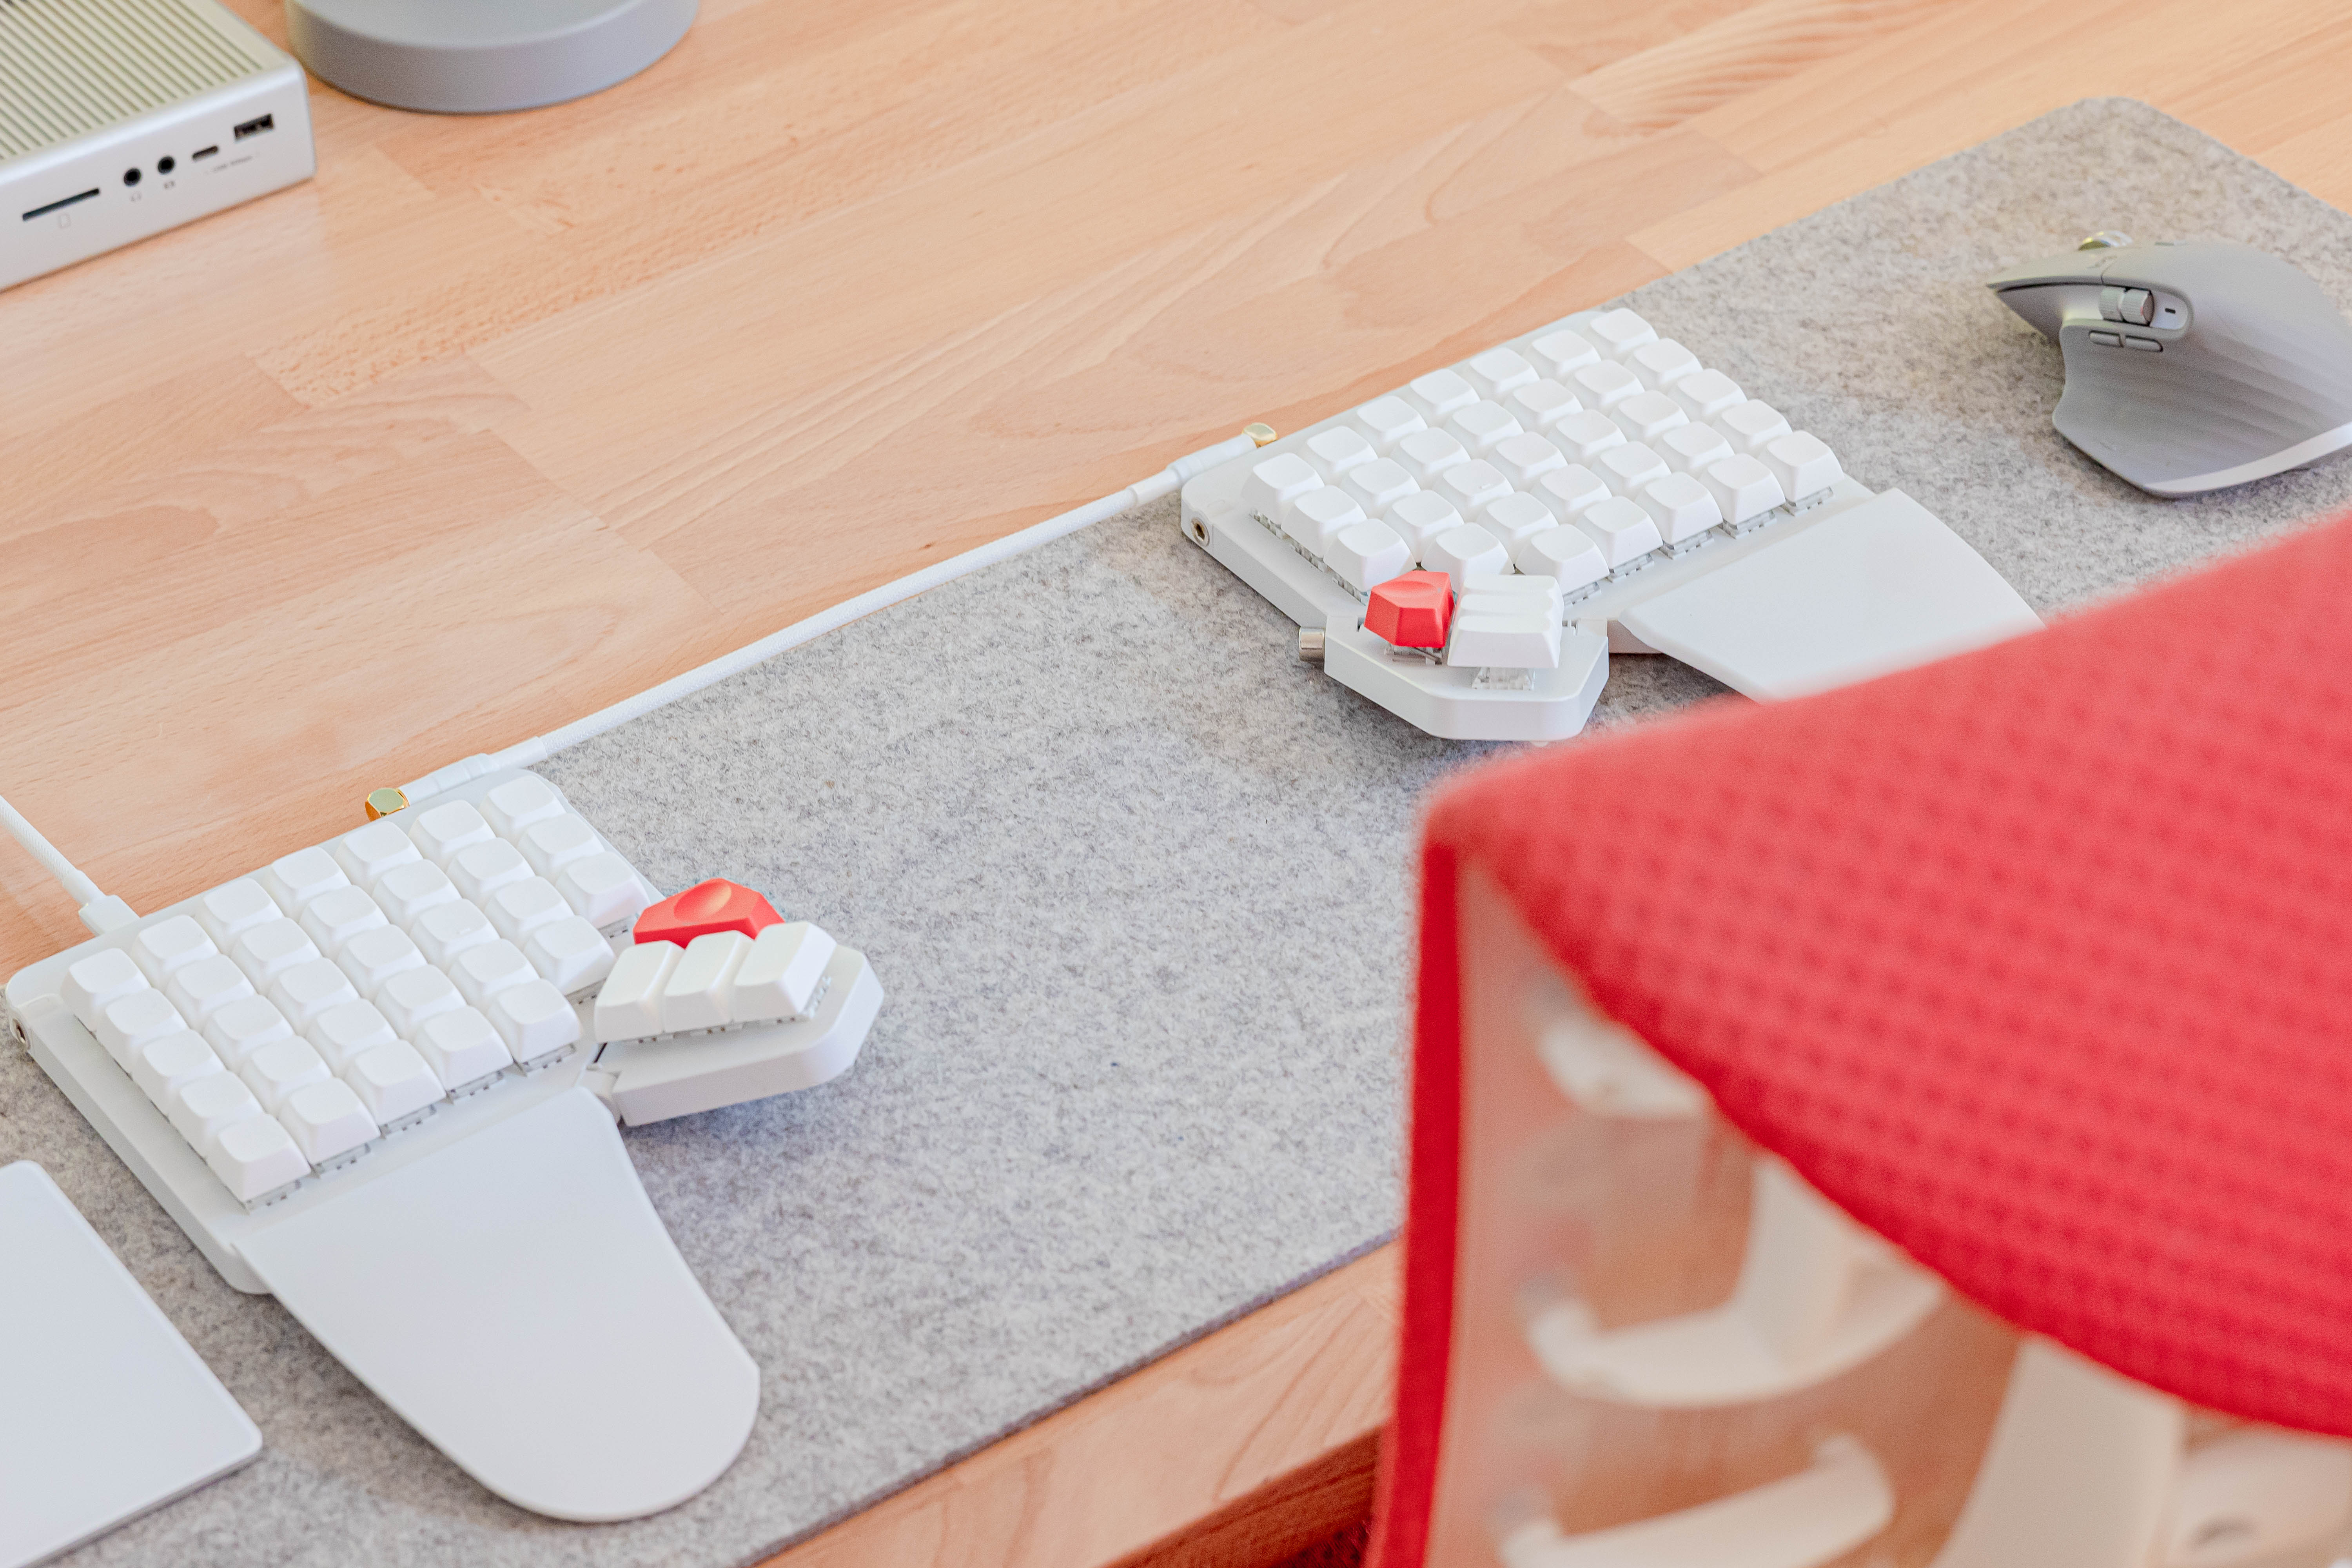
I eventually settled on getting a split keyboard with either an ortholinear (grid) or a columnar layout. I was a bit scared of learning to type on a split keyboard. Yet, the urge to fix my keyboard woes overcame my hesitance.
The split halves allow me to lay my hands comfortably at shoulder length without tilting my wrists. The elimination of the row stagger means that I more naturally move my fingers up and down to access different rows.
I narrowed my search to two products from ZSA, the ErgoDox EZ and the Moonlander. I wanted a product that works out of the box, so building my own was out of the question. ZSA has fantastic customer support and an easy-to-use online configuration tool called Oryx. I ended up choosing the Moonlander because the ability to tilt the thumb clusters would suit my hands.
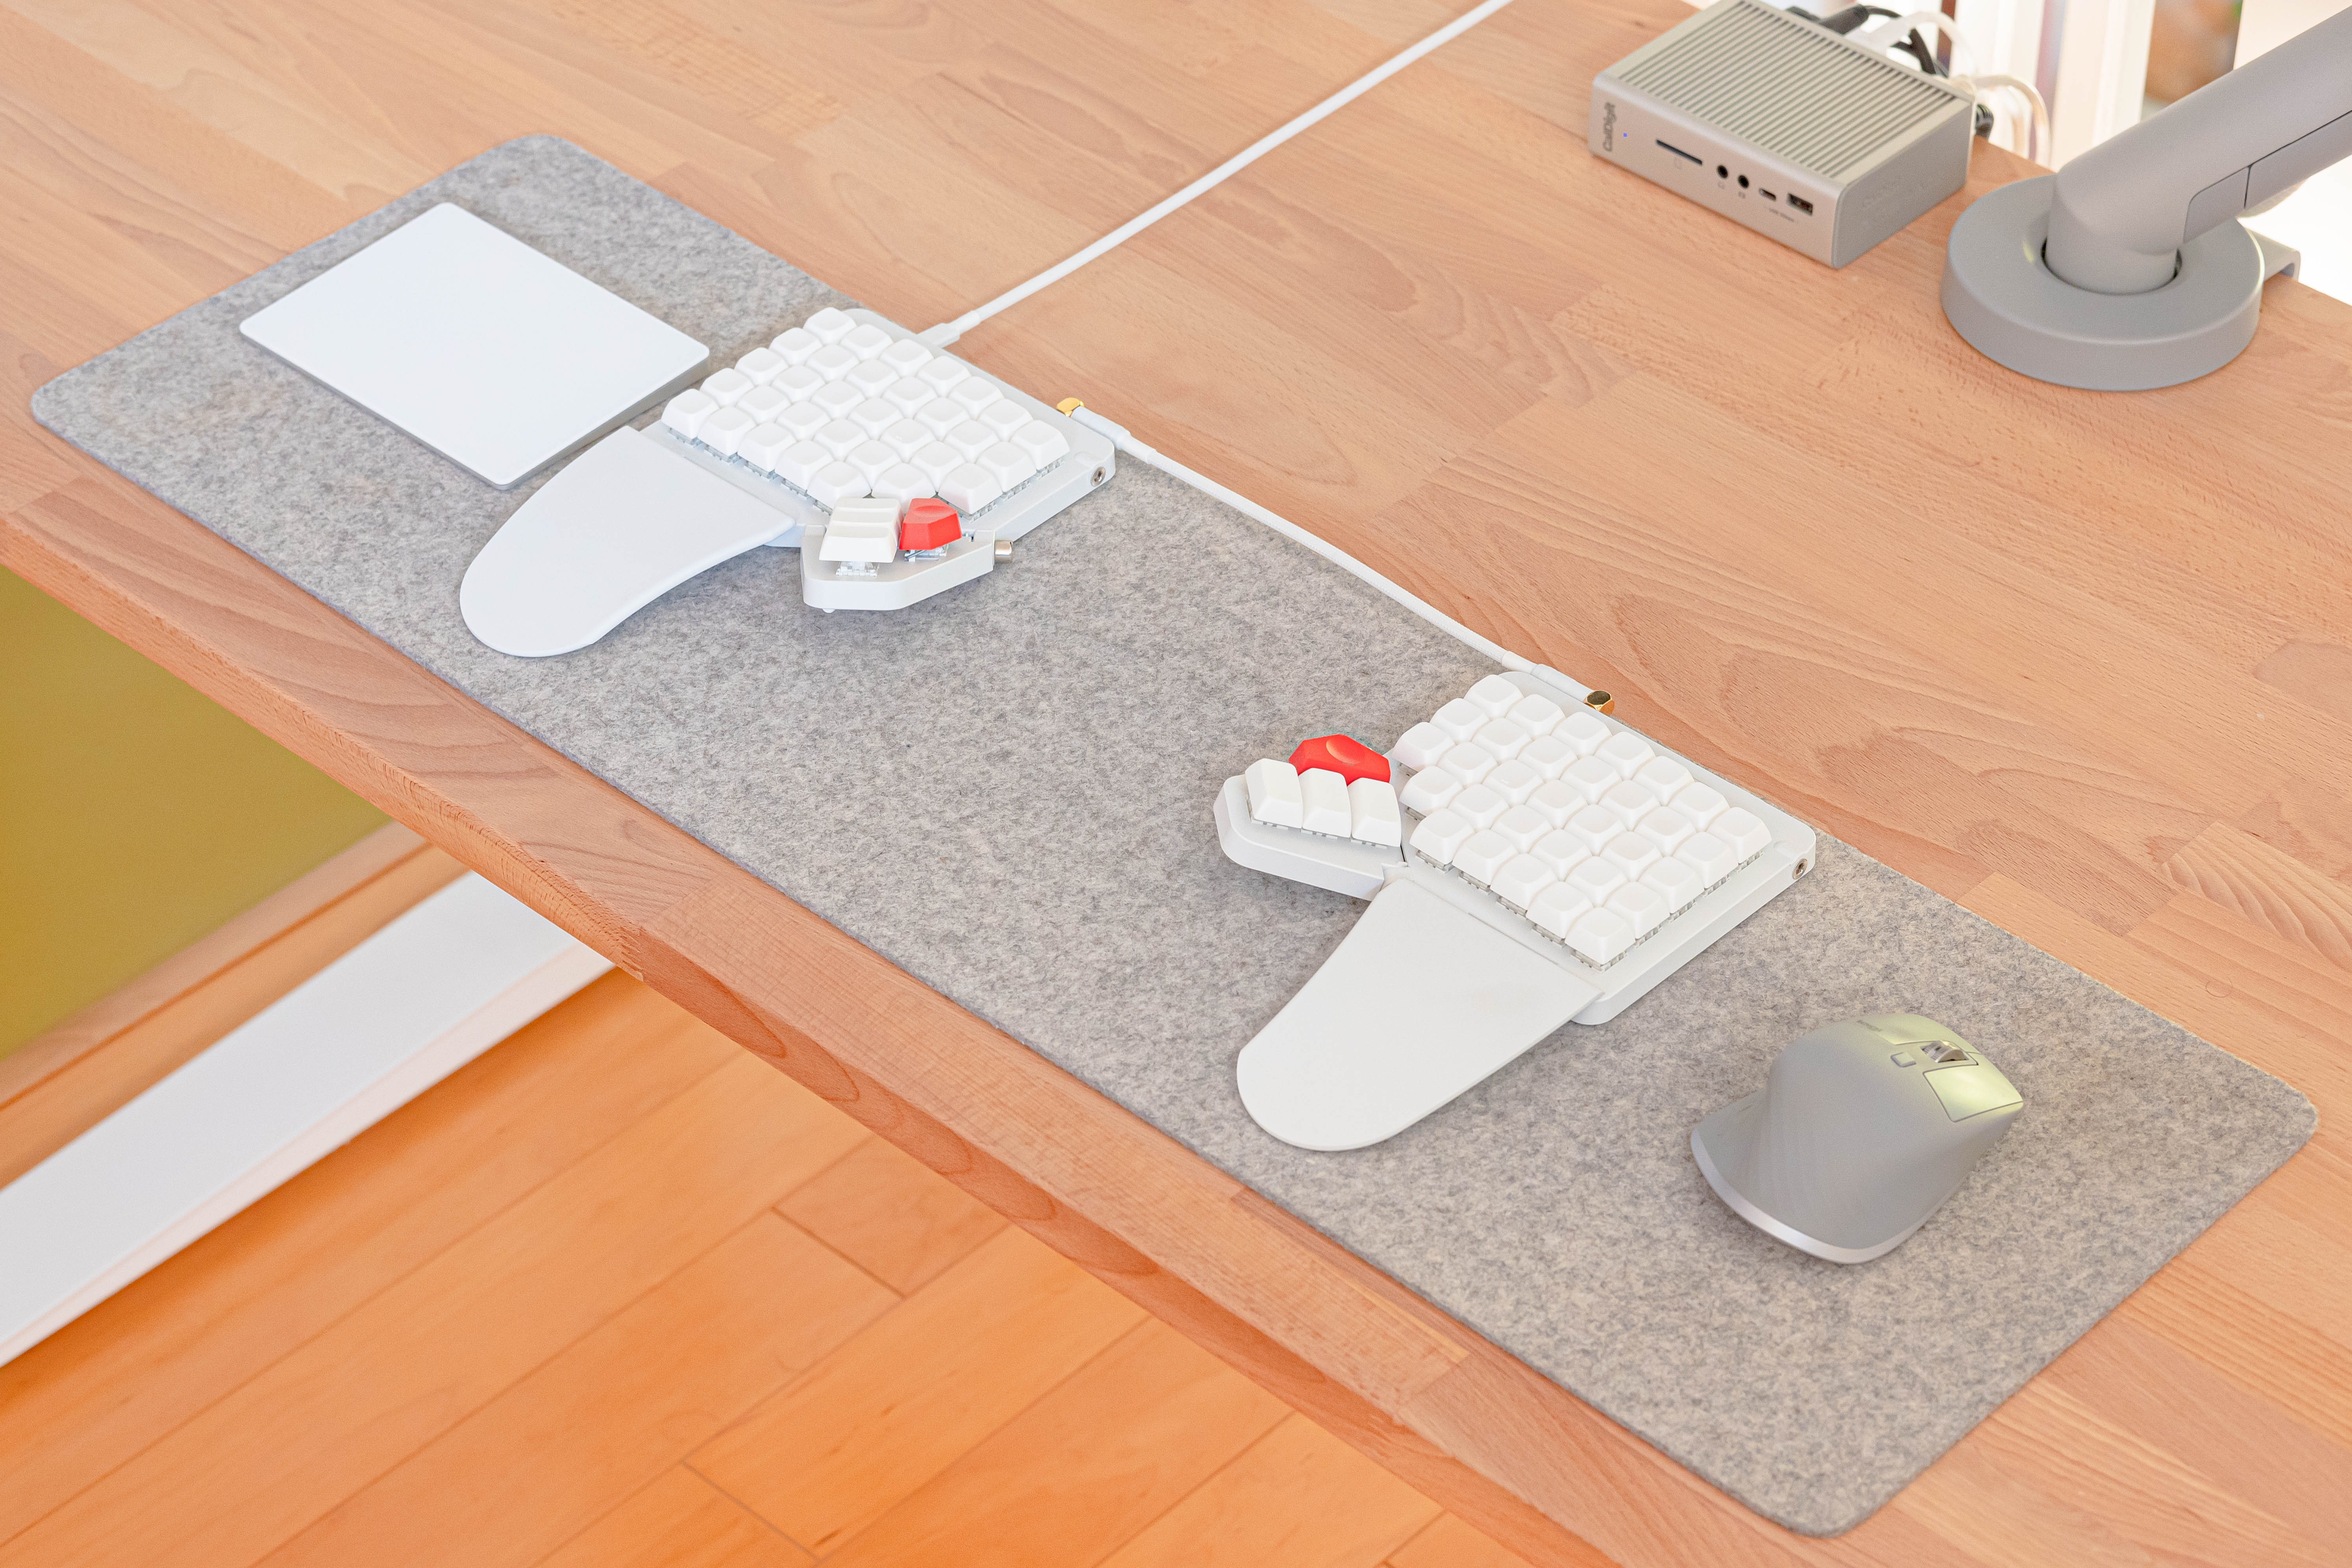
My setup
When the Moonlander arrived, I used it for a few months before identifying things I wanted to change.
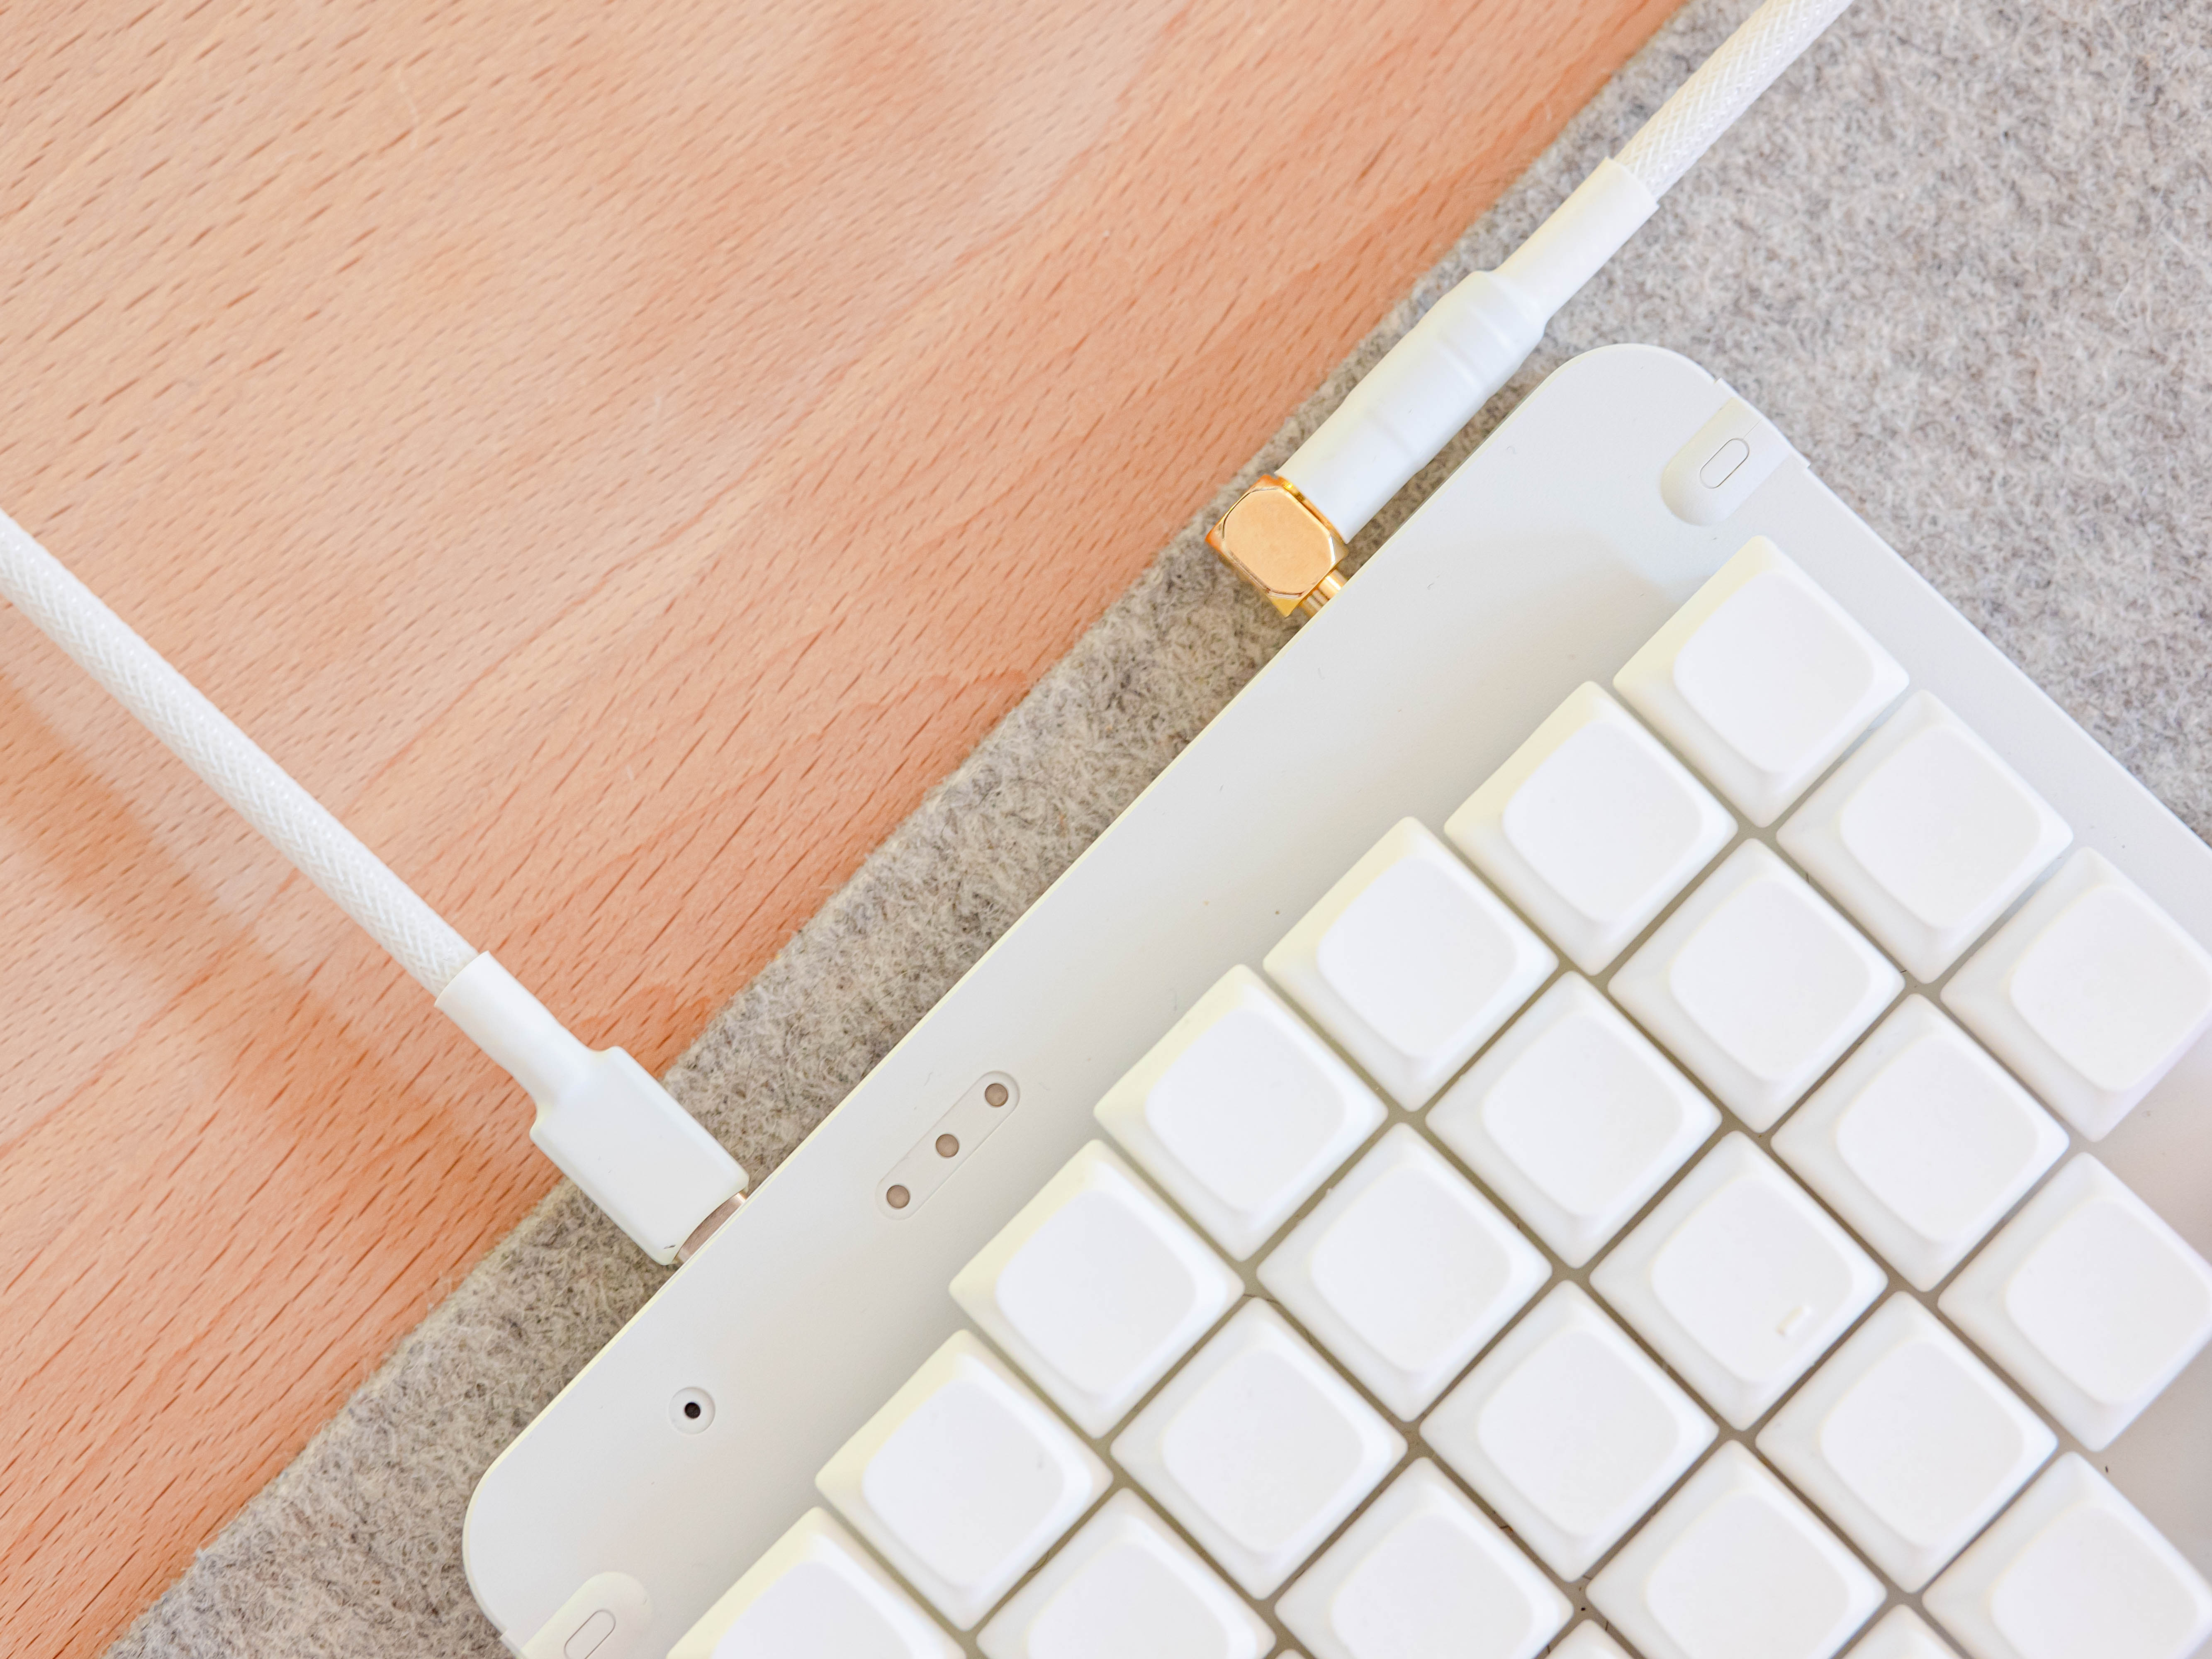
I swapped out ZSA’s included cables for a custom set I ordered from Mechcables. These cables are nearly straight and reduce the visual noise of bundled or twisted cables.
I originally ordered the Moonlander with Cherry MX Brown Switches but quickly hated them. I had used MX Blue or similar clicky switches in every previous mechanical keyboard. I bought a switch tester to try a wide variety of clicky switches and finally settled on Kailh Box White. The tactile feeling and click are precise, unlike MX Blues which feel and sound crunchy.
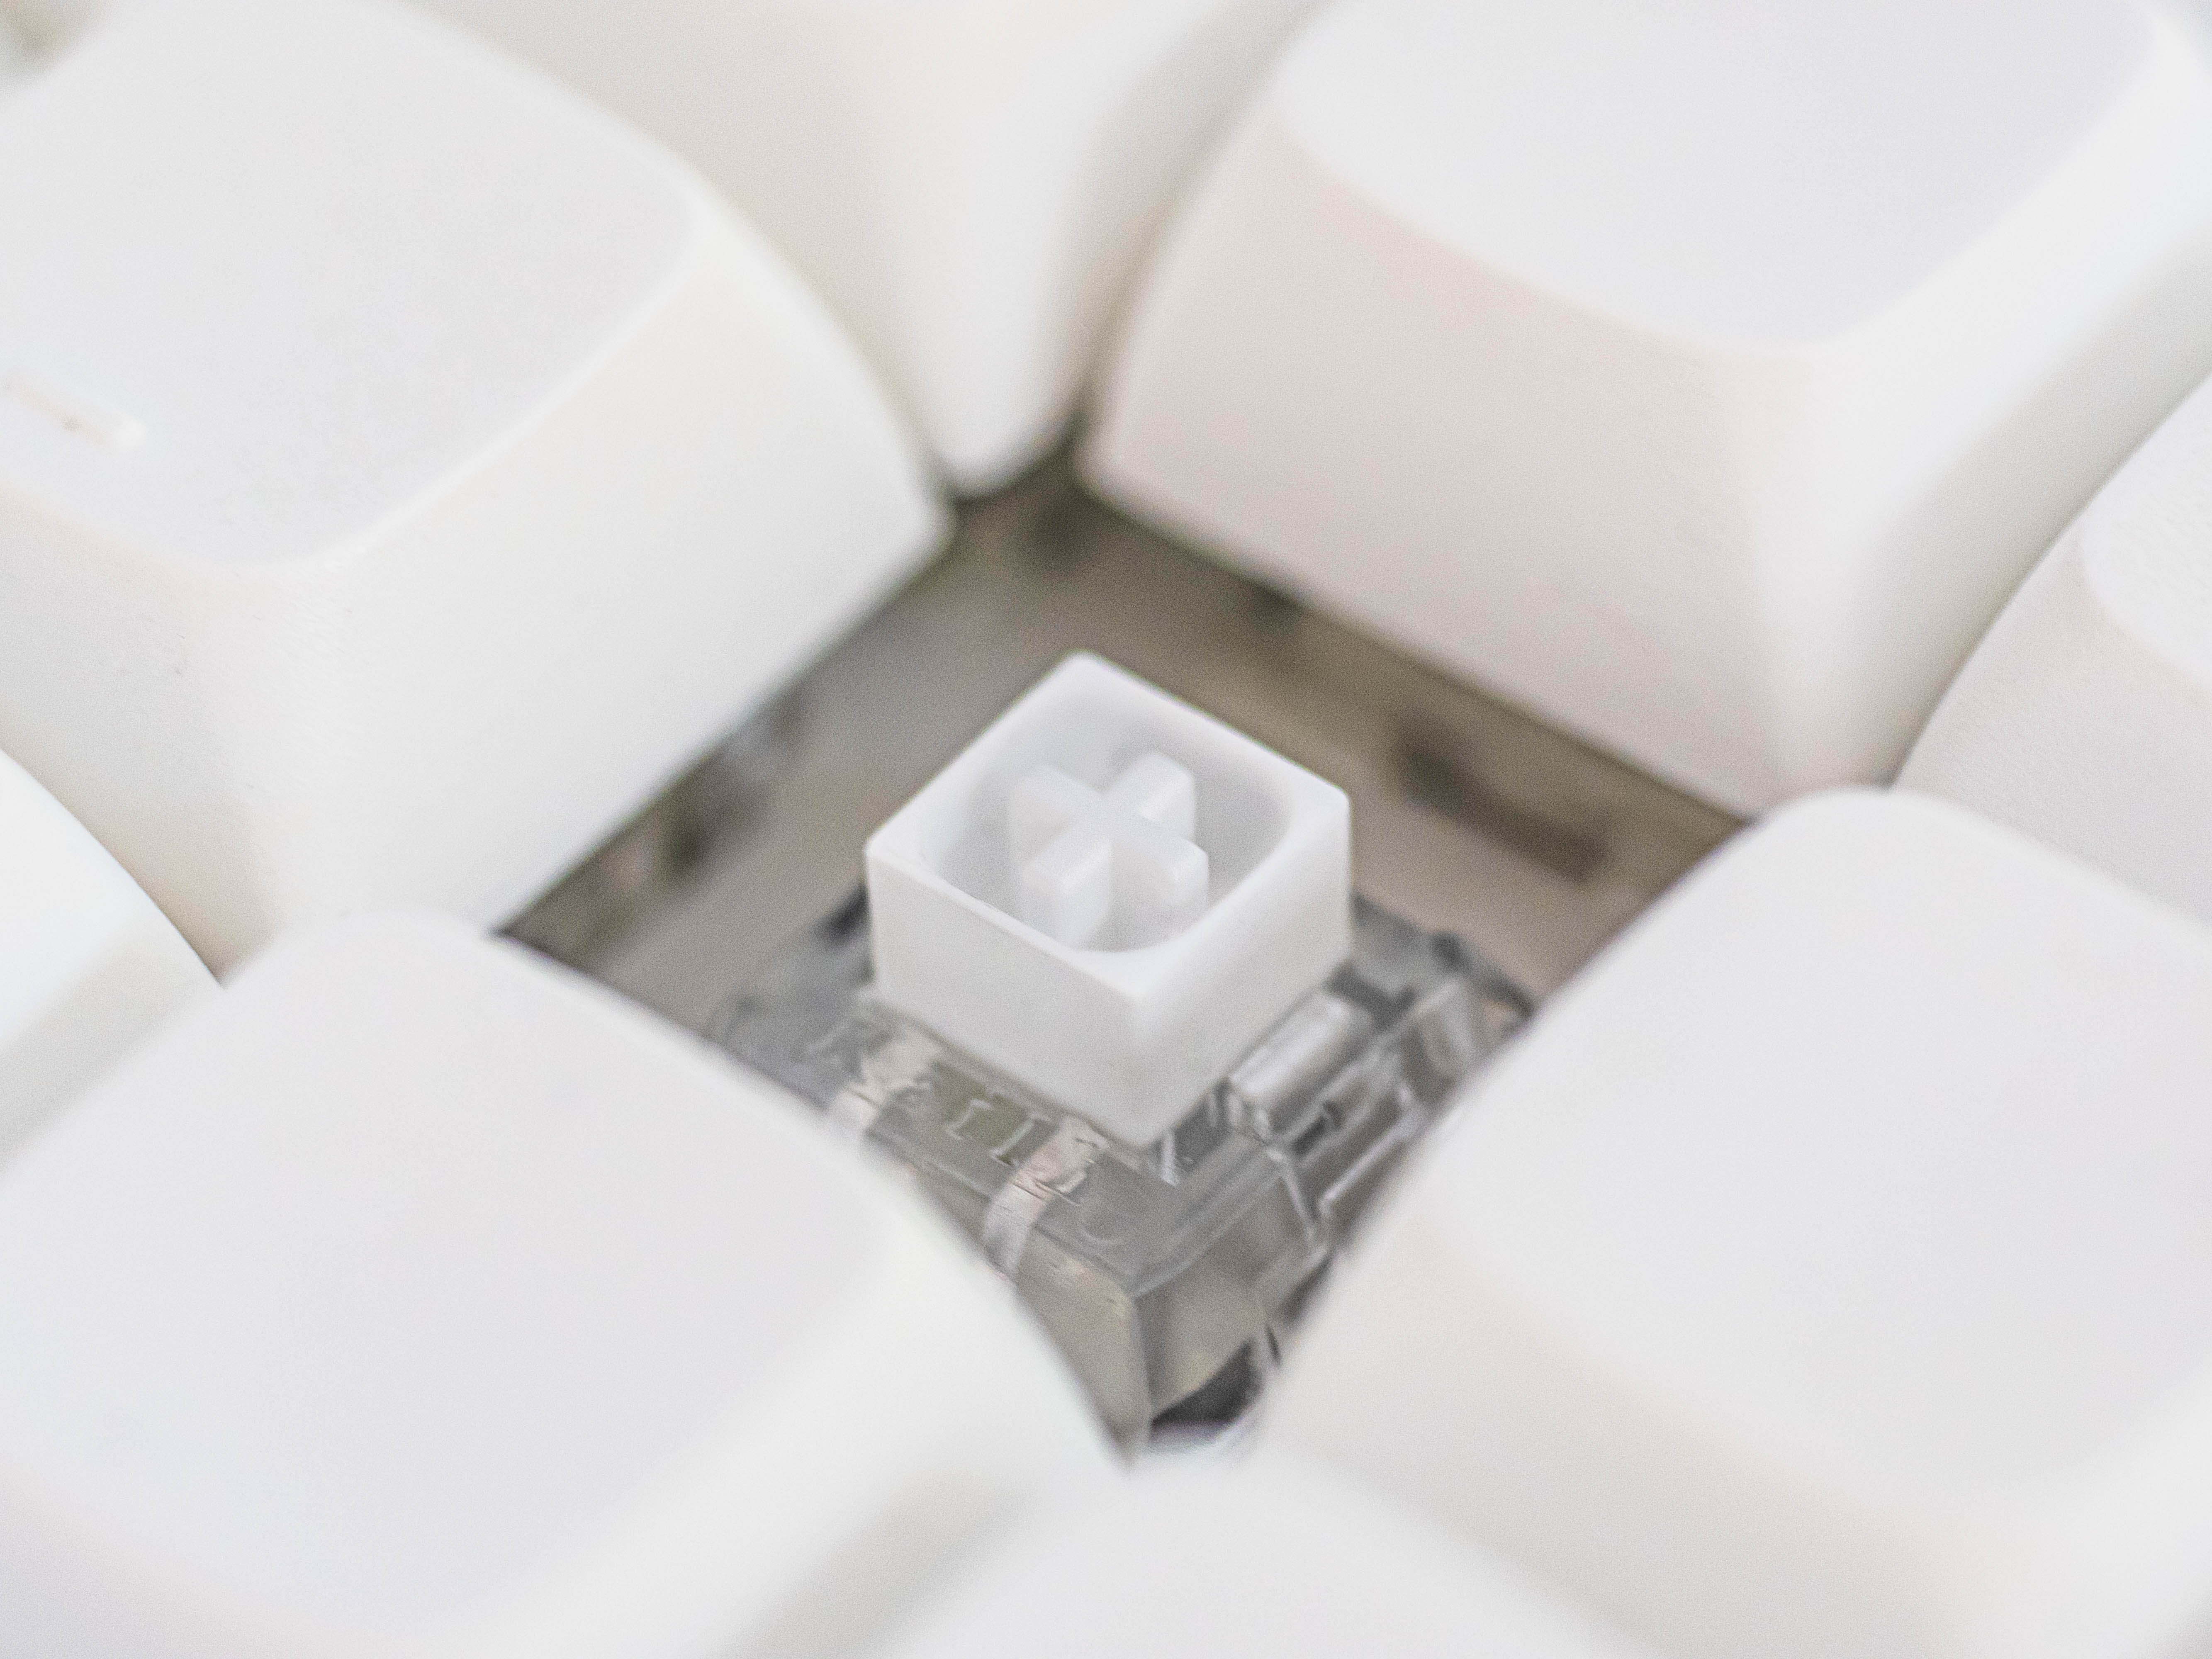
The TaiHao double-shot keycaps included with the Moonlander are excellent, but I found the legends unnecessary since I had learned my layout by feel. So, I swapped in the blank white NP PBT keycaps with a uniform, flat profile. These blank keycaps give my Moonlander a more discreet look on the desk.
As I mentioned earlier, ZSA offers an online configurator for their keyboards. You can create multiple configurations, share them, and clone other people’s. There is a tremendous amount of customizability, most of which I have yet to use.
My layout is optimized for writing and Figma. The first layer is nearly a standard QWERTY layout. In the innermost columns, I placed backspace, delete and shortcuts for emoji, delete word and delete sentence. I use each red key to toggle the second and third layers. In those layers, I’ve put media and keyboard backlighting controls. If I start coding more, I may replace one of the layouts with a coding-focused layout.
The rest of the thumb clusters are home to my modifier keys like command, ctrl, and option. I also assigned one to “Meh” (Option + Shift + Ctrl), that when used in combination with letters on my left hand, change my window layouts using Divvy.
Areas for improvement
I’m delighted with the Moonlander, but I still have a few wishes.
First, I wish that the external design was more minimal. I would love if a high-end keyboard workshop like RAMA WORKS, Keycult, Omnitype, or Mode made their own take on the Moonlander.
Second, I wish ZSA offered more elegant ways of tenting (tilting). The Moonlander comes with a single leg on each half that allows for different tenting configurations with the tilting thumb cluster. I’d like to both tilt my halves away from each other while also tilting the thumb clusters in. This isn’t possible without 3d printing custom parts.
Clutter minimization
My third principle of minimizing clutter and distractions continues to be a driving force for optimization.
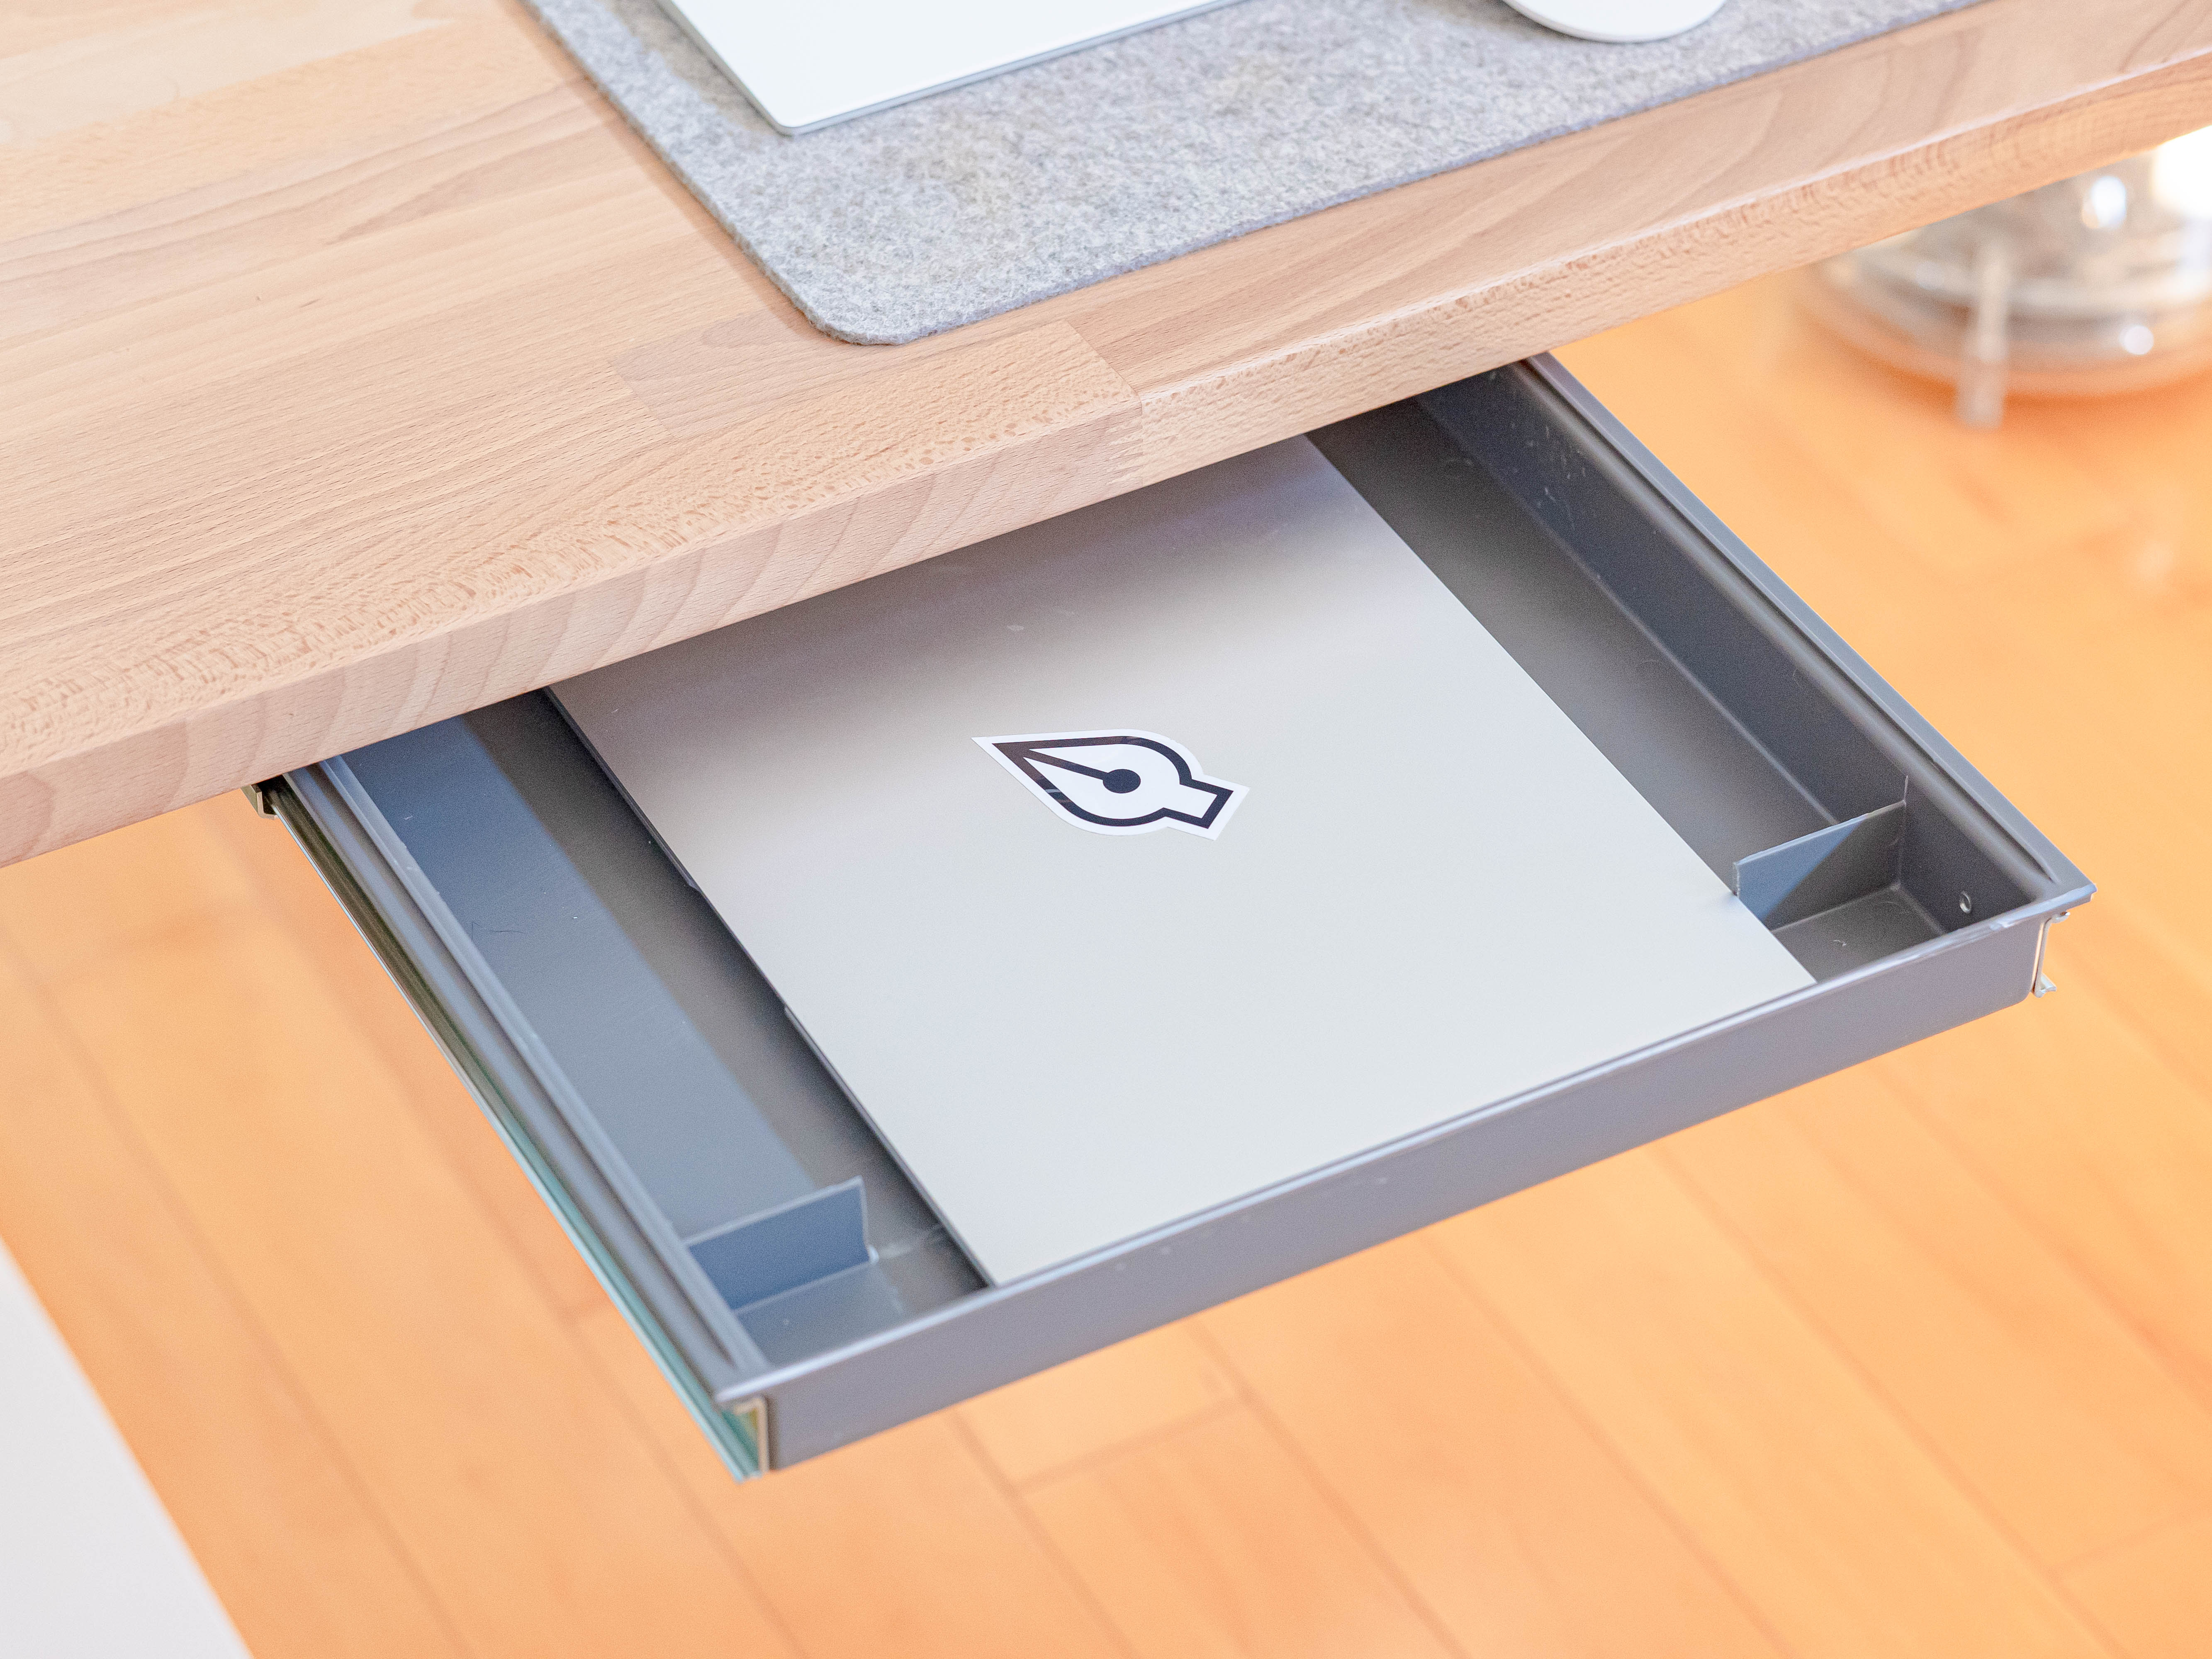
Hiding the computer
You may have already noticed, but my computer is missing from my desk. I moved it under the desk to a drawer set far to the left to not interfere with my legs. I cut the drawer’s internal divider and added a hole in the back to fit a long Thunderbolt cable that runs to the Thunderbolt dock.
Cable management
As I mentioned earlier, I added an ethernet cable that runs alongside the single power cable leading away from the desk. Four cables come down from the desk to the subwoofer. Both sets of wires are wrapped in cloth sleeving that gives the appearance of only two large cables leaving the desk.
Soon after finishing my previous desk setup post, I realized that the cables behind my monitor were quite messy. I fixed that with a plastic cable wrap. Unlike the cloth sleeving, the wrap is stiff and takes time to apply. I would only recommend it for something permanent like my webcam and monitor cables.
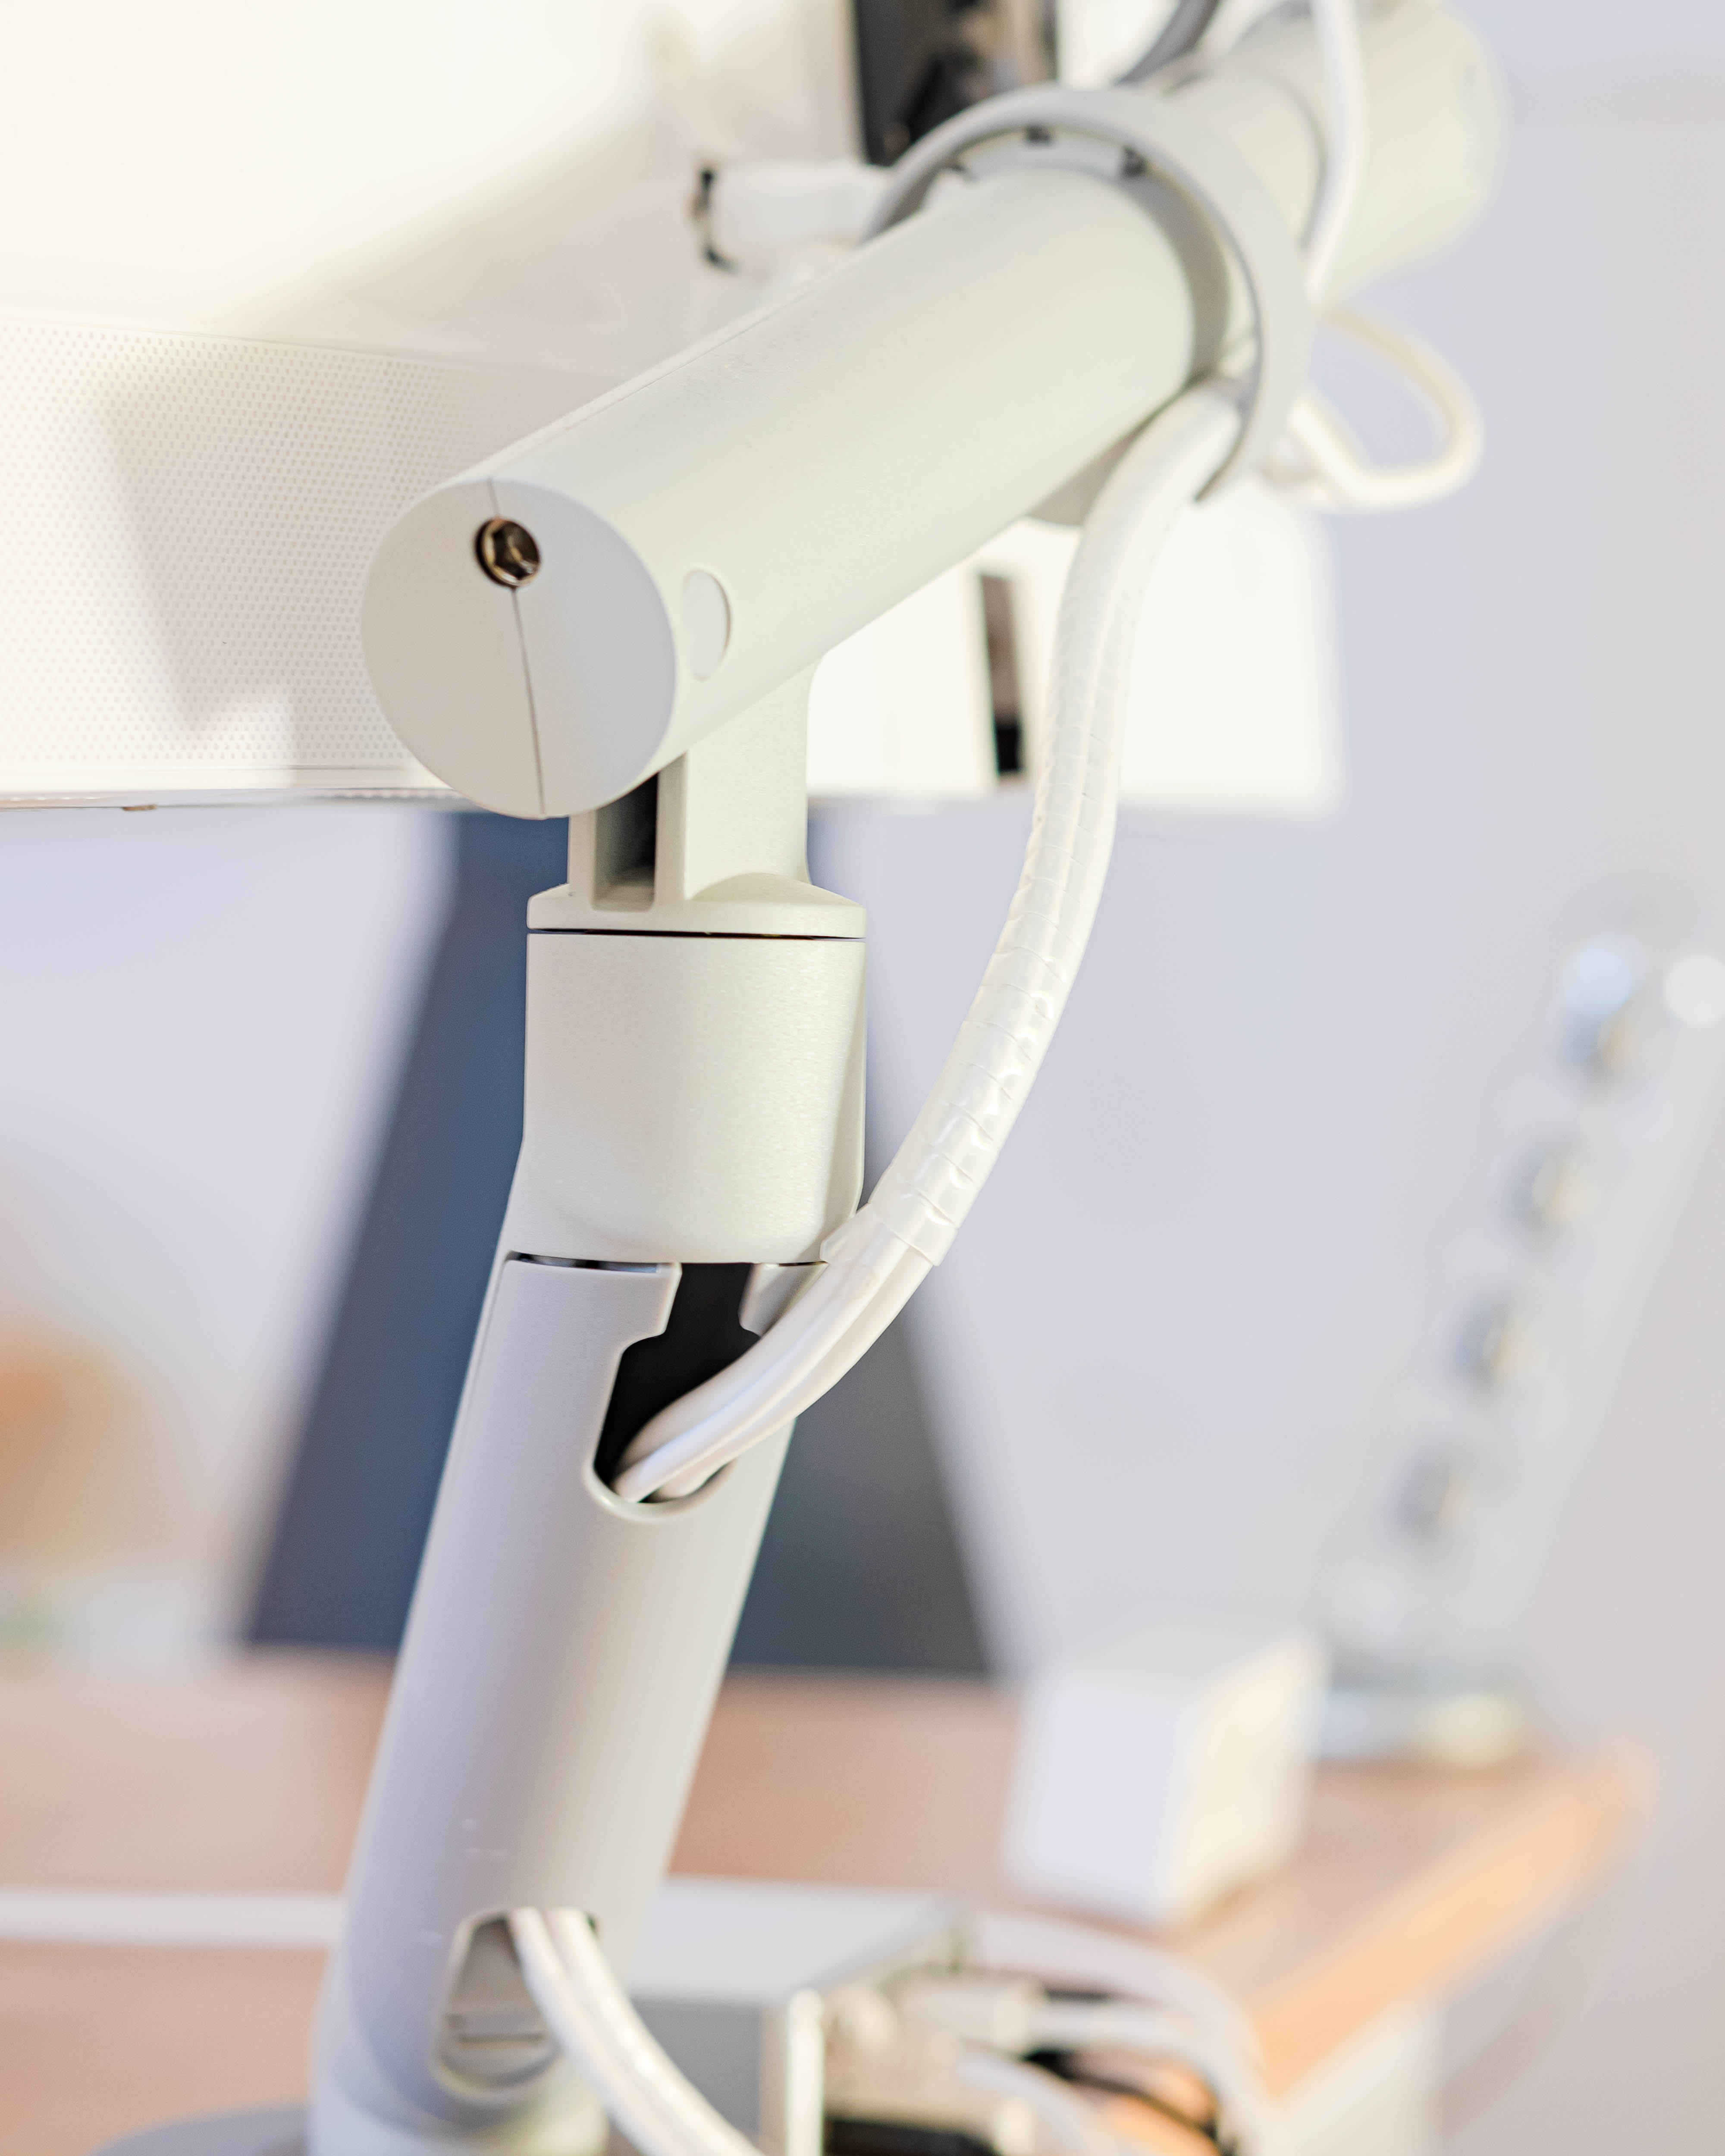
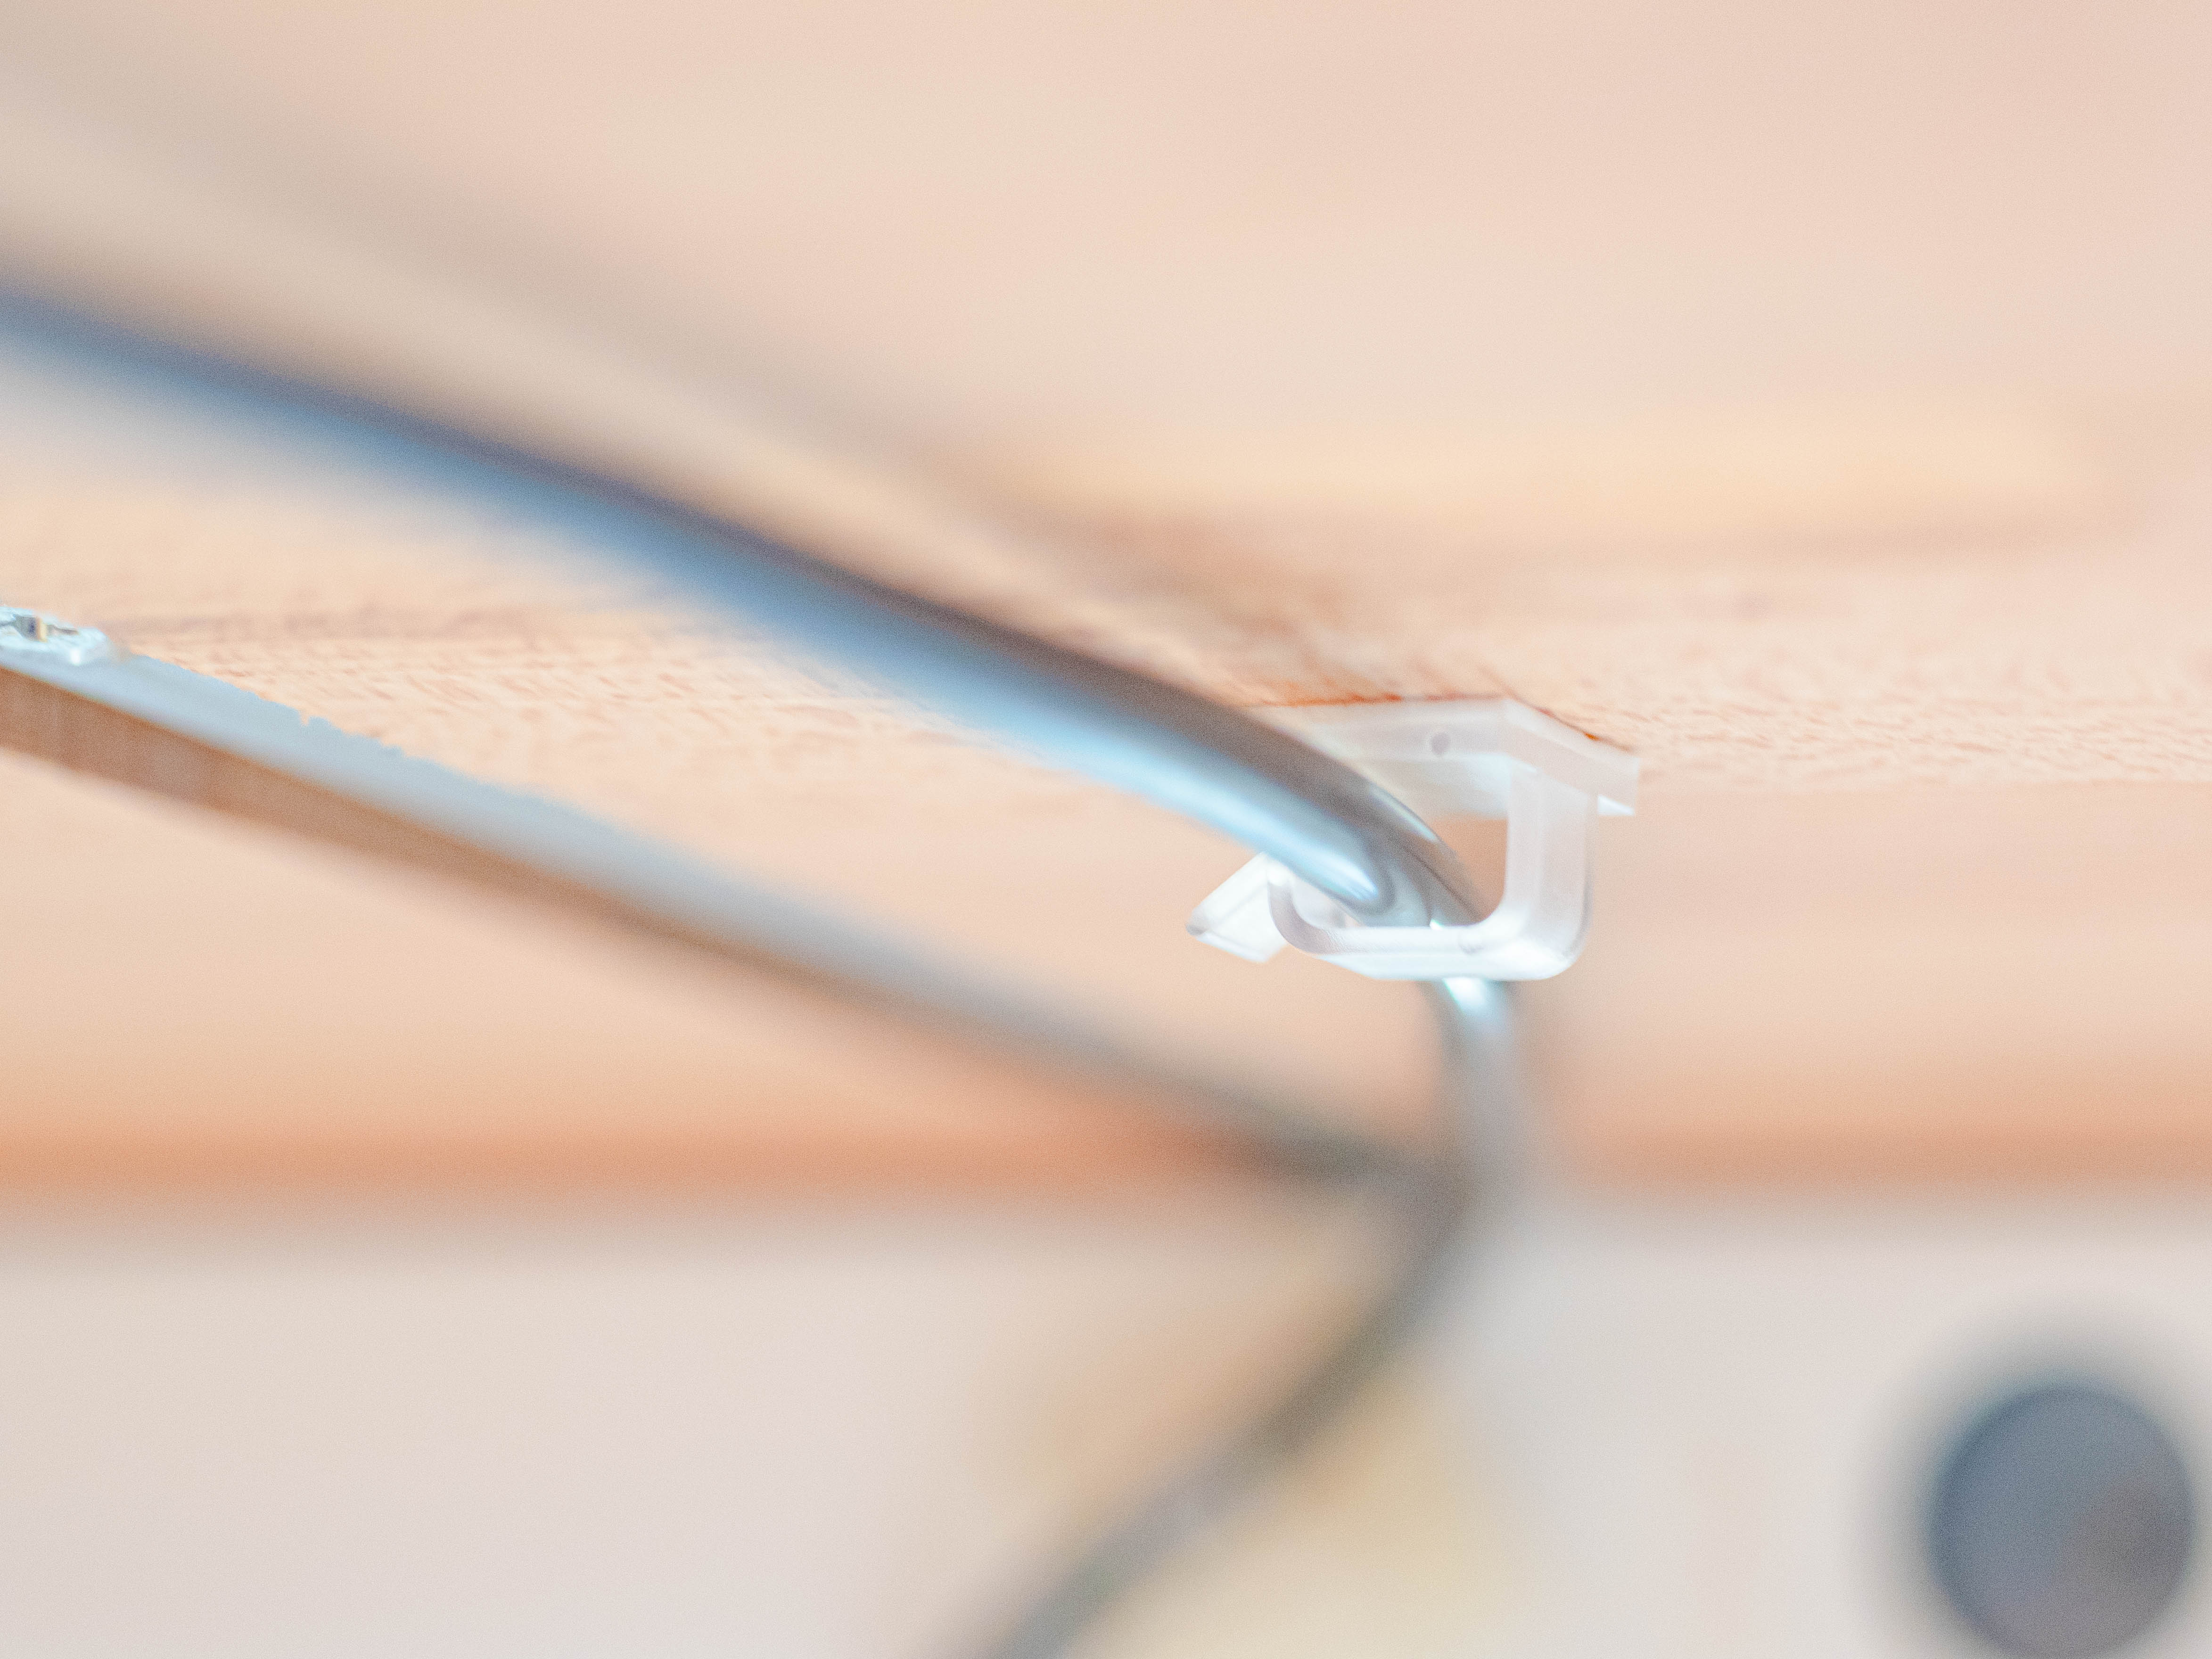
Lastly, some of the cables under my desk sag slightly, and I sometimes accidentally hit them. I added small cable clips to keep the cables snug to the desk.
With all of these cable management solutions, I ended up with extra material that I’ve used in other parts of the house.
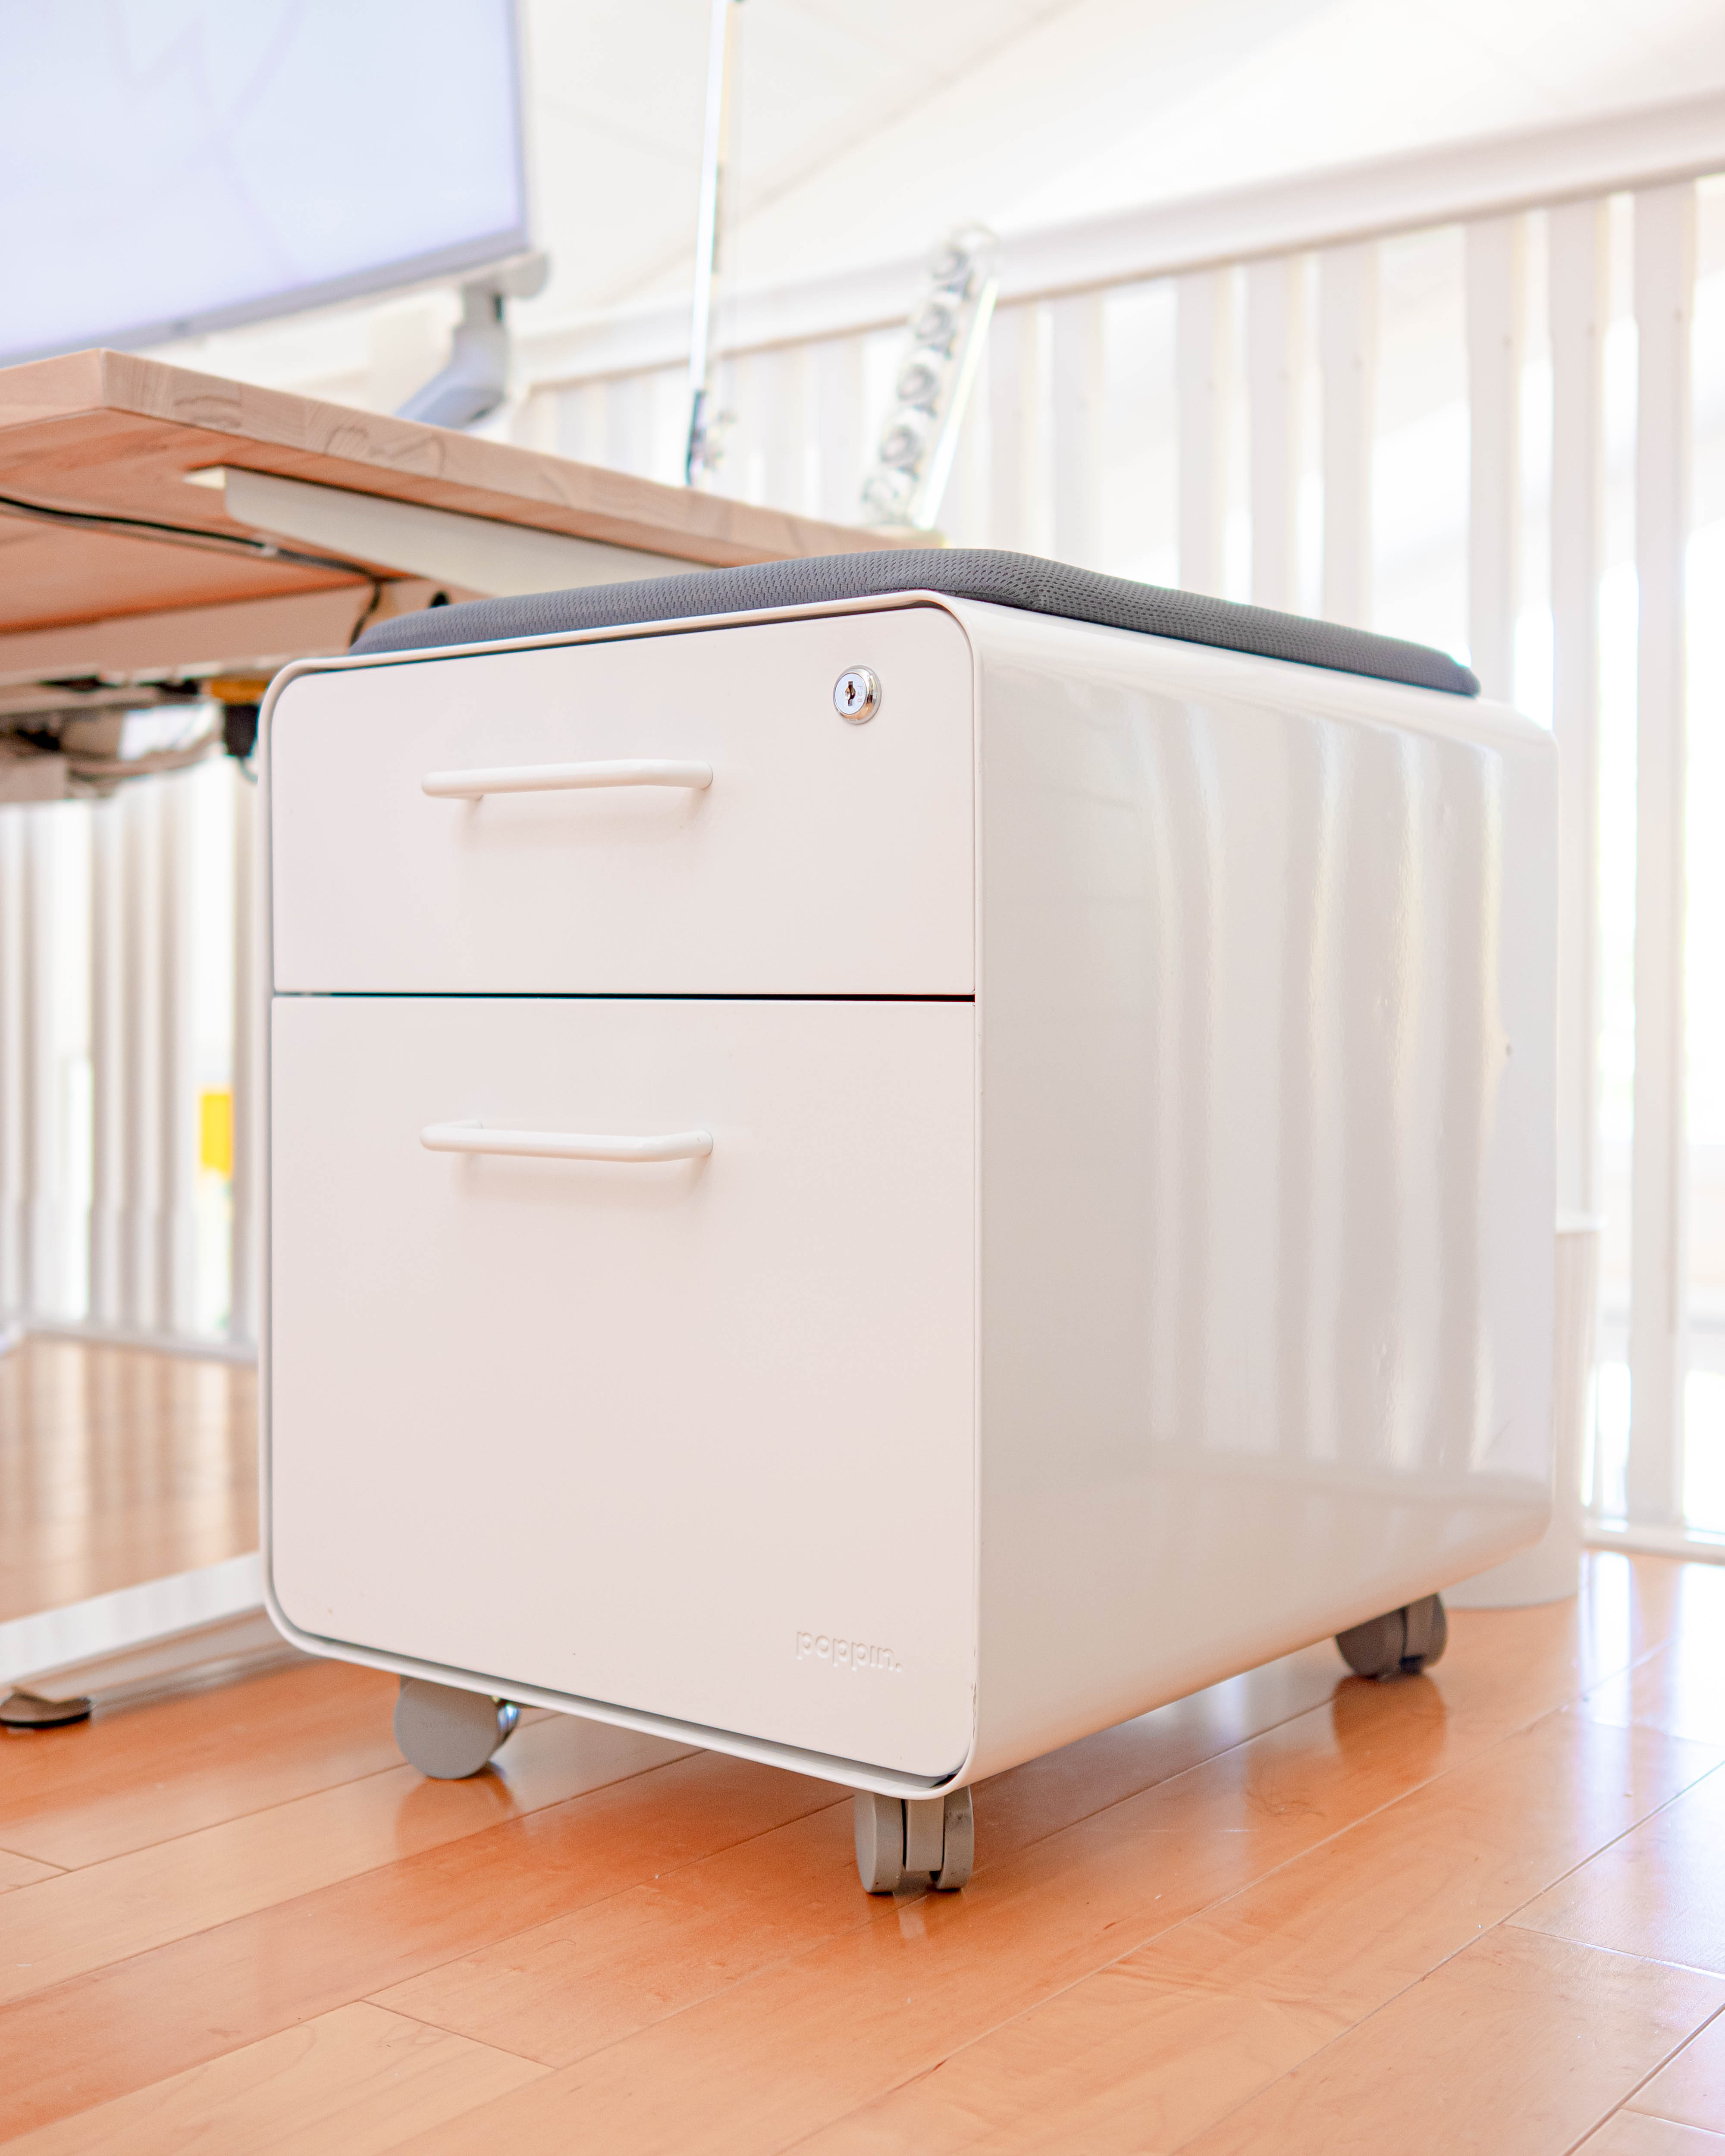
Rolling cabinet
The last object I’ve added to the setup for minimizing clutter is a rolling cabinet from Poppin that I moved from my office. I store larger objects like a backup keyboard and notebooks in the lower drawer, while the top is home to pens, my AirPods Max, and other often used things. The magnetically secured pad on top functions as a seat when my wife joins me at my desk.
Final words
I’m proud of what I’ve done with my desk setup over the last five years. Through careful observation of what’s working and what’s not, I’ve continued to improve how it serves my creative pursuits. Still, when I look at it in the morning, I get a rush of creative energy and optimism.
Photographs shot using:
- Leica CL
- Leica Elmarit-TL 18mm f/2.8 ASPH.
- Leica Summicron-T 23mm f/2.0 ASPH.
- Sigma 56mm f/1.4 DC DN Contemporary
- Leica Macro-Elmarit-R 60mm f/2.8
Thanks to Q for reading drafts of this.